
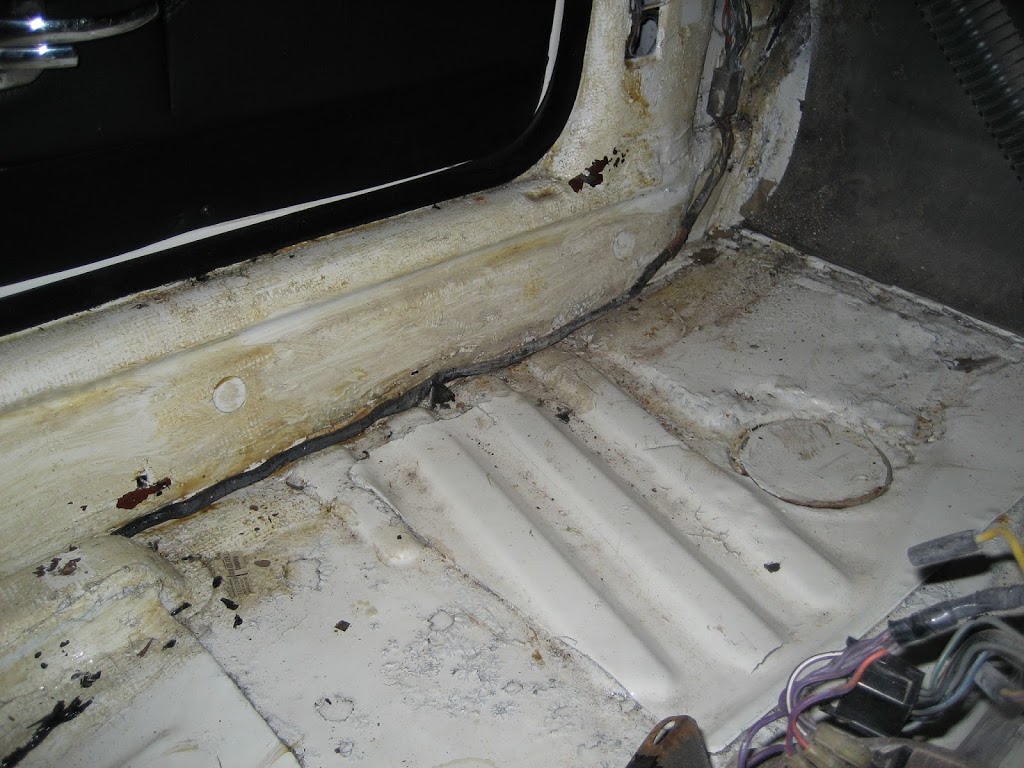
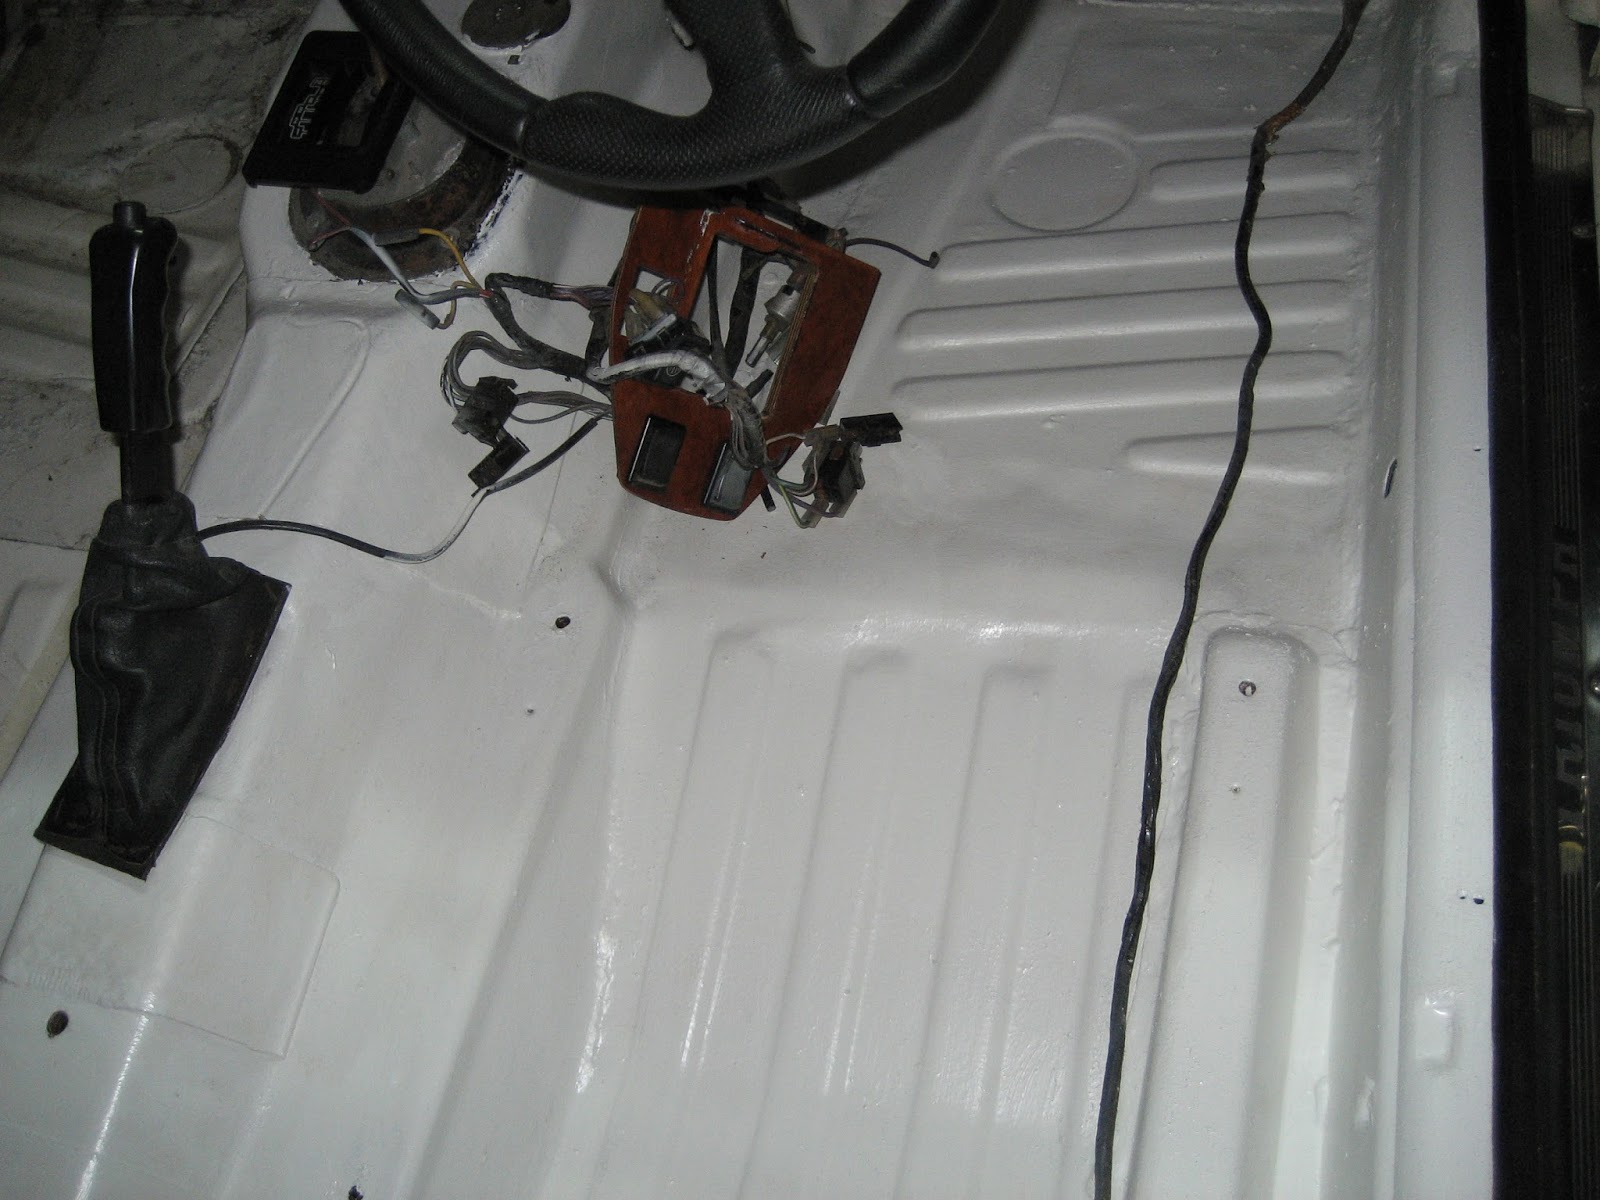
 In order to add a few more years of life to the drivers side floor panels I have cleaned them down, covered them in rust proofing agent (Rustbuster Fe-123), and then a coat of white Rustbuster Epoxy Mastic EM121. Looks much better and should give better protection. In time I will do the underside in a similar way.
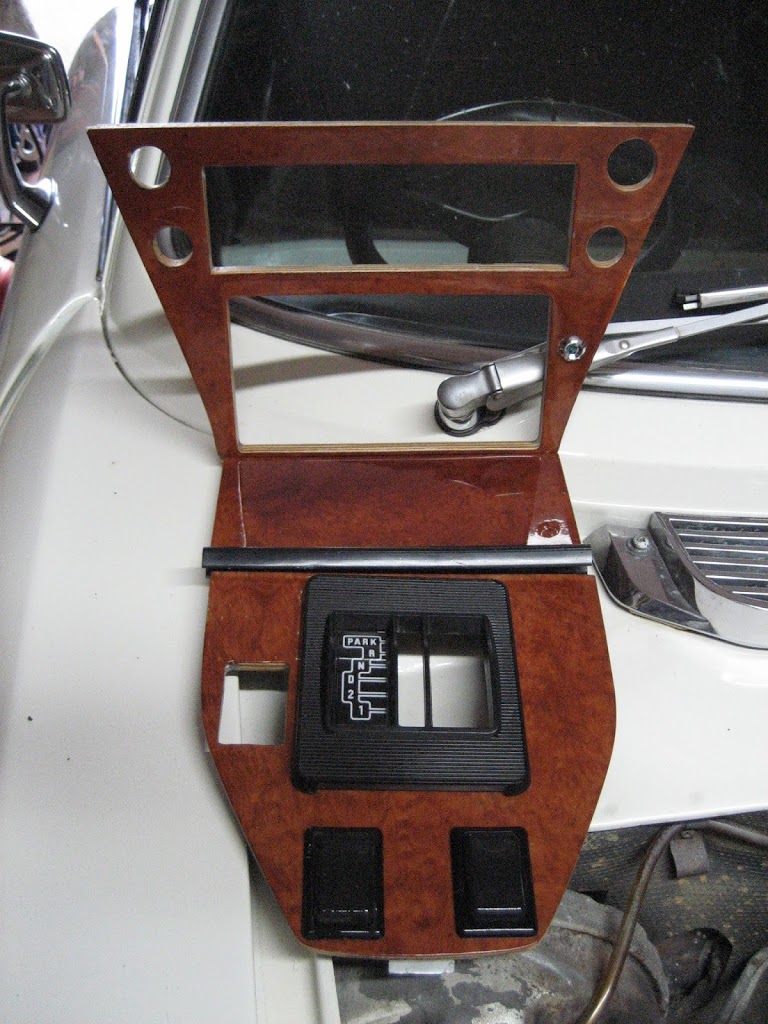
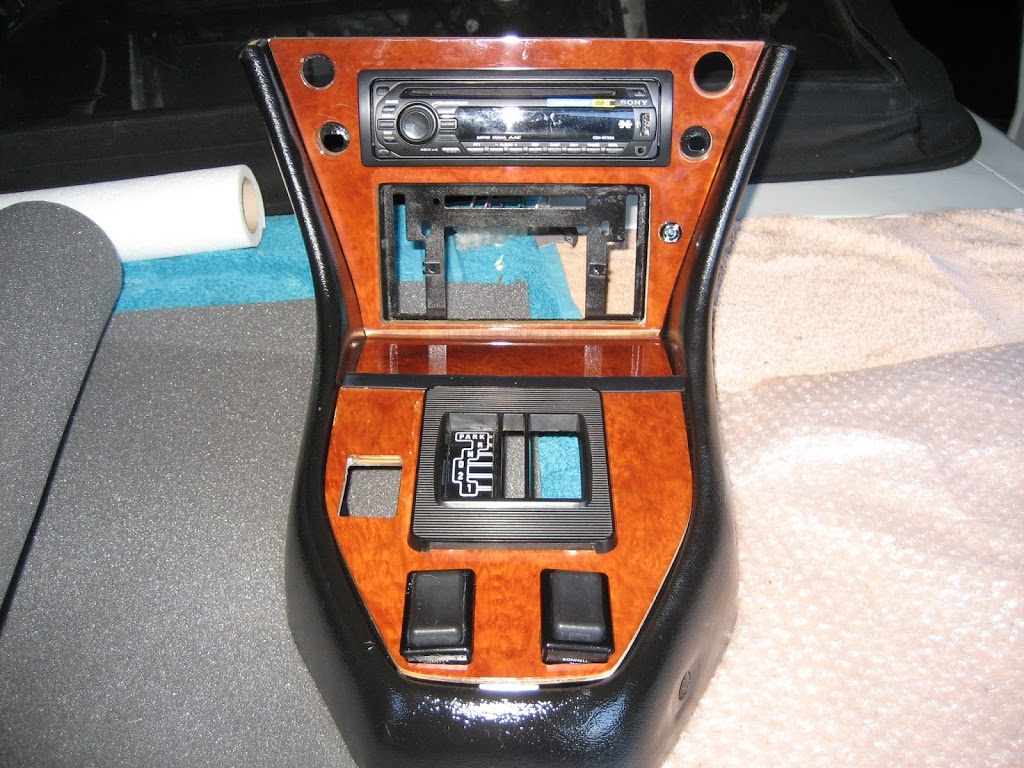
 The passenger side floor is another story. It has a number of molded sound deadening sheets which are keeping it structurally intact and I suspect forming a base for large amounts of underseal underneath to disguise the rot. Rather than rubbing down, sealing and painting this side of the floor I have decided to get it replaced. I have found a local welder and sourced the front and rear panels from Robsport (cheaper than Mr Rimmer). The seat rail mount looks fine. I hope it can be re-used. But before I can drive the car the the welders, I need to put it back together. I am taking the opportunity to remove the what seems like 40 years of muck from the components before I put them back in. Here’s the centre console after degreasing and polishing. I even managed to re-blacken the window switches.
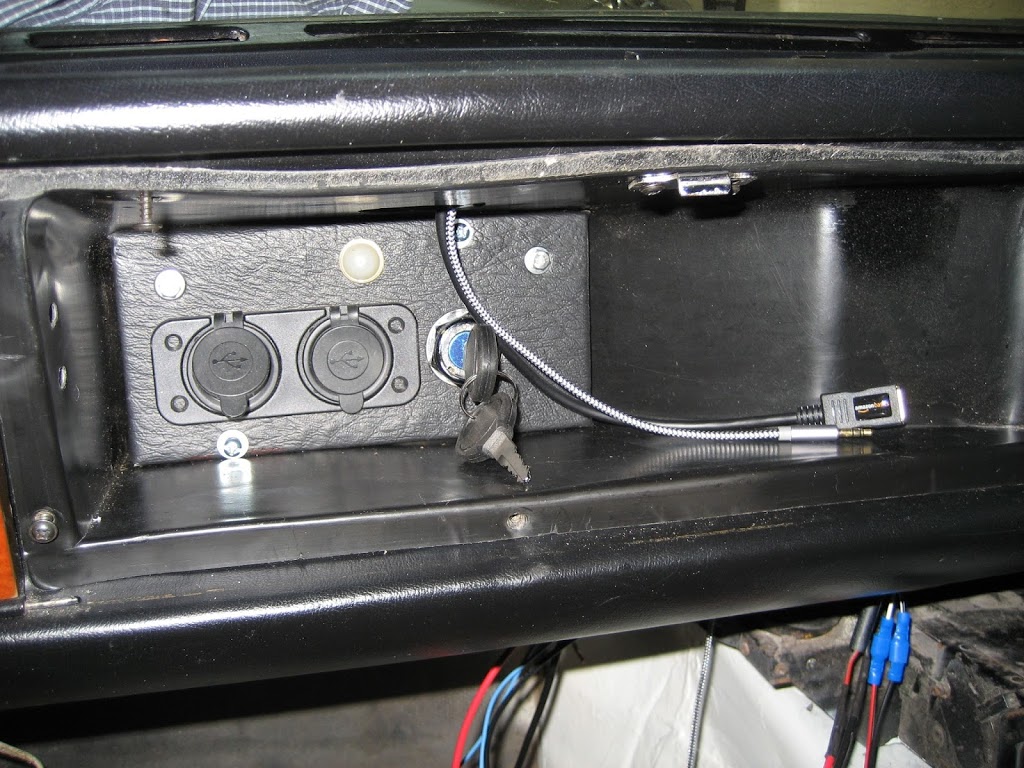
 We all know that the Stag is one of the most stolen (and easy to steal) classics. To help protect mine I have decided to install a second ignition key and switch. This one concealed in the glovebox. Whilst I am at it, I will also install a couple of modern USB charging points, and a relay to drive the power aerial. When I bought the car the power aerial was already installed but the wires were part connected with twisted cables and electrical masking tape. There was also a Sony head unit still in the box. So I am going to install all of these properly with some new speakers for good measure.
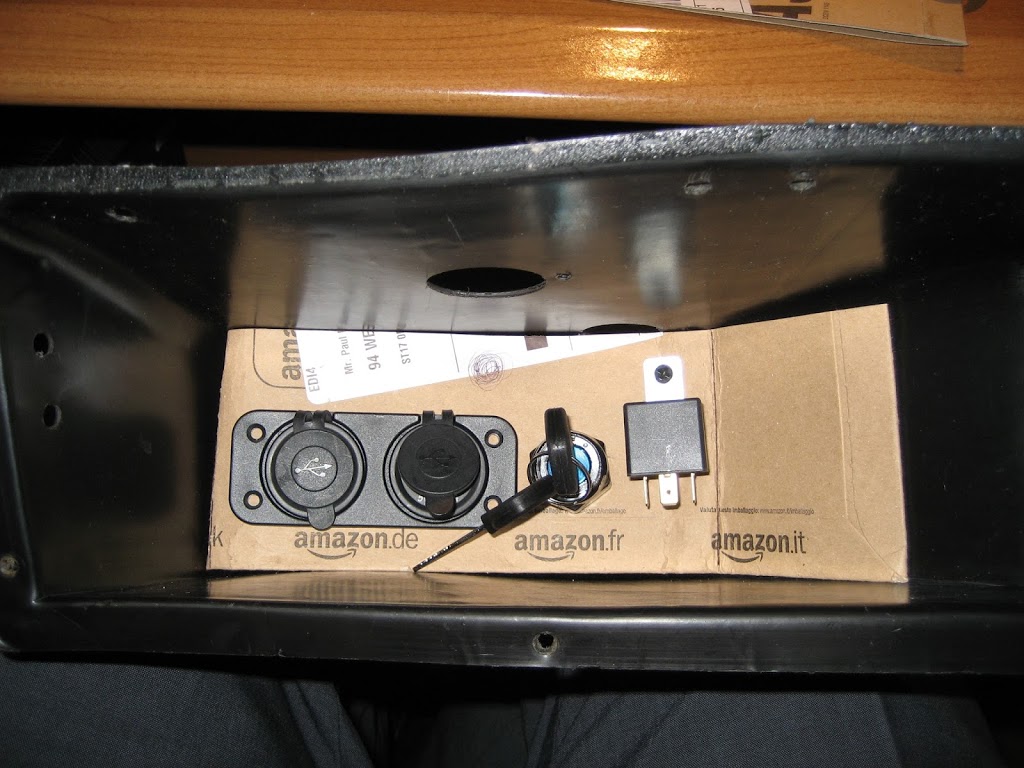
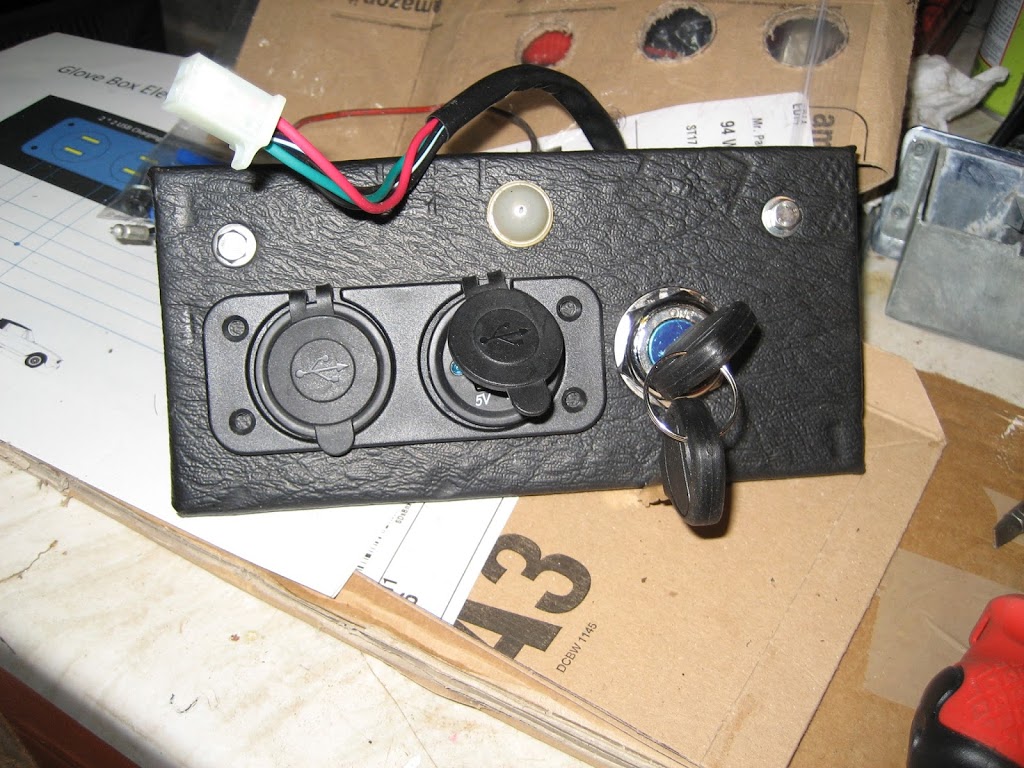 Firstly the glovebox amendments. Here’s a mock up of the new panel in cardboard: a double USB charging point, motorcycle ignition switch and a standard HEF555 relay. Once I had the size and layout I wanted I repeated the layout in MDF and covered it in vinyl. I also re-positioned the glovebox light so it will illuminate the new switch and power sockets when the glovebox is opened.
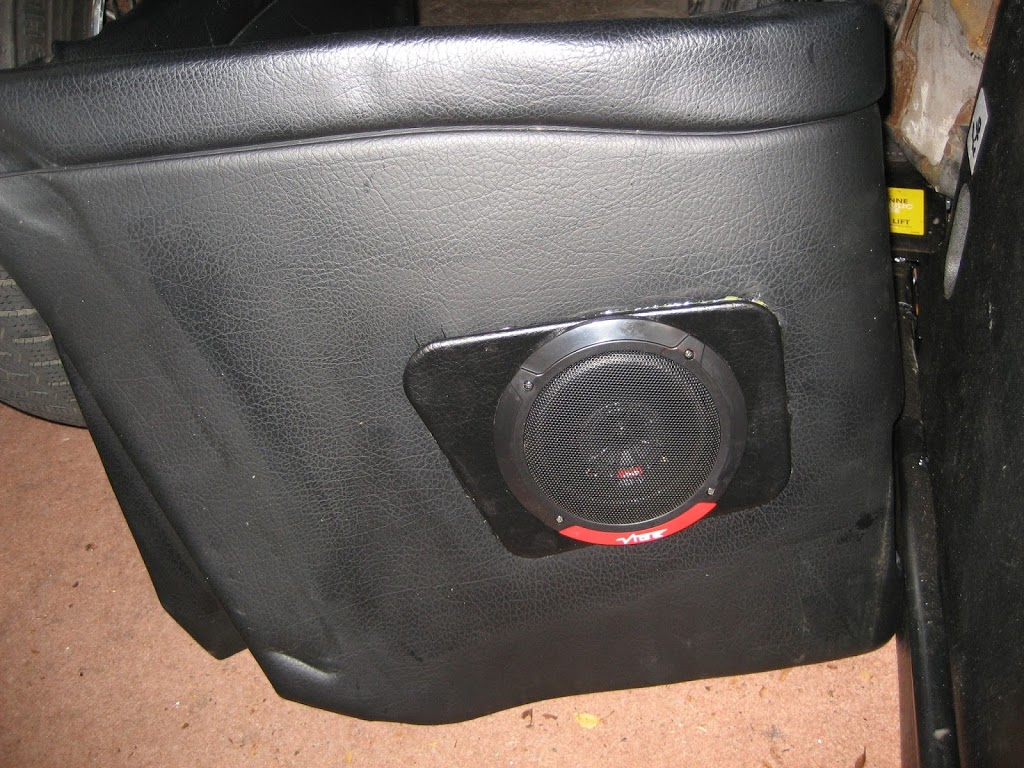 I used a similar technique for the speakers in the rear. Templates in MDF, covered in vinyl. These I have simply glued over the rear cubby areas. The head unit was brand new from 2009. When I turned it on it went straight into demo mode. Here it is mounted in the console.
 When I opened the dashboard grill where the radio speaker should have been, it was empty. After some research, I concluded that the best option was a dual voice coil speaker. It would handle stereo input and fit in the opening. Some other Stag owners have done this. When it arrived I found the only way of installing it was via removal of the glovebox, but even then I couldn’t get it into place without using force or modifying the dash in some way. Further research found that the other Stag owners had installed it whilst their dash was out of the vehicle. I am not taking the dash out so it went back for a refund.
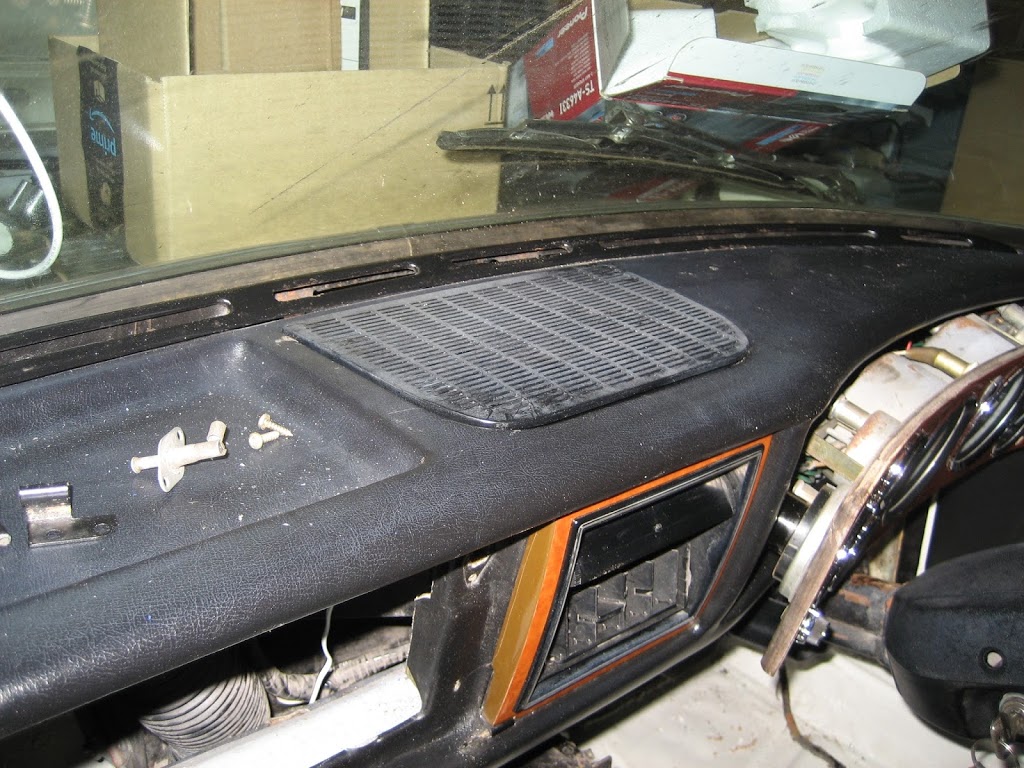
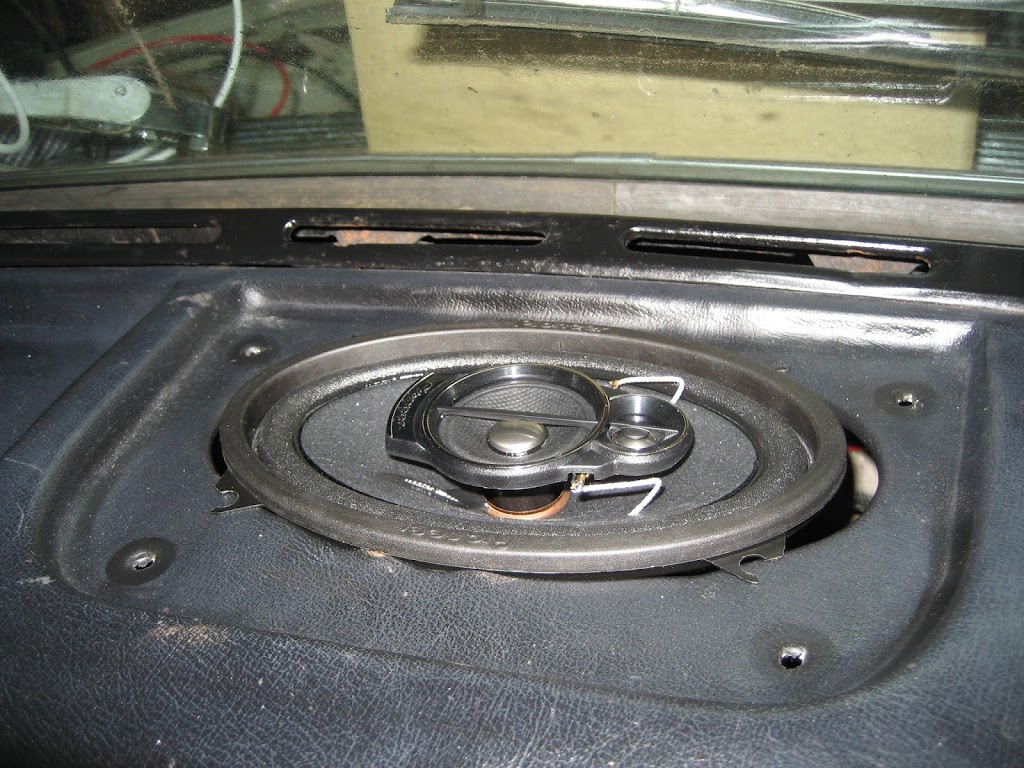 The next best option I found was a single voice coil speaker (mono) from Pioneer (TS-A4633i). This drops in from the top. Can be bolted down without much fuss and the speaker cover fits over it – job done – well almost. This is just a single speaker – do I connect it to the left or the right channel? With the left an right separated in the rear this would annoy me. So I built a speaker mounting board for the other speaker and mounted it under the dash between the steering column and the door on the drivers side. You wouldn’t know it was there but I am sure it will help to provide more depth to the sound. I realise that mono is more befitting the age of the car, but why when good quality stereo is available for very little cash.
Now to start to put everything back together – here’s the glove box part way through re-construction. I’ve looped in a phono extension lead and a USB extension lead. These will pop out of the ash tray so music players or phones can be left charging in the glove box and still play through the head unit