Virtual Pinball Blog

Back in the 90s some gaming enthusiasts got together and created MAME (Multiple Arcade Machine Emulator) as an open source project. Since then it has morphed, adapted and evolved and is now used in countless arcade projects from simple raspberry Pi set-ups to full cabinet mounted and custom built games machines.

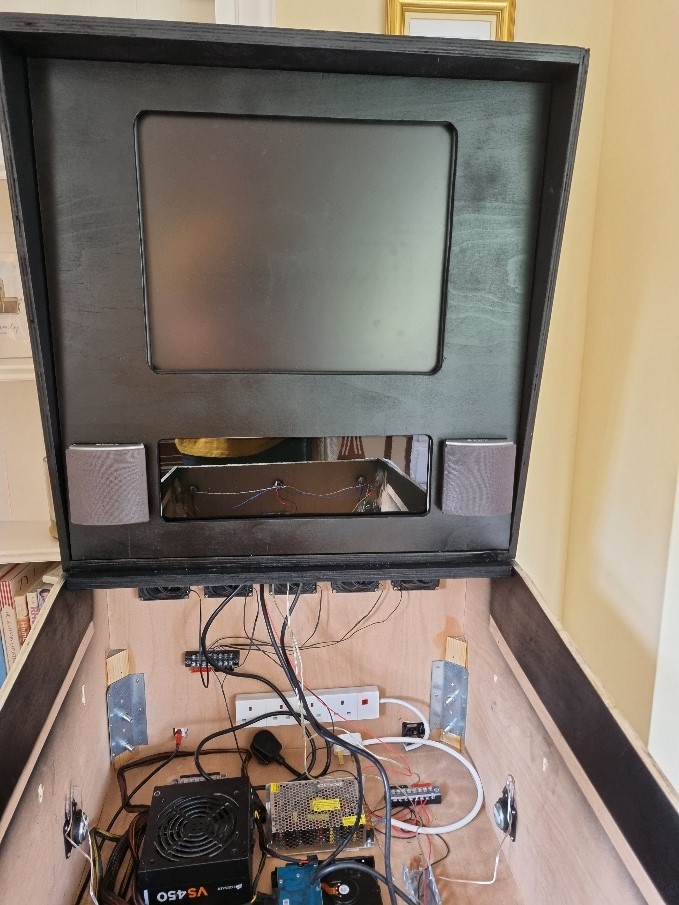
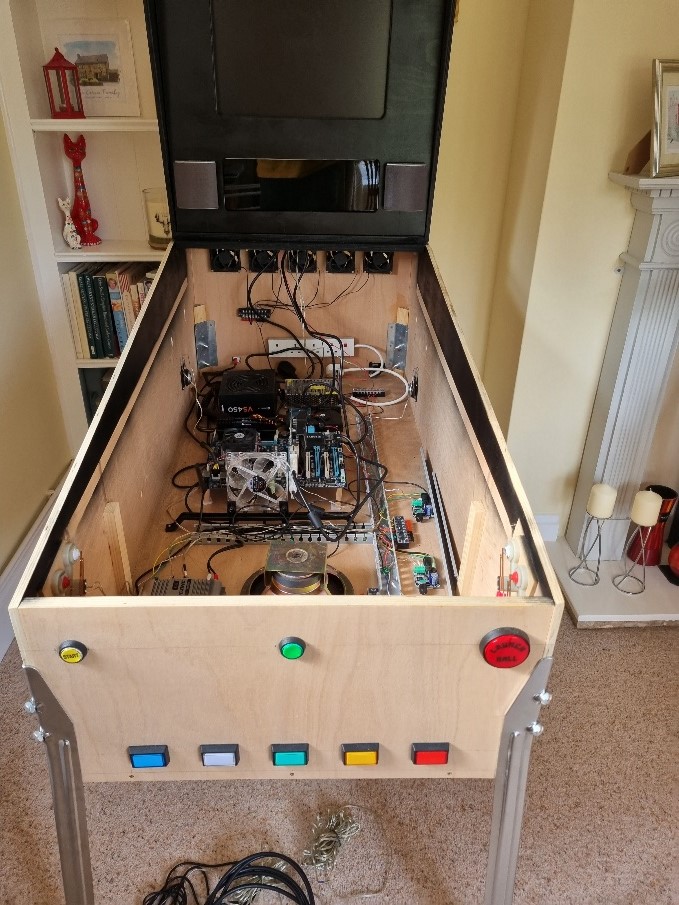
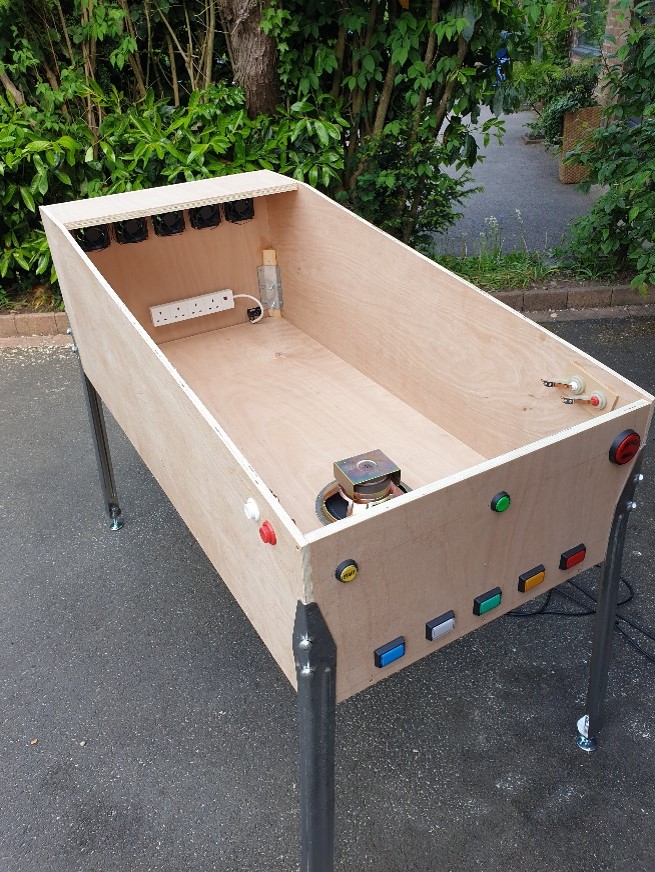
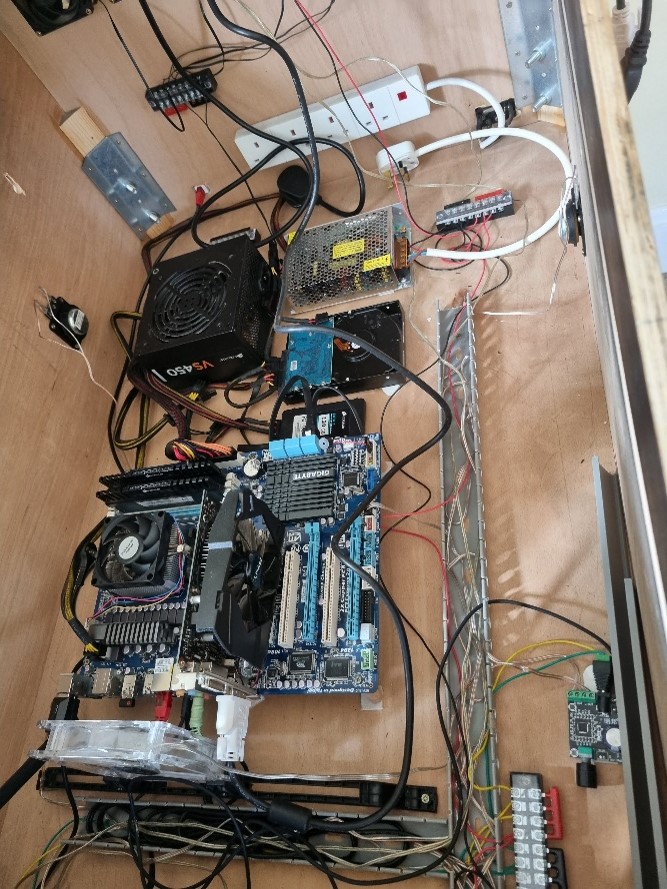
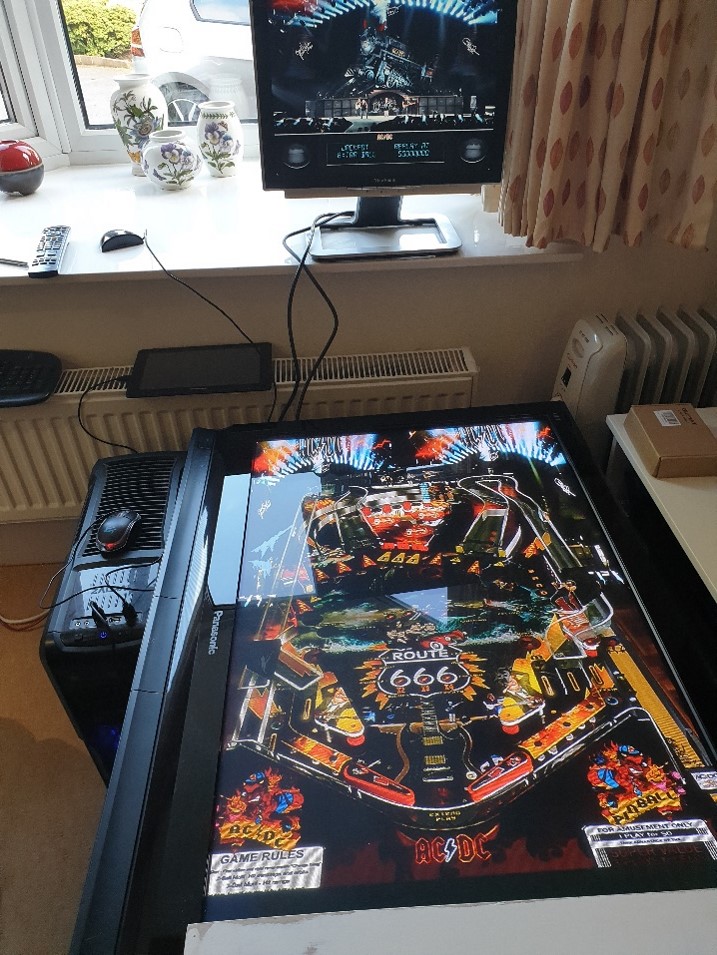
My aim here is to see what I can accomplish using open source software and the hardware I have either surplus to current requirements, cadged from friends or bought cheaply with Gumtree or EBay. My target is a Virtual Pinball Table with roughly the same scale and involvement as the tradition tables of my youth but at a fraction of the price of an original or re-furbished table.

Construction – Part 2

The backbox sized in proportion with the base cabinet to keep the whole unit in scale. The Backglass monitor, DMD monitor and speakers are fitted and the plywood sprayed black.

Everything but the playfield monitor, locking plate and toughened glass.

Construction

The plywood cabinet base with the Williams Chrome legs. The size of the cabinet being determined by the dimensions of the Playfield TV. Also fitted is the mains supply, cabinet fans, sub-woofer and arcade buttons/switches.

The layout of the PC components mounted on the base of the cabinet along with the ancillary wiring for amps, fans, exciters and arcade buttons.

Components

  • 9mm plywood for the sides of the cabinet;
  • 13mm plywood for the front, rear and base of the cabinet;
  • Connector blocks and cable conduit and coloured wire;
  • Williams chrome legs;
  • Arcade standard buttons: 4 leaf switch for flippers; 8 illuminated and coloured arcade buttons (Launch Ball, Start, Coin, and 5 Service buttons for Volume control and navigating menus);
  • Hidden PC On/Off button;
  • Hi-res LCD playfield: 40-inch Sony Bravia LCD screen under 6mm tempered glass;
  • Back-glass: 19-inch 1280×1024 LCD screen;
  • DMD simulation: 15-inch 1280×390 LCD screen);
  • Fast AMD Fx 8-core processor & separate GeForce GTX graphics card capable of driving all 3 hi-res monitors;
  • Additional 12v Power supply for everything but the PC;
  • 13A multiplug to plug in the PC, Monitor, TV and additional Power supply;
  • External mains on/off switch (fused);
  • Microsoft Windows 10 – 64-bit operating system;
  • 128GB SSD HD, 2 TB HD & 16GB RAM;
  • External USB socket mounted on the rear of the backbox and USB Wifi antenna for use as required;
  • External Ethernet connected for direct connection as required;
  • Bluetooth keyboard & mouse;
  • 4 surface Exciters for realistic mechanical feedback, powered by dual 2.0 Amplifiers;
  • Cooling Fans for cabinet air flow;
  • 2.1 hi-fi sound including 9” sub-woofer with separate 2.1 amp;
  • Brushed aluminium angle to grip the toughened glass with 1mm neoprene sponge inserts;
  • Sticky-back plastic to cover the external cabinet;
  • Time & Patience.

Prototype

Here is the initial prototype. I made a button box with some cheap buttons and a USB Jostick/button controller. Hooked it up to the PC (still in its standard housing), with the computer monitor as the Backglass/DMD and the TV (connected via HDMI) as the Playfield.

Using the Baller_installer setup programme (courtesy of Nailbuster), I then loaded the emulators and my first table – AC/DC.

I was impressed. Even with the components laid out on boxes and using the sound from the TV, the table worked perfectly and was amazingly engaging. My mind was made up. Time to build the real thing.

The Build Process

As this is my first time doing this, I have decided on an evolutionary approach to the build. I’ll start by collecting the main components: TV, monitor, PC and buttons. Then download the software and get the key components working together. If this goes well, I will think about building the cabinet to put it all in and then add the sounds and other toys such as a plunger, knockers, solenoids etc.

Sound

There are 2 areas of sound to consider: games sounds like music and voice, and table sounds like the flippers and ball rolling around the Playfield. Some of the newer games have enhanced media that provides the tables sounds through 2 channels of a 7.1 set up. This means that with a single 7.1 sound capability you can provide the source signals for the games sound and the table sounds.

I had a very old surround sound amp and speakers in the loft, so I removed the sub-woofer and 2 of the speakers for use on the table. A cheap 2.1 MosFet amp from e-bay provides the amplification for the games sound through these 3 speakers.

Another 2 smaller amps feed the table sounds: one at the front and one at the back. Each I connected to right and left Exciters mounted on the sides of the wooden cabinet. Exciters are a special type of speaker that use the material they are mounted on to provide the vibration rather than trying to vibrate the air. Not only does this sound realistic for table sounds like the rolling ball, it also provides subtle feedback as you play, enabling you to feel as well as hear the flippers and buffers in operation.

Software

The two main virtual pinball emulators are Visual Pinball and Future Pinball. You can obtain all the games you want from the many emulator sites online for these 2 platforms. These games are easily added, detailed, accurate recreations of the best pinball machines of the last 50 years, as well as modern pinball games intended for digital platforms and consoles. The choice available is massive – just find your favourites from the arcades.

Backglass & DMD

The PC I am cannibalising has a 19-inch 1280×1024 LCD screen. This should be fine for the Backglass, but what about the DMD? Should I virtualise it into the Backglass? Should I buy a proper dot matrix display? In fact, I chose a hybrid. I didn’t think the 19” Backglass was big enough to provide the feedback I was looking for so I purchased a 15-inch 1280×390 LCD screen off Amazon, and will use it as a separate virtual DMD.

Computer Hardware

I’ve read a lot about the spec of PC you need to run a table. I don’t think there is a correct answer. It all depends on what games you want to run, what playfield you have and your tolerance to any sign of lag in your game. You can spend £1000s on gaming PC hardware and graphics. As with the Playfield I chose to take less expensive route to see what I could achieve on this first table. I had an old PC in the garage with a reasonable spec when new so I intend to use that.

  • AMD Fx 8-core processor & separate GeForce GTX graphics card
  • Microsoft Windows 10 – 64-bit operating system.
  • 128GB SSD HD, 2 TB HD & 16GB RAM.

Continuing with this build philosophy I have also opted for a simple USB joystick/Button interface card to control the buttons rather than the full Pinscape board.

Playfield

The Playfield is where all of the action takes place. It’s the virtual table and is created by a large monitor – usually a TV. The quality of the graphics will be directly dependant upon the refresh rate and the resolution of this screen. Current high-end tables use 60 hz, 4k screens but don’t forget you will need a suitably powerful PC and graphics card to drive it. As this is my first table I found a 40” Sony Bravia 1080p TV for £40 on the local social media market place.

Buttons and Button Control

Who would have thought there were so many types of buttons. The flipper buttons in professional cabinets have spring/leaf contacts mounted on a plastic frame under the push switch. Much cheaper buttons have the contacts built into the plastic housing of the switch.

The main control buttons are illuminated switches in many shapes, sizes and colours with the function printed on the front switch (e.g. Start) if wanted. The illumination can be via incandescent lamp (6.3v) or LED. Each lamp can be controlled individually if required using a suitable controller that can be linked to the virtual pinball software, for example to flash the coin lamp if money is required or the Start lamp if the game is ready to start.

Cabinet

You can buy pre-cut standard size panels for self assembly, or like me, build something bespoke to fit the components I am going to use. As I am adequate with wood i.e. can cut a straight edge and drill clean holes, I think I can get a similar quality finish to the pre-cut panels and be able to make use of the components I have to hand rather than needing to buy components to fit the standard chassis.

Where to start

As with most things in the age of the internet, type “virtual pinball” into google and off you go. The resources needed to build a cabinet, load the software, add the toys and configure it all to work are all there. The problem is how to piece all the various elements together into something coherent enough to be constructed without any project-ending gotchas at some point during the process.

My initial reading started with the following documents which I have included as a part of this blog – Pinball Reference Material