Suffolk Super Colt Restoration

When I was young my Dad had a Suffolk Super Colt lawn mower. In fact I think most Dads did. It was “the” mower of the time together with it’s earlier sibling the Suffolk Colt. I can still remember being dragged around the front lawn after letting out the clutch too quickly and ending up in the rose bed. Happy memories.

When I saw one on EBay for a few quid I couldn’t resist. Time to get it back to looking like it did when new and making those “English Lawn” stripes once again.

Final Assembly

After adding the fuel tank, handle , grass box and of course a new set of decals, here is the final product.

I’m very happy with it. Starts after a couple of pulls, and after back lapping the blades it cuts like a honed sythe.

Engine and Cowling

Now the interesting bits.

I’ve degreased the engine, replaced the oil and spark plug and given it a new coat of silver high temperature paint. I also test ran it on the bench just to make sure before I re-installed it.

Installation is just a matter of locating the engine on top of the cover plate with the clutch engaged in the clutch hosing and tightening down the four bolts

With the nice frsh cowling back in place it’s starting to look like a nower again

Gears, Chains and Belts

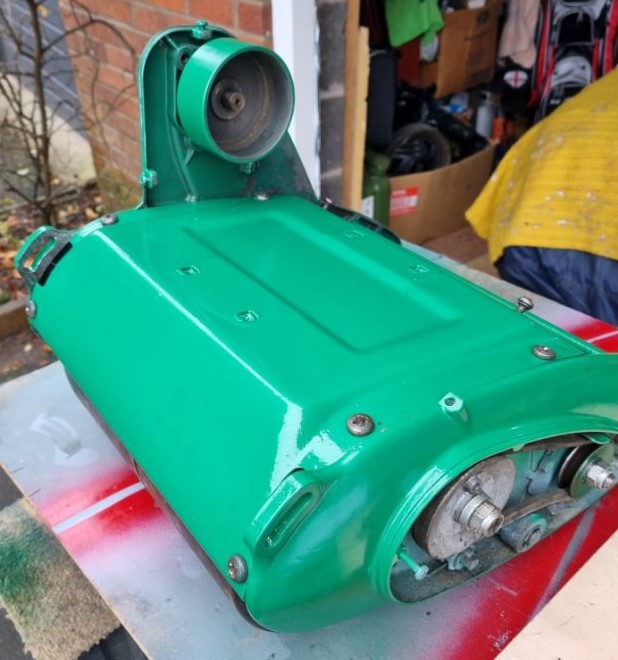
Now to assemble to side panels. Firstly the drive train panel on the right which houses the chain that powers the blade from the rotation of the secondary friction clutch,

The chain isn’t meant to be tight but it is meant to be greased so it doesn’t chew through the chain tensioner and slides easily over the sprockets.

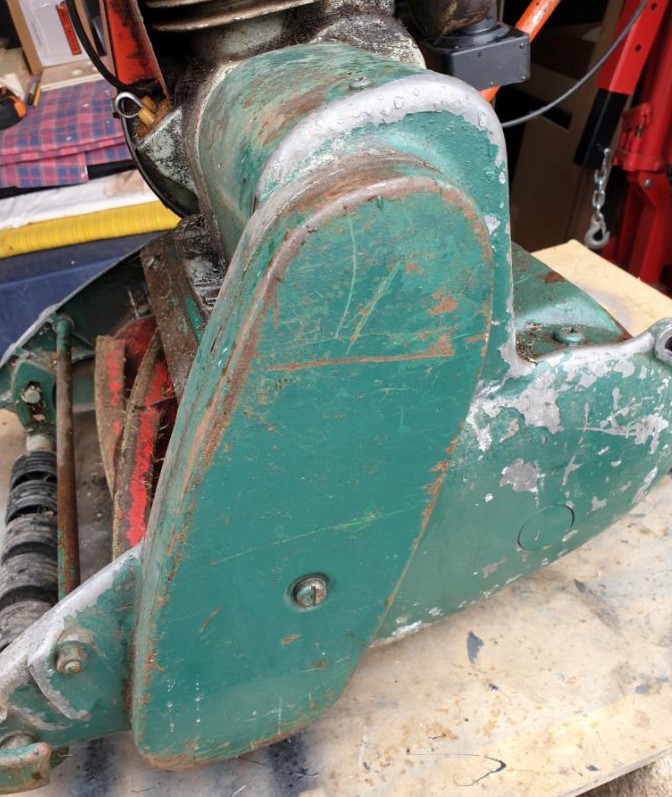
Next the left hand panel which houses the other clutch mechanism. The spring and cable are not yet attached in this picture, but you can see the clutch actuator on the left of the belt. Normally it would tension the belt so the rear roller will rotate when the blades rotate. With the clutch lever actuated the actuator releases the tension on the belt and the roller stops turning.

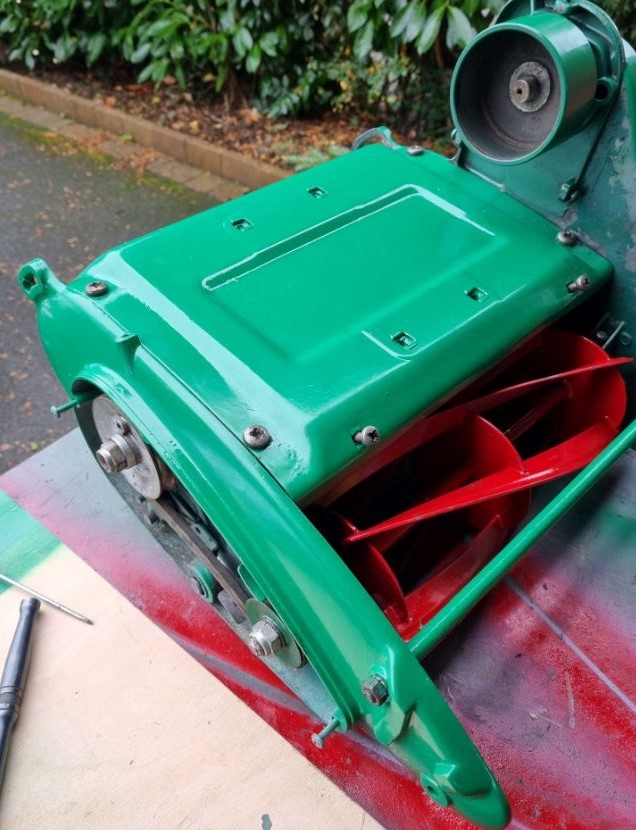
Here you can see the lower blade in place. One of the final steps in the re-commissioning process will be to back-lap the blades. This is the process of grinding new cutting edges to both the lower blade and the rotating upper blades.

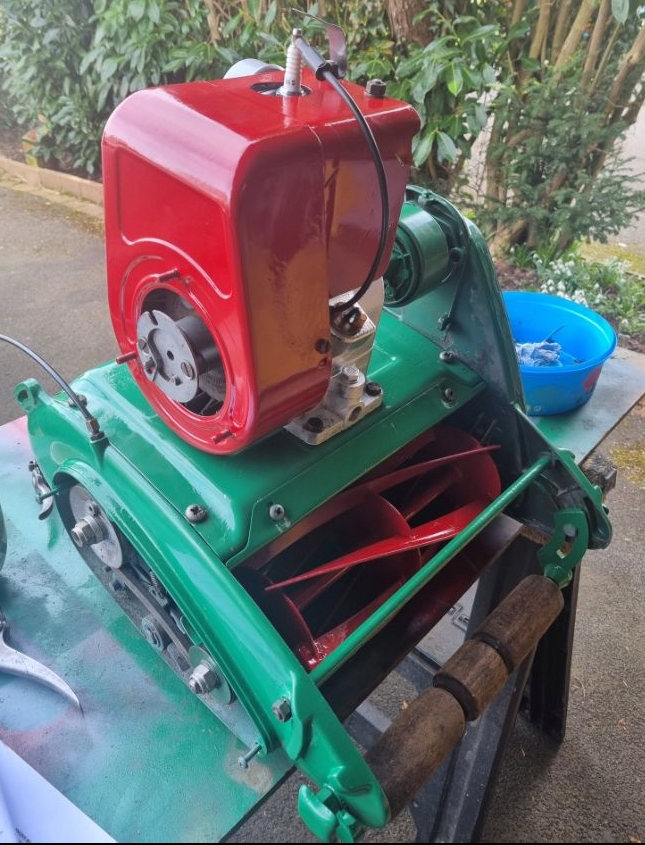
And finally for today, the grass plate behind the rotating blades and the top cover assembly. Ready to re0fit the engine now.

The Start of the Re-Assembly

With other things going on, it’s been a few months since I disassebled the mower. Over this time I have found a few hours here and there to rub-down and re-spray each of the panels. Now, they are all wrapped in bubblewrap in a big box in the garage.

Having broken up from work early this Christams, I thought I would start the re-assembly process as I have a little time, even though it is a miserable 3 degrees and foggy outside.

I posted a copy of the maintenance manual in a previous post – this is pretty much it when it comes to information. It’s the exploded diagrams I will start with and try to remember which washers went where.

Here is the basic construction with the bearings on the blade shaft re-greased along with the cylinder coupling sprocket.

The Old Mower

Well here it is, looking a little beaten up and neglected. In addition to the appearence, it won’t start and its single cylinder doesn’t seem to have any compression.

I will start with a complete strip down and degrease, then rub-down and re-spray the panels. I won’t blog this as it’s quite mundane to read about even if I do find the process theraputic.