 Having already removed the suspension struts from both front wings, it seemed logical to finish the process by also removing the front crossmember. A number of reasons: a) it gives me better access to the oil sump which is badly distorted/bend and really needs replacing; b) I want to check that the crossmember is rust free whilst the rest of the front suspension is off the car; c) any repair work will be far easier on my bench.
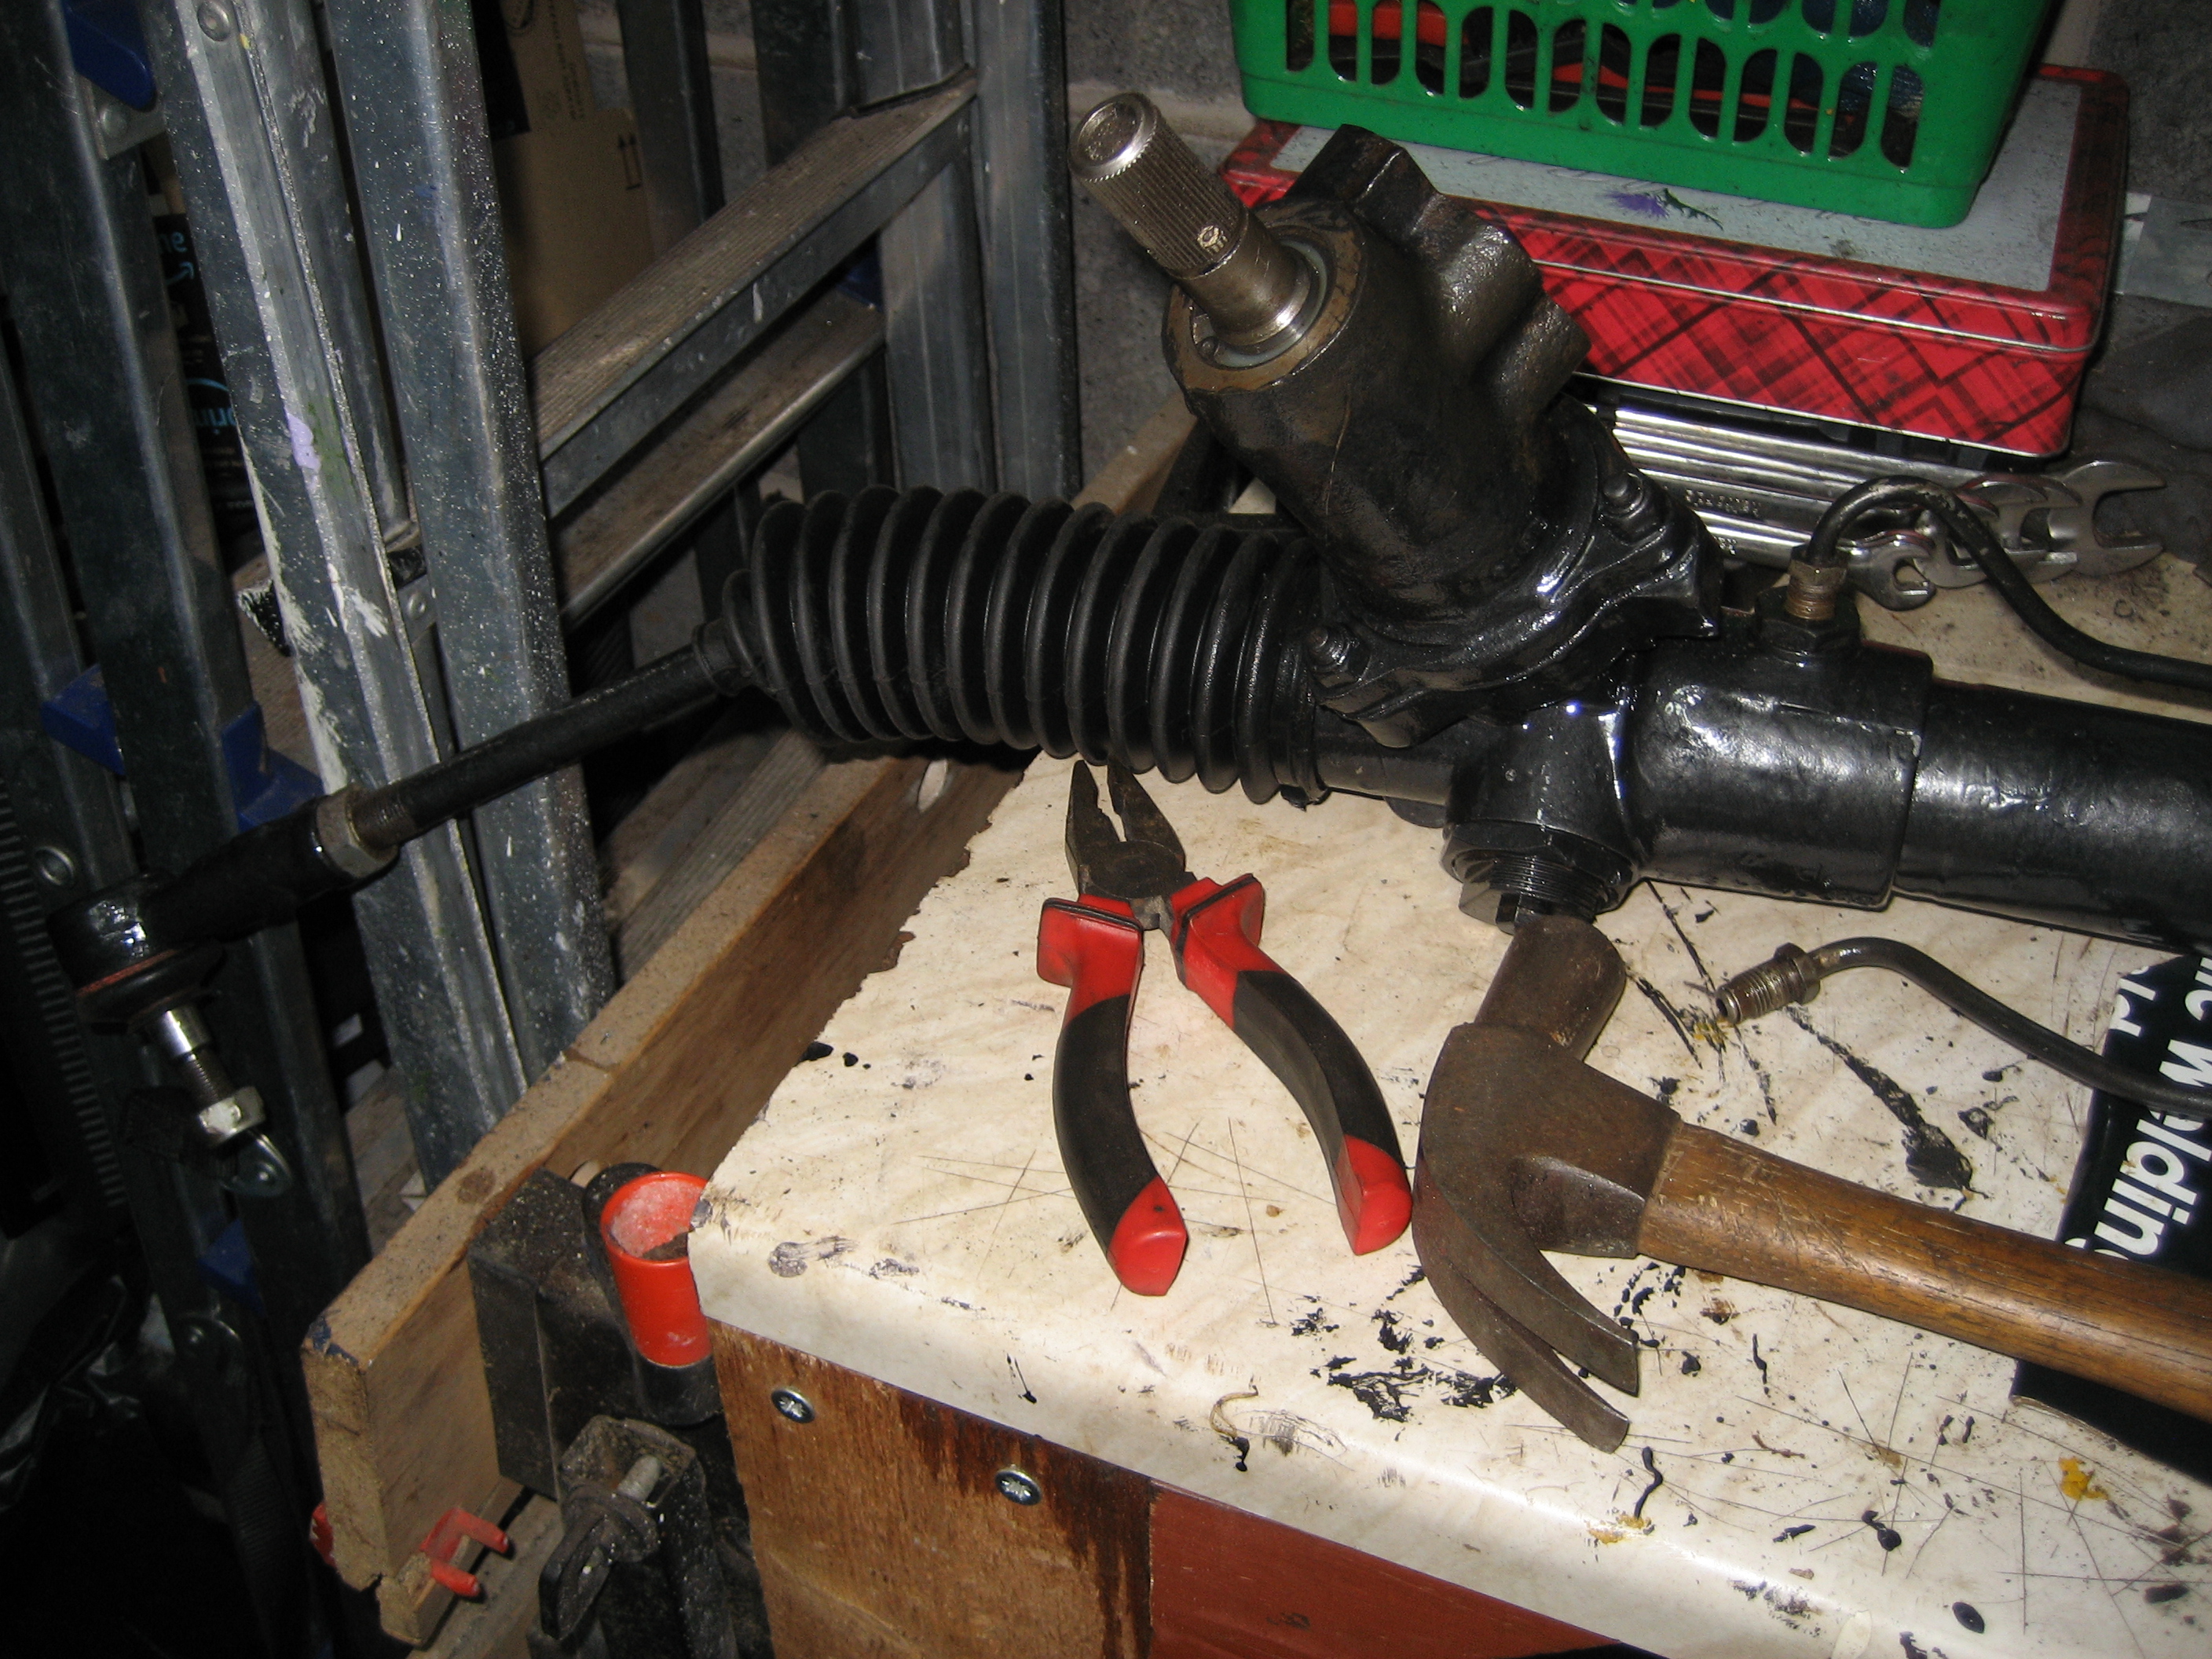
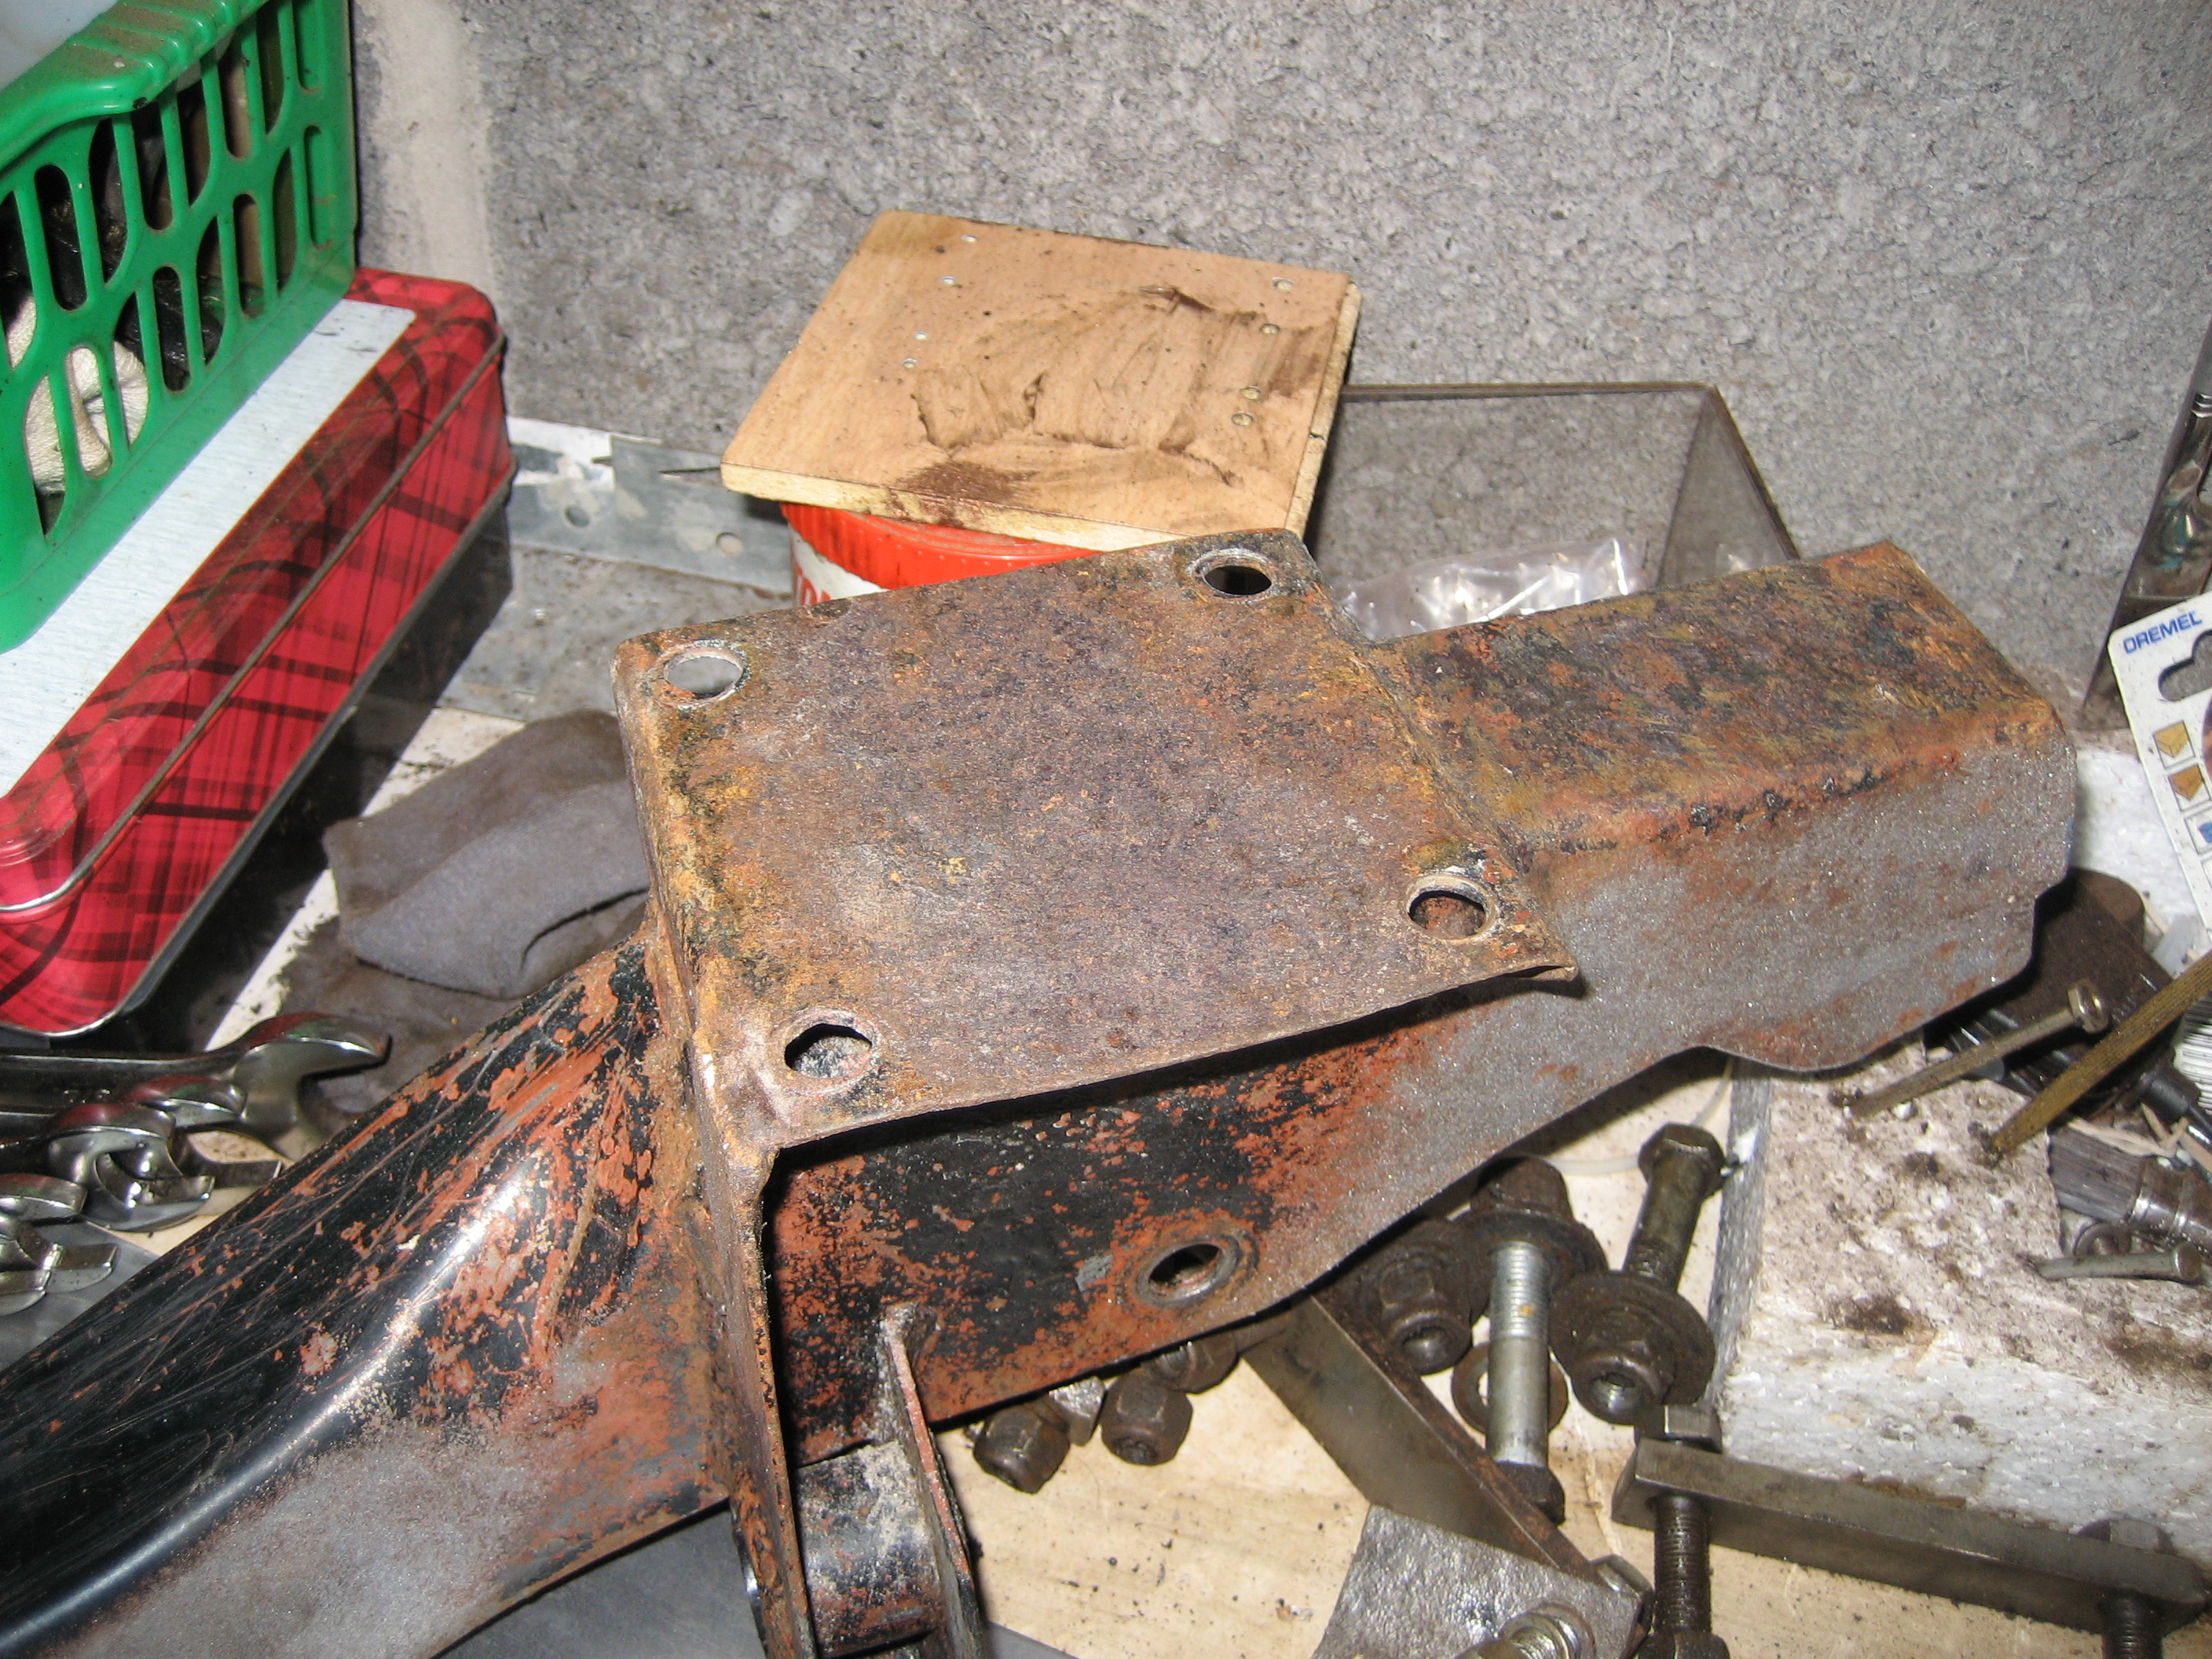
Removal (once the suspension and steering rack is removed) is simply a matter of undoing the 8 bolts that hold it to the chassis. It then falls away and is not too heavy so easy to handle. As you can see from the photo, the front crossmember was covered in grease and dirt, and the passenger side mounting pad was heavily rusted.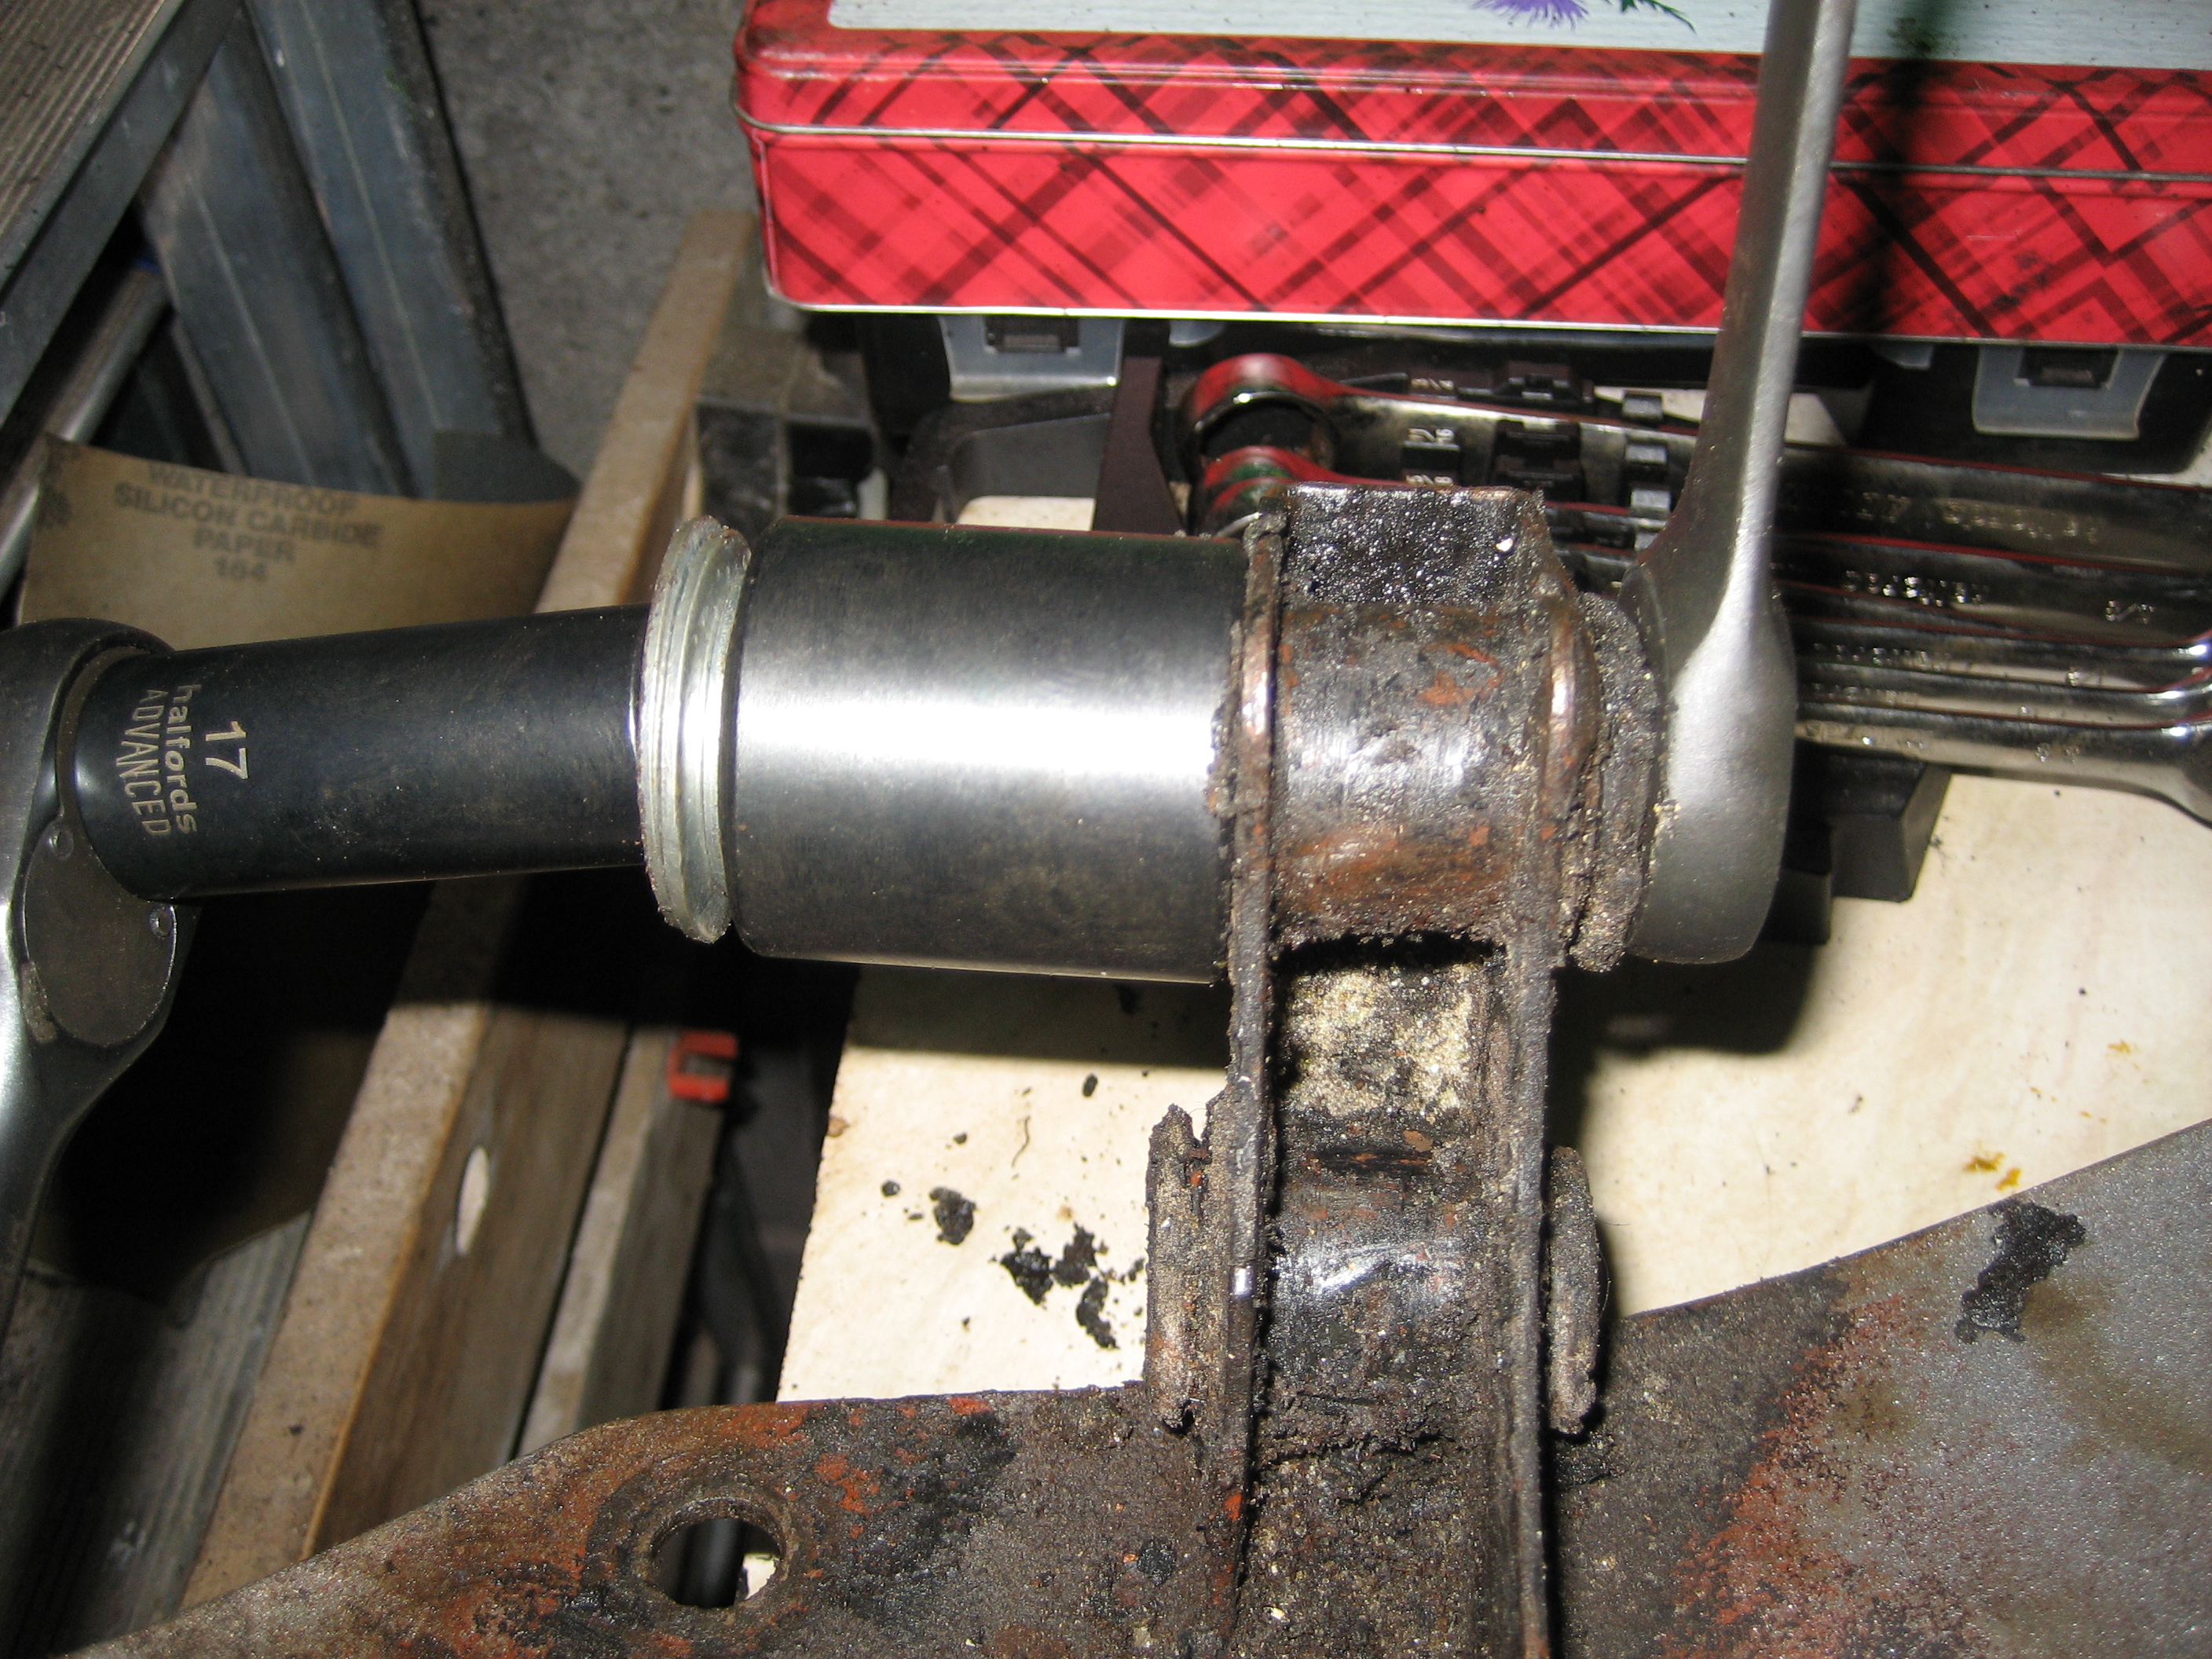
Pressure washing, degreasing and pressure washing again, eventually removed the years of road grime, oil and grease especially around the bush mounting tubes. The steel was good underneath the muck, probably because it was so impregnated with oil. I had already ordered new rubber bushes, so the next job was to remove the old ones that were clearly falling to bits. I don’t have a press, so I used a method I have used many times before – a long threaded bolt, some carefully sized washers and a large socket. Together, the tightening of the nut at the socket end of the contraption, pulls the washer through the bush mounting tube and removes the bush with it. All 4 bushes came free without incident.
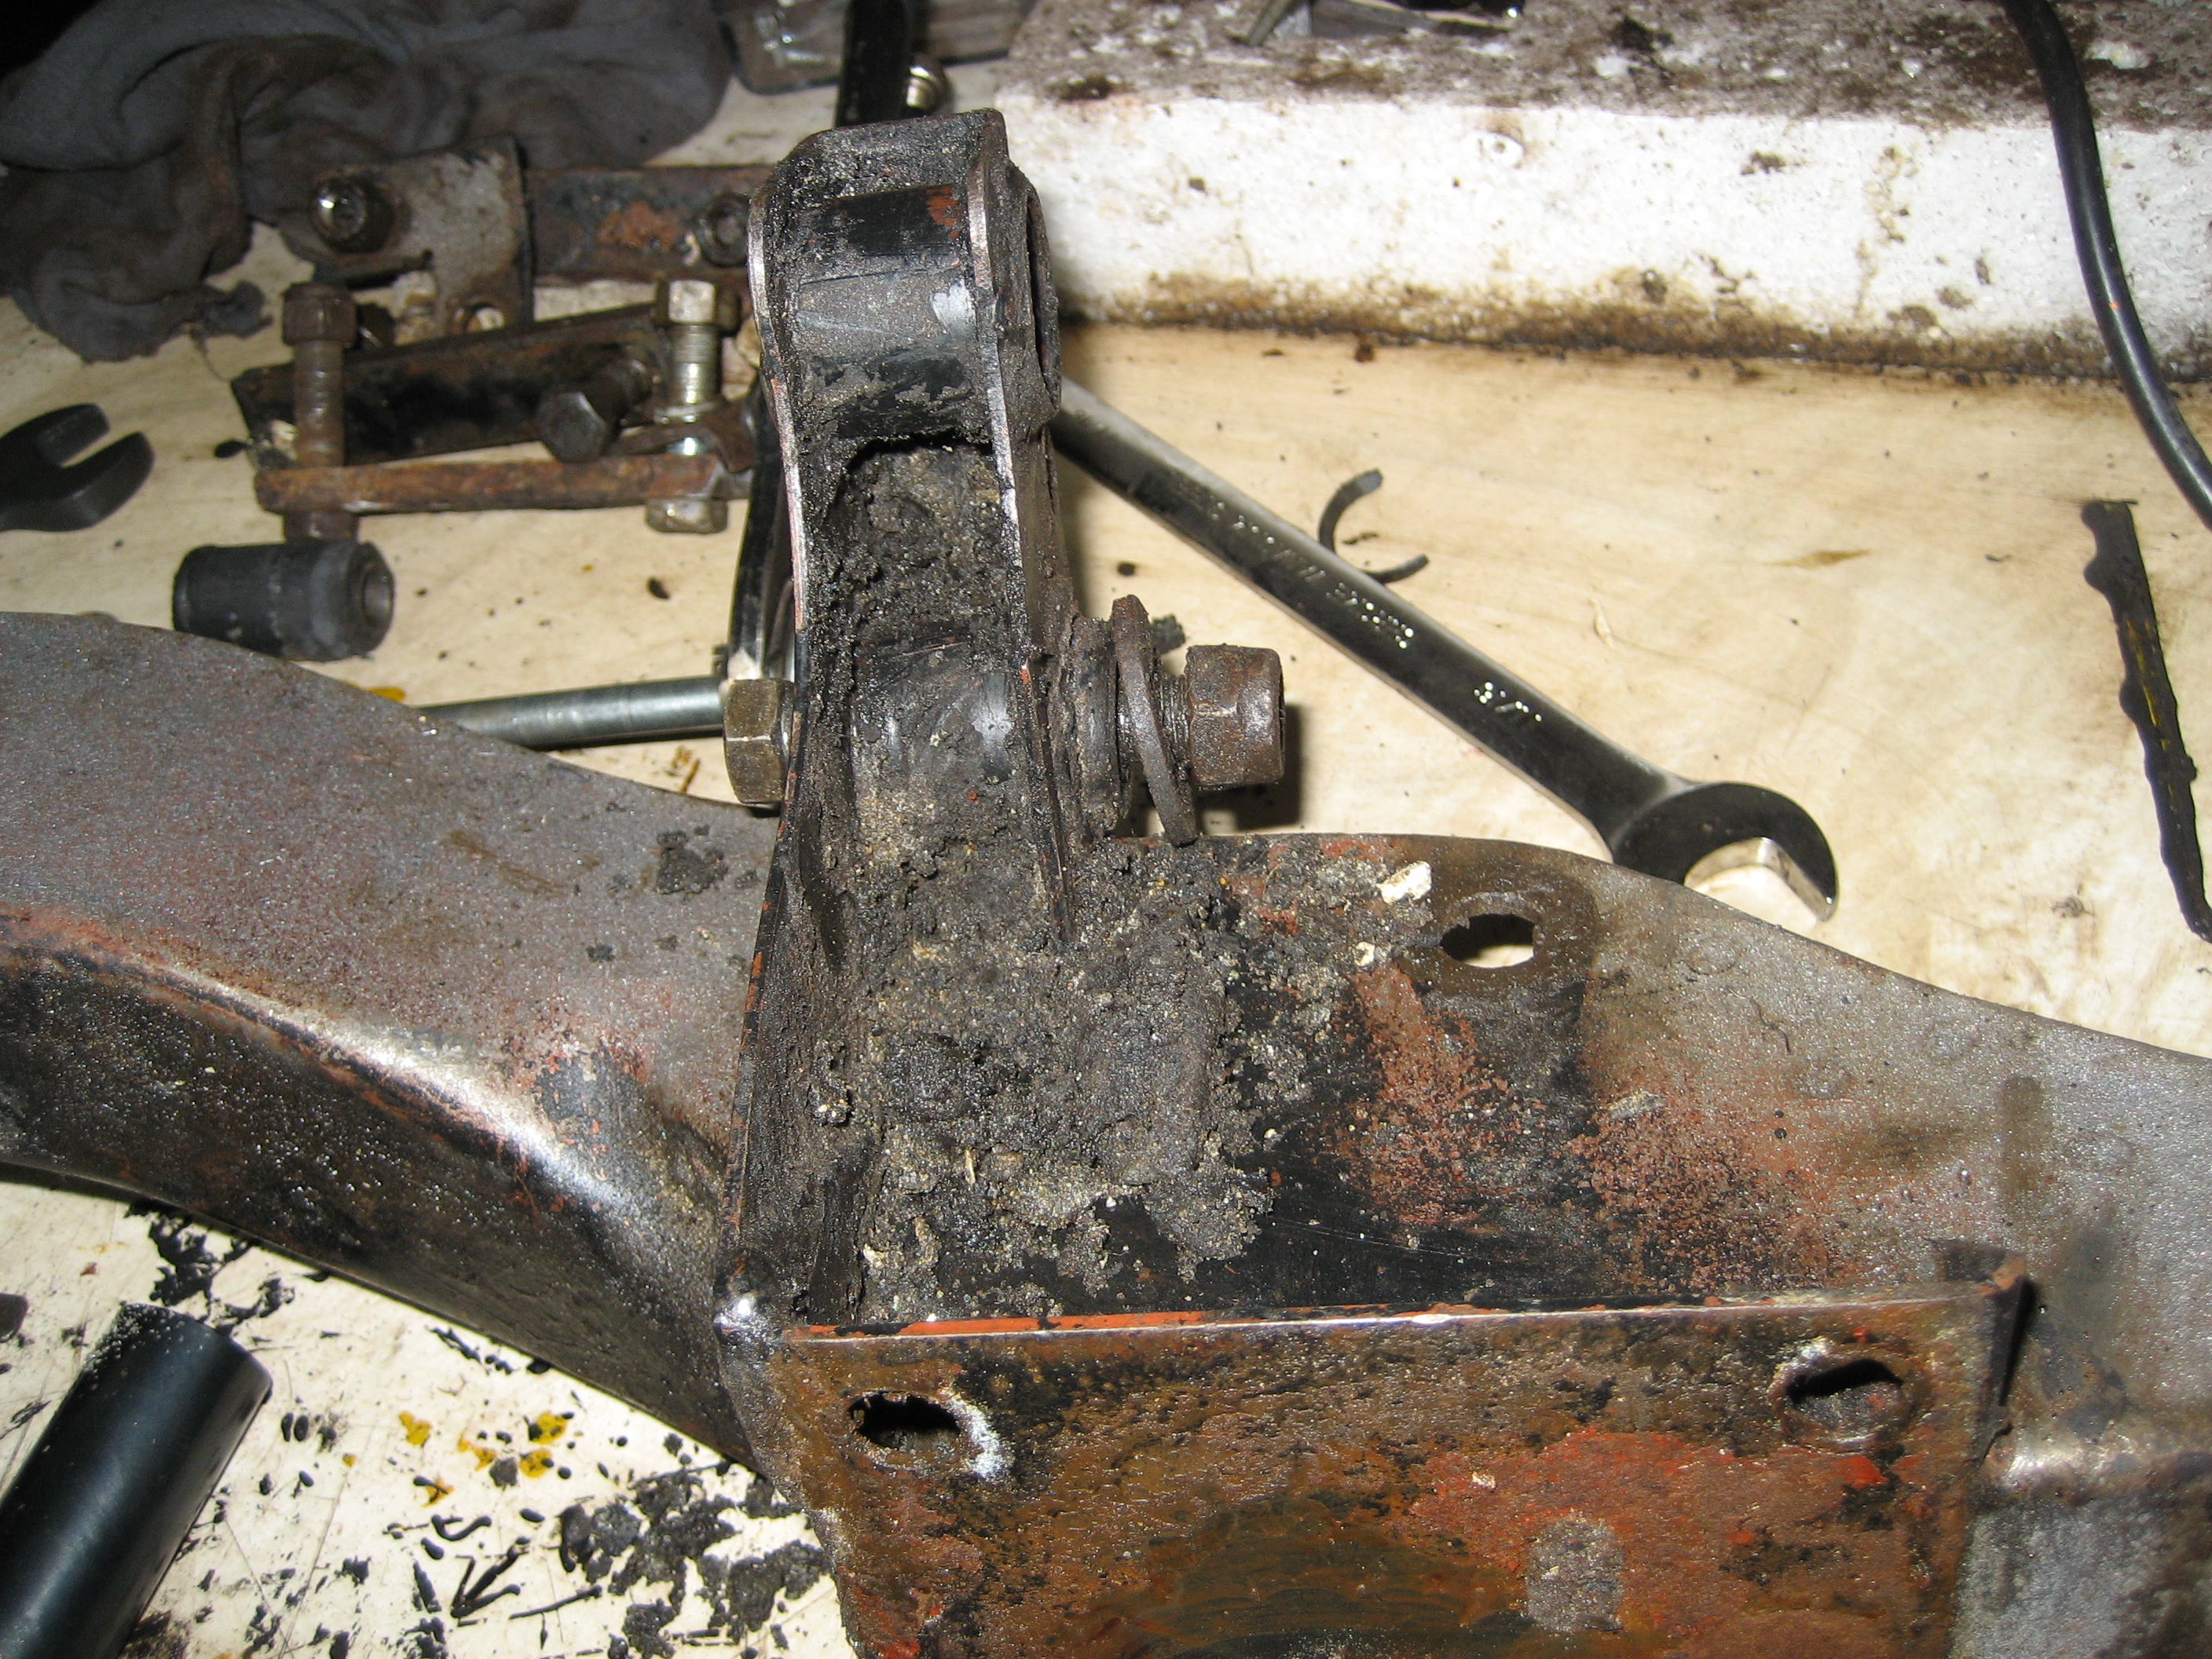
The final element of disassembly on the front crossmember was the removal of the rust on the passenger side sub-frame mounting pad. This is one of the most important structural parts of the car as it transfers the weight, cornering forces and road impact stresses from the passenger side front suspension to the chassis. A few moments with a hammer and drift revealed that about 50% of the steel in the center portion of the pad had been lost to rust. Although the pad was not holed, the strength of the structure was close to being compromised. Another couple of years and it would probably collapse under stress. So I set about some welding repair work.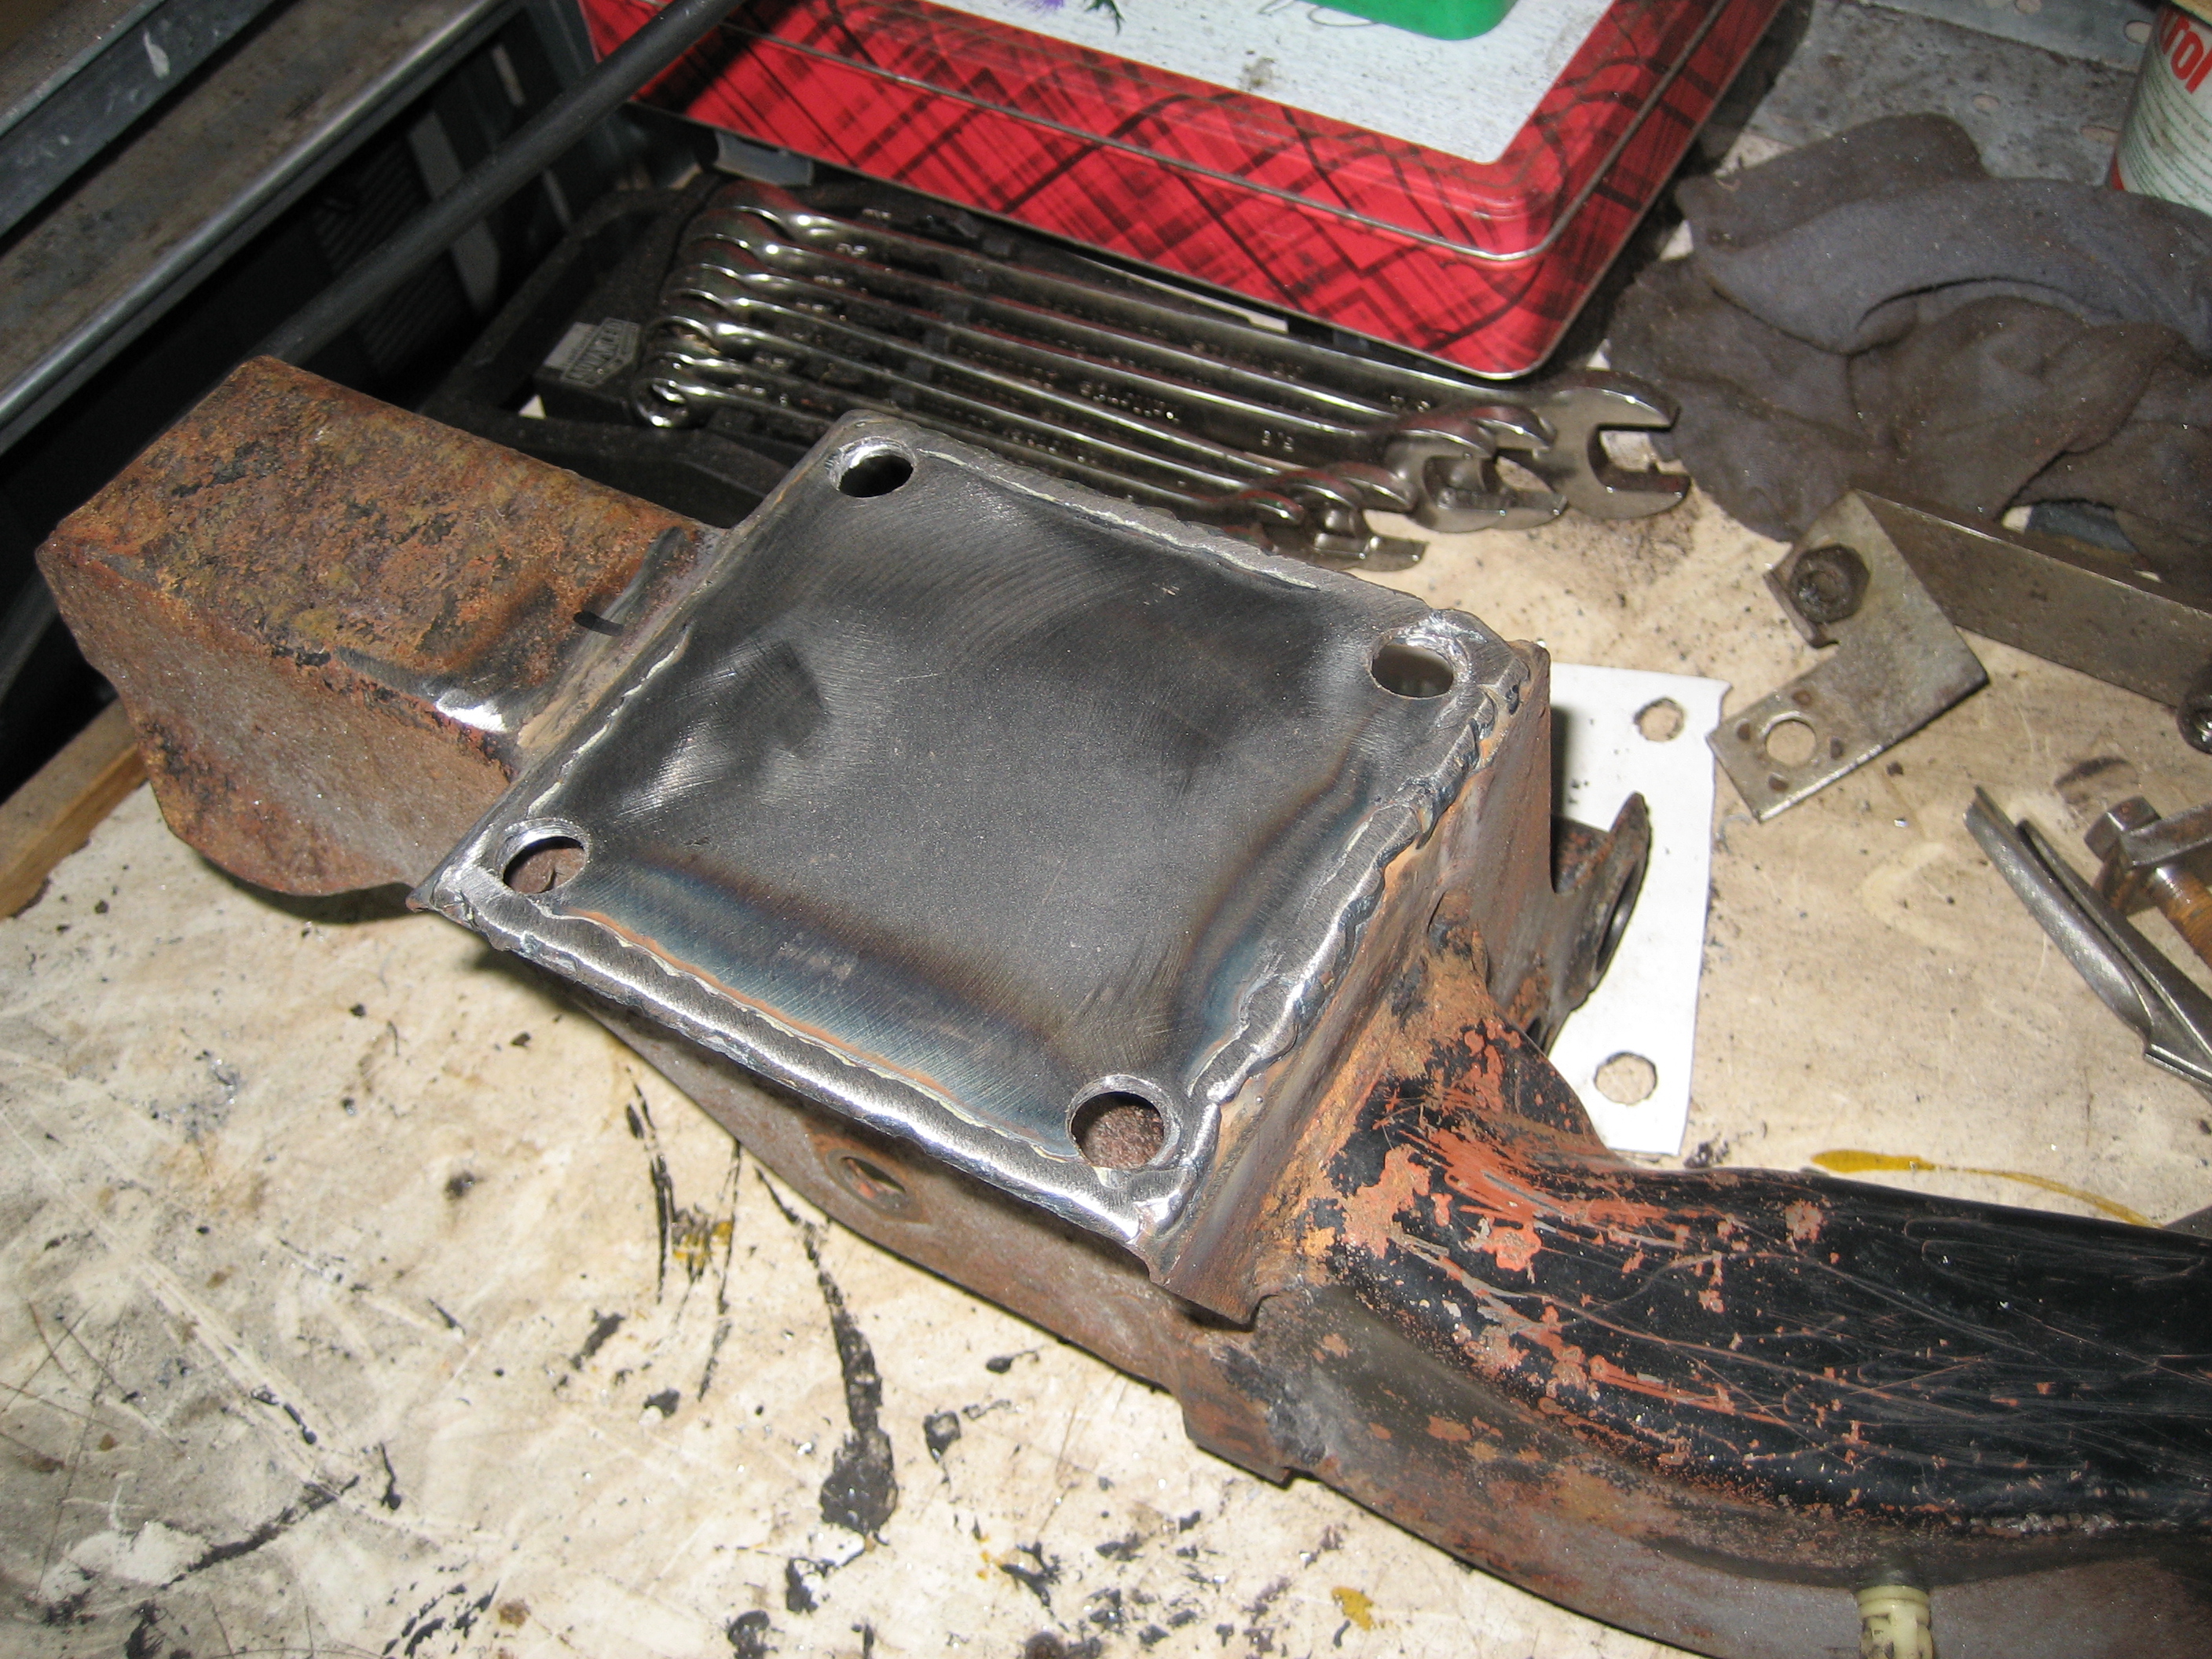
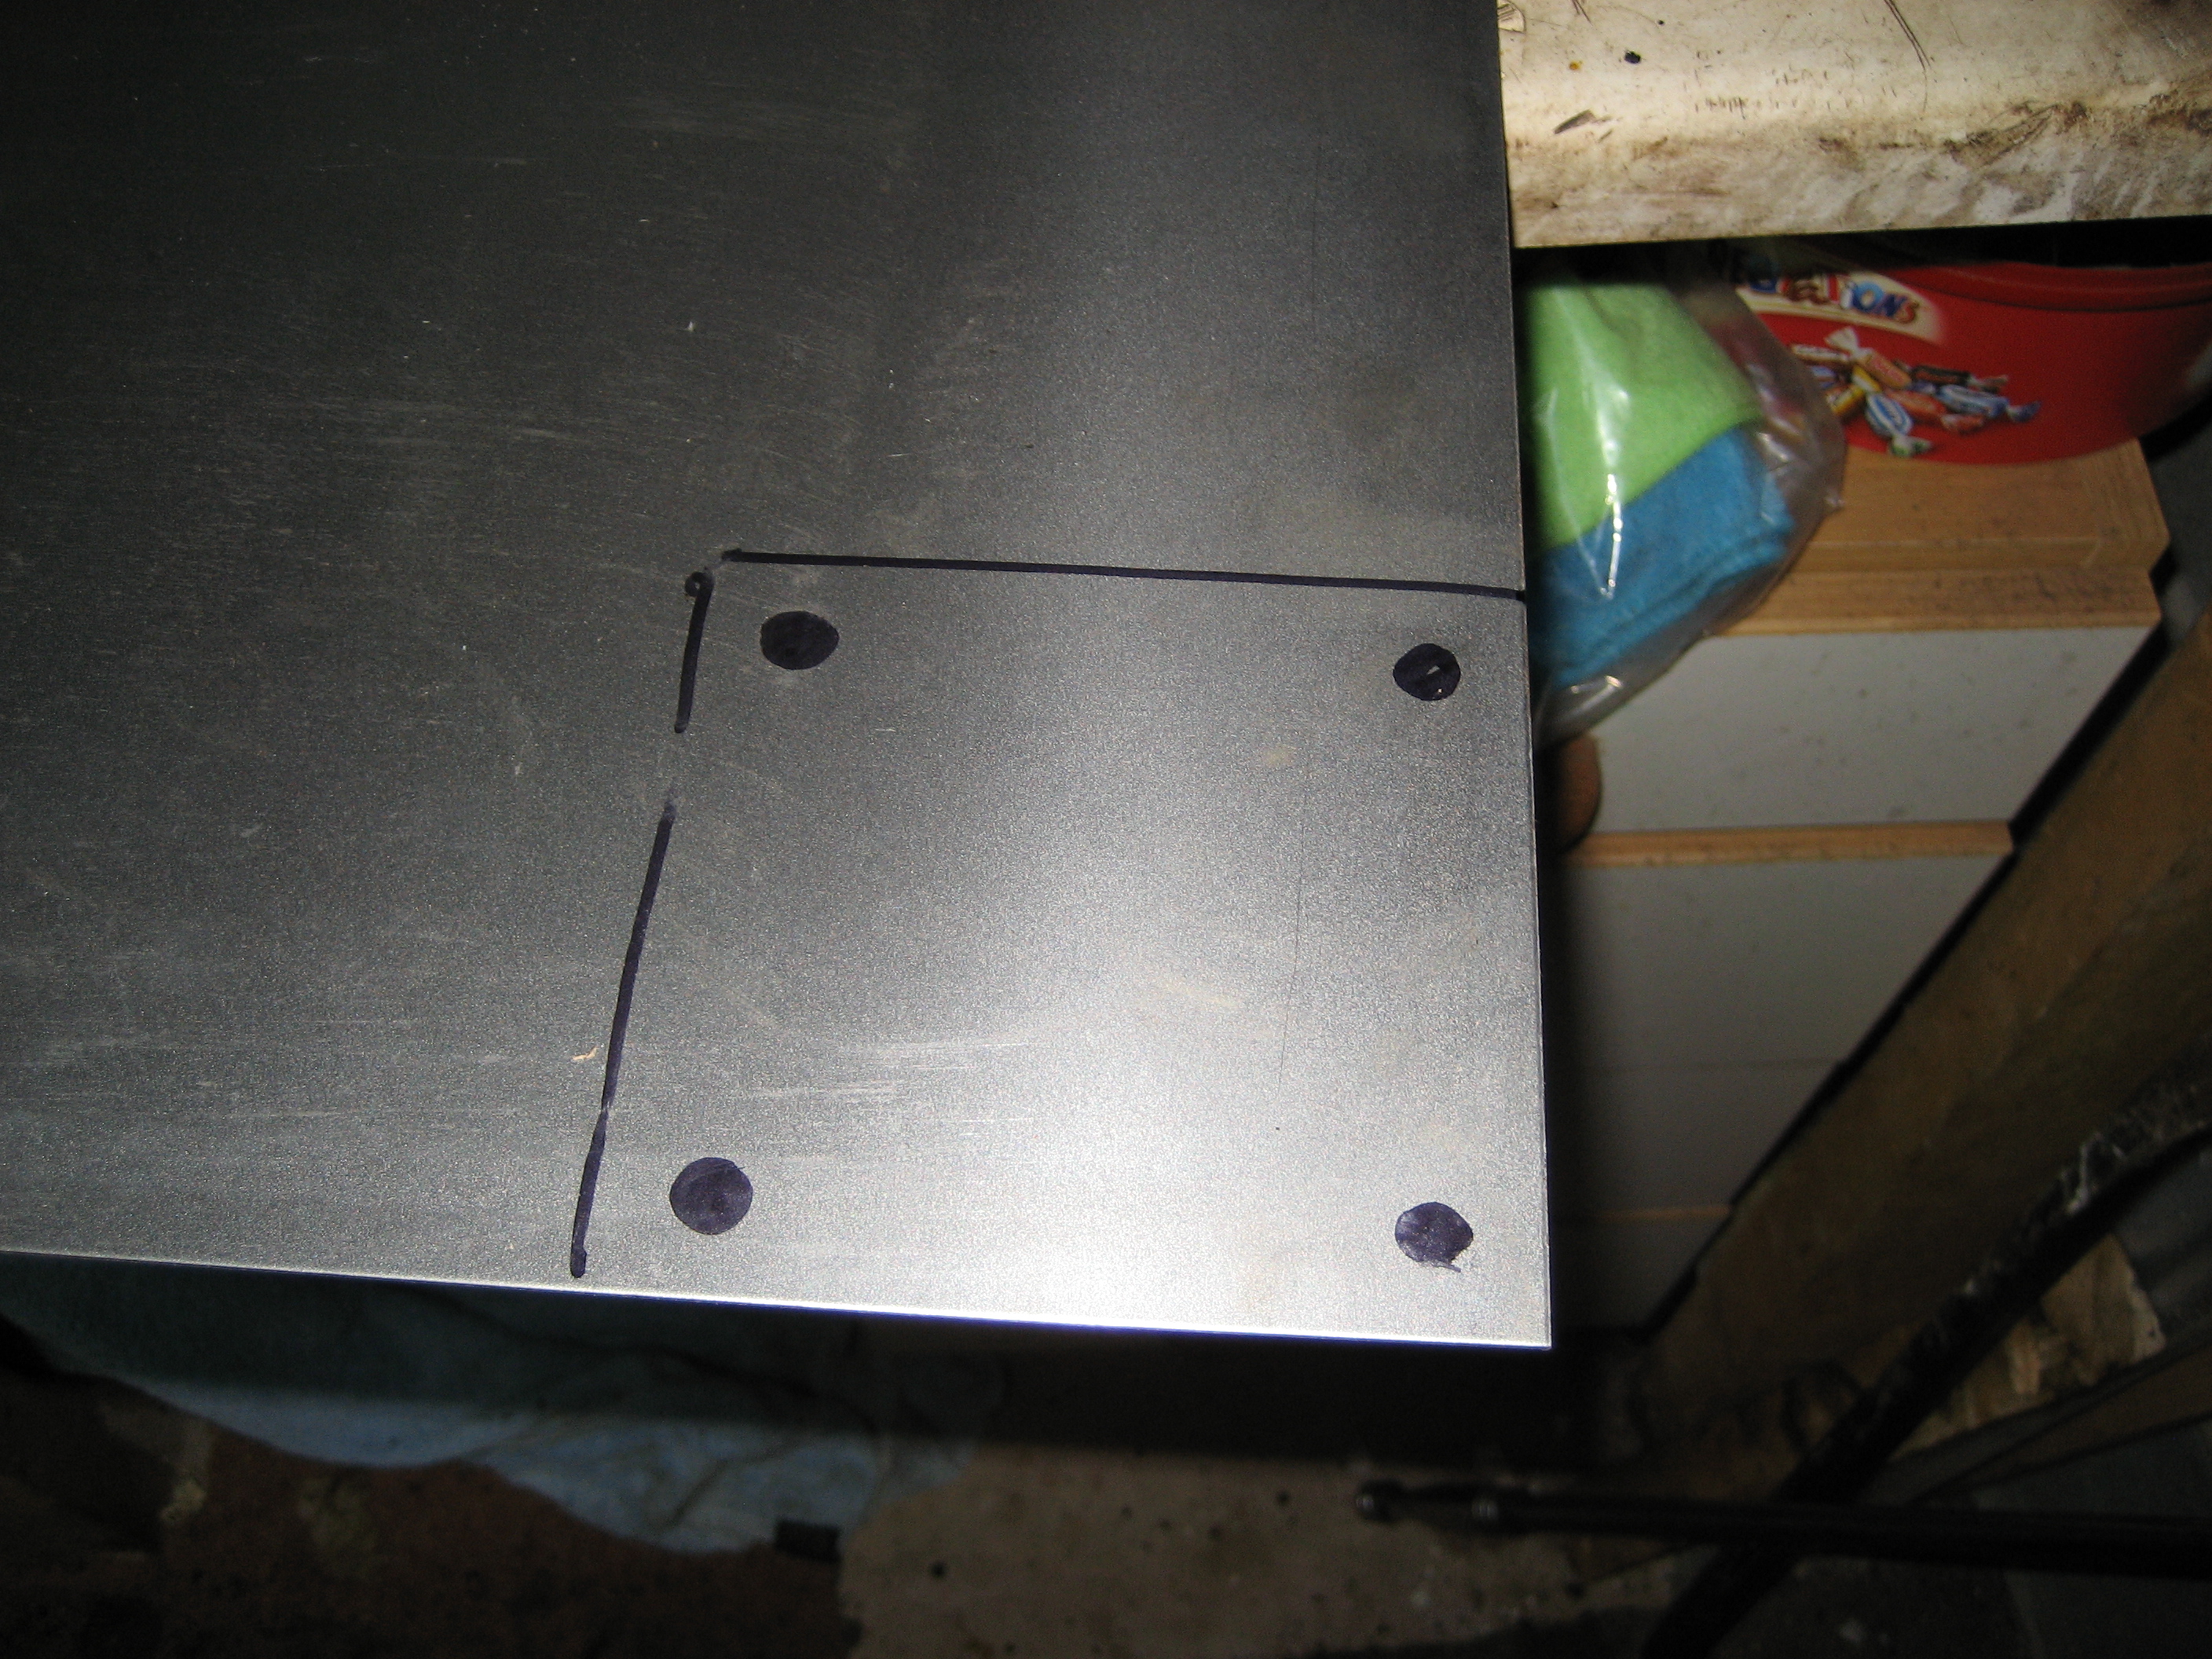
This consisted of manufacturing a 1.5mm steel plate to fit over the complete pad and welding it in place. Taking care to make sure it wouldn’t obstruct it’s intimate connection with the equivalent pad on the chassis. I am happy with the result. This area of the front crossmember is now structurally stronger than it was originally, let alone before the repair. The whole front crossmember now needs priming and painting before I refit the new bushes.