Boot Floor

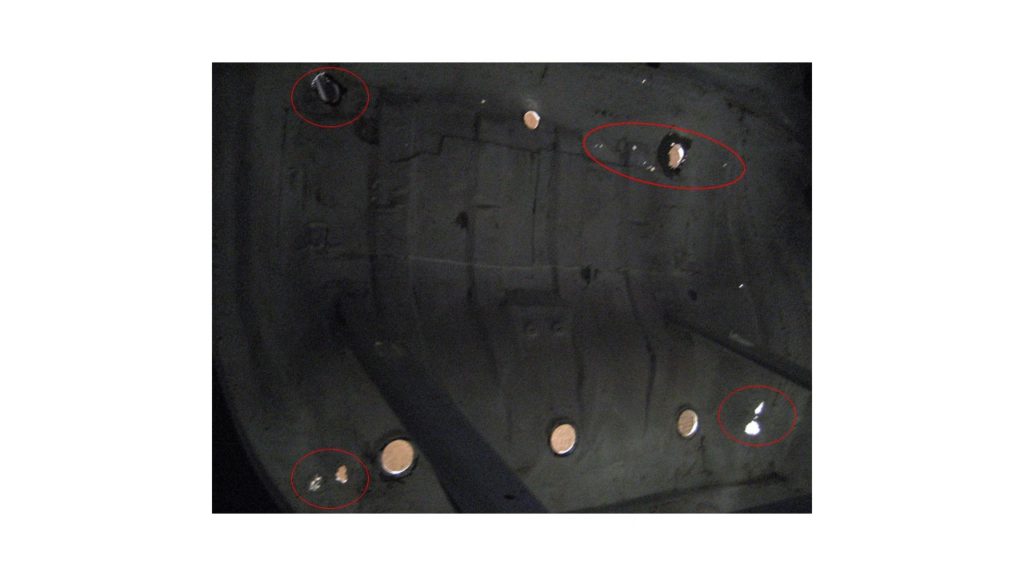
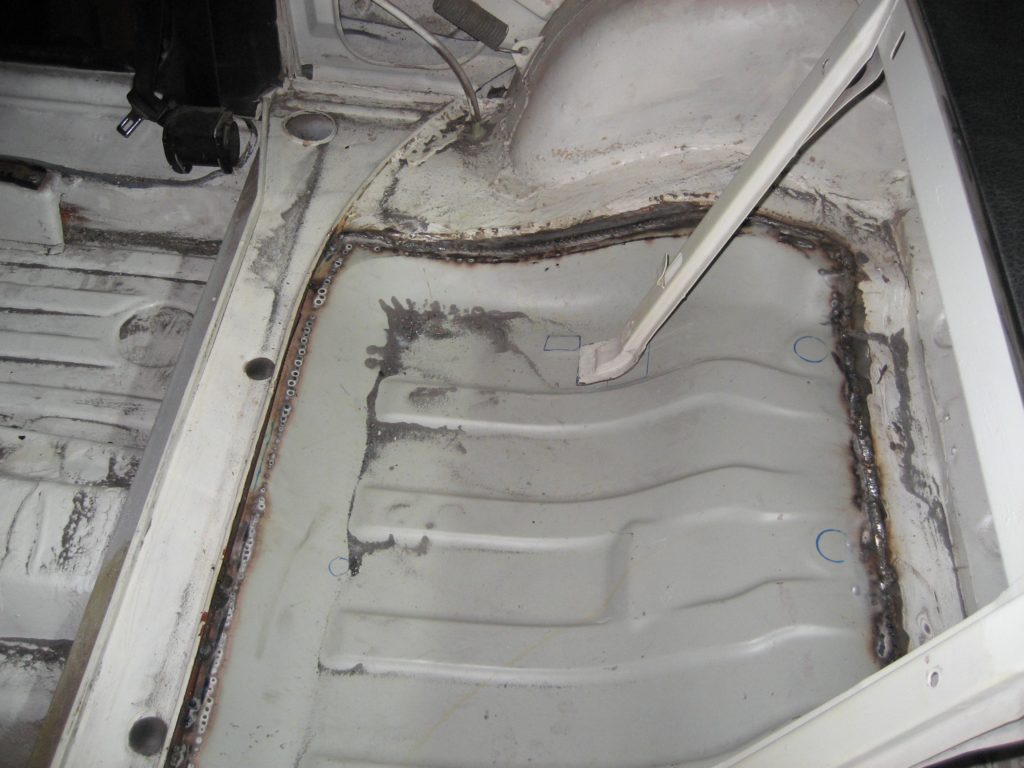
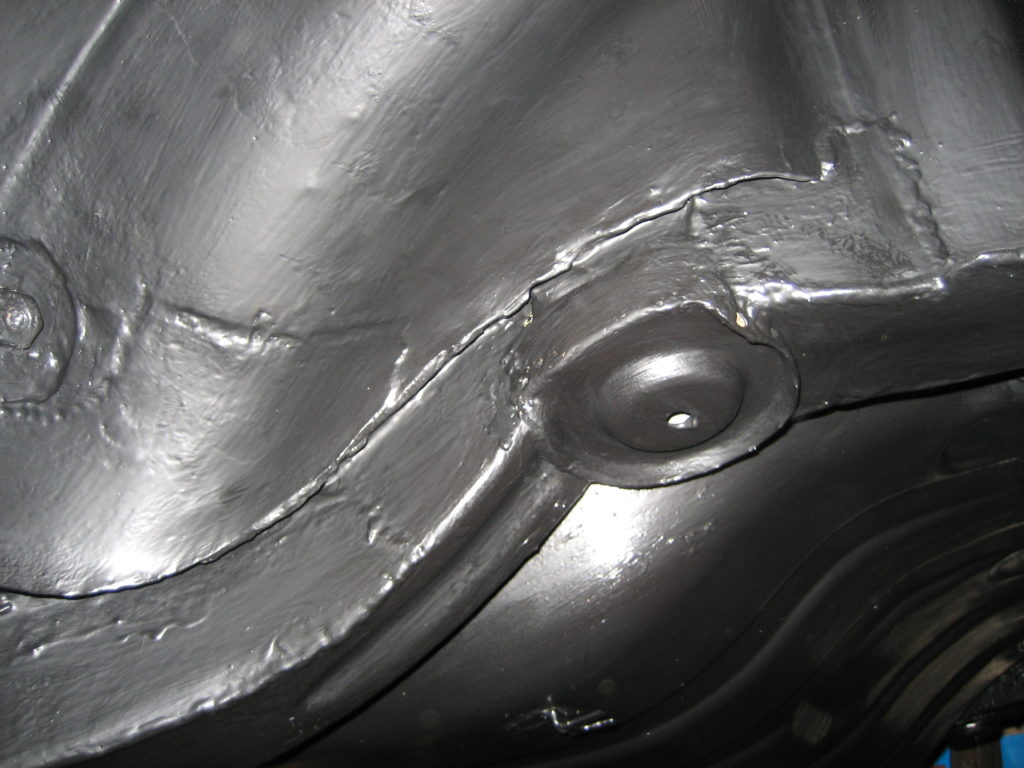
As with the Rear Seat Pan, the boot floor was rusted through in a number of places. The worst spot being under the fuel tank where any water getting into the boot eventually gathered. This area was so thin the grit blasting had peeled it opened, allowing the grit to rupture the fuel tank as well.

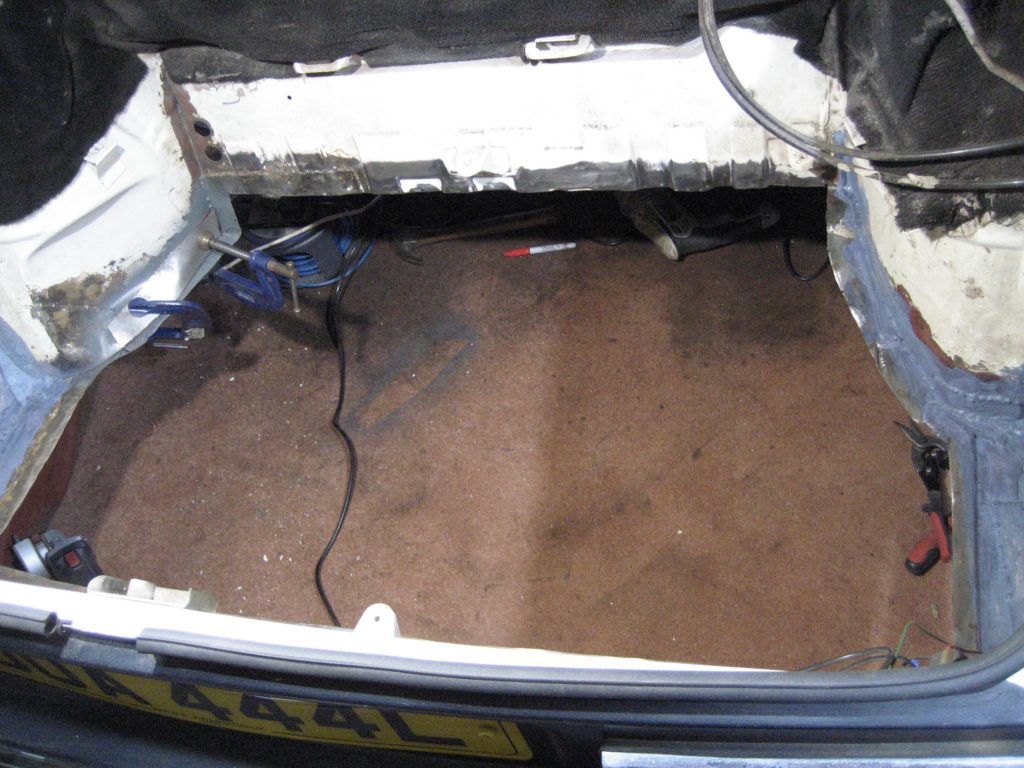
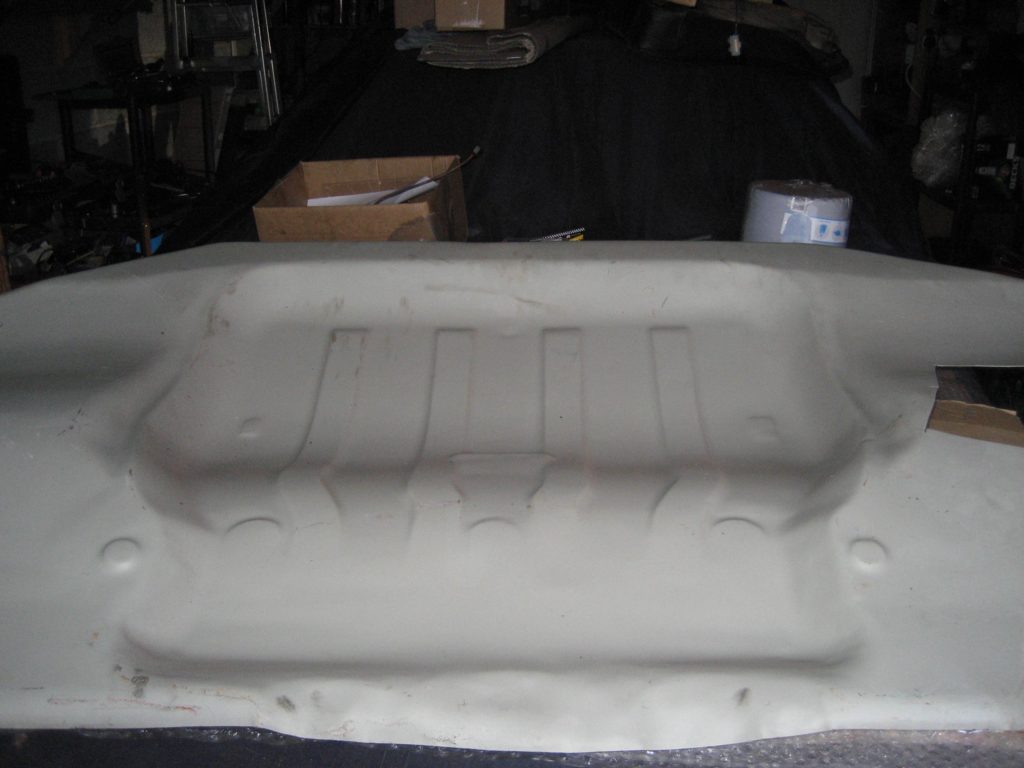
I chose to take the same approach as for the rear seat pan i.e. cutting away the rusty old panel about an inch from the side walls, and laying the new panel on top of this newly created lip.

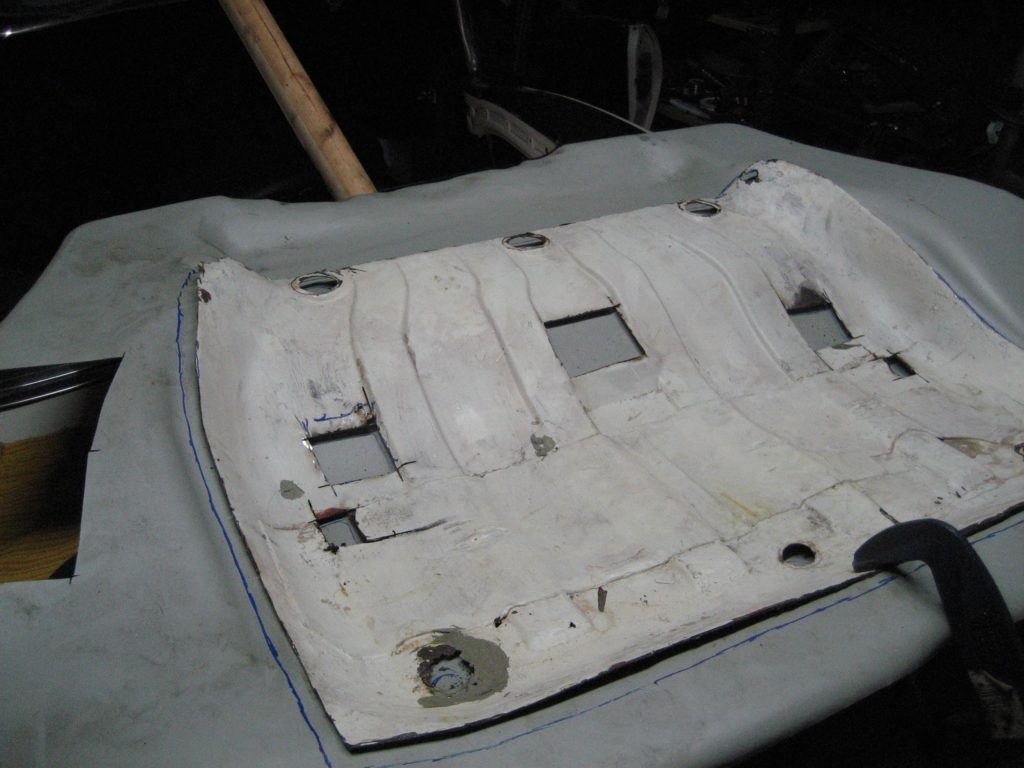
To complicate matters I found the rear of the passenger side wing also needed patching, which I did before shaping and welding in the new boot floor panel.

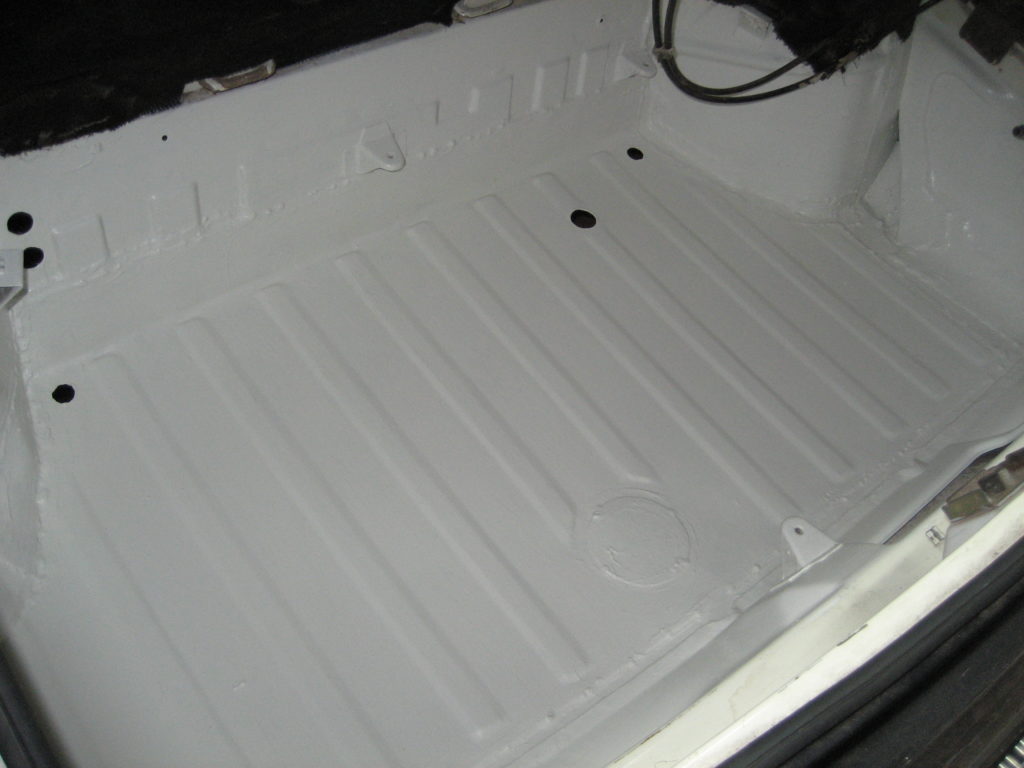
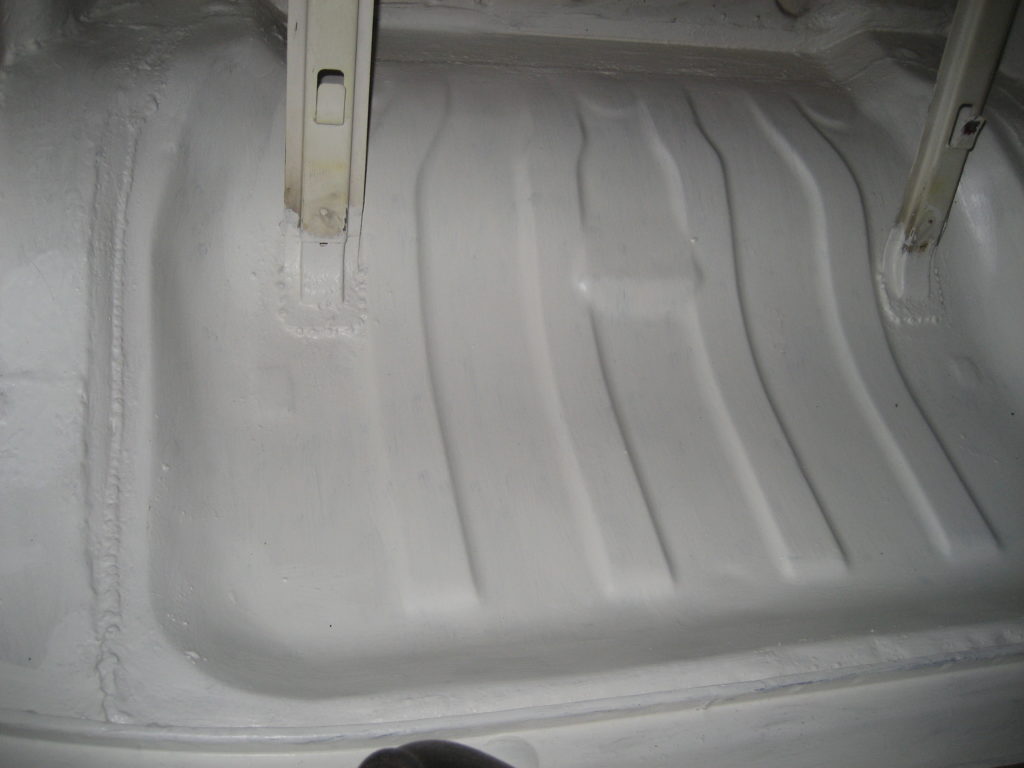
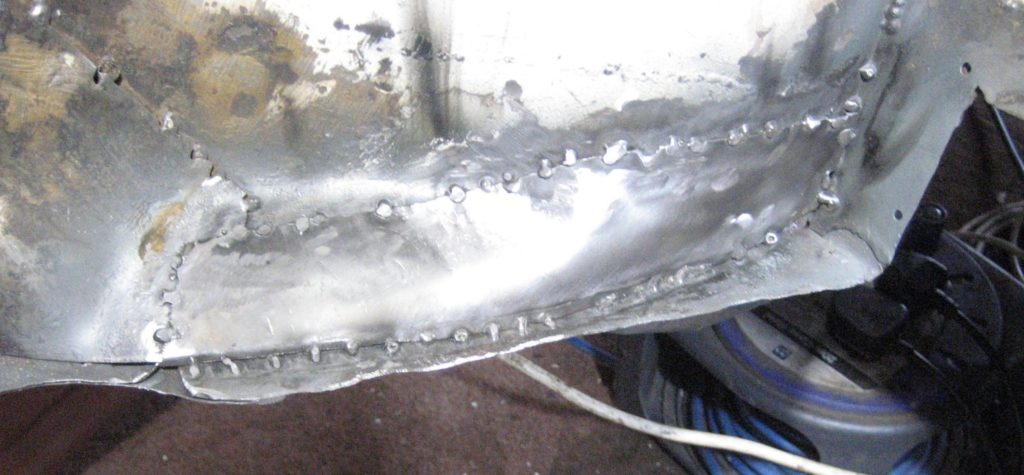
As with the Rear seat pan, I welded top and bottom and then covered both sides with FE-123.

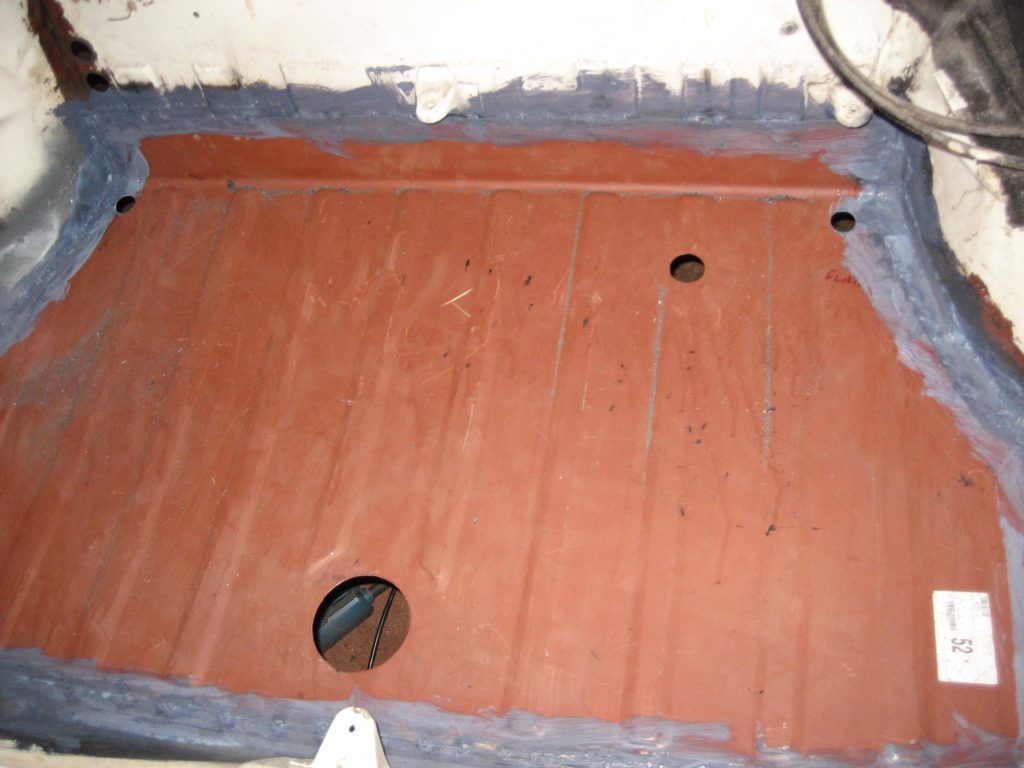
I am quite proud of the end result here too. Having just learned to weld I don’t think I’ve done to badly especially since half of the welding was done on my back welding against gravity and on thin steel.

Rear Seat Pan

With my work light under the care, it didn’t take much to realise that the Rear Seat Pan was pretty much scap. The rust had badly perforated the four areas I have cicled, and in others it was only the sound deadening sheet that was holding the pannel together.

Then I realised that these panels are no longer available. Rimmers don’t carry them and nor do the others. So I posted an SOS on the Stag Facebook forum. Luckily for me another Stag enthusiast (Darren Capper) had a panel he was willing to sell. It was pressed some time ago and had sat in his garage.

As you can see, it was a raw pressing without even having been cut down to size. But that was fine as I was going to cut it down anyway, based on the rusty section I was removing from my car.

The installation method I adopted seemed logical to me, although the purists will probably not approved. I removed the section of the panel that was essentially scrap, and used it as a template against the new panel. I cut the new panel with appox 2cm clearence around the old one. This meant that the new panel, when dropped into place from inside the car, would sit on a lip of circa 2cm all around. I welded from above and underneath i.e a double welded joint all around. Not pretty but strong.

Once the seam sealer had been applied and a couple of coats of my favouratie Rustbuster epoxy white paint I thought it looked pretty good. Not perfect I know but strong and better protected than the original factory fitted one. As that had lasted 47 years I think this oone will last be out.

Rear Wheel Arches

As I have already done with the front arches, it was the turn of the rear. First job was to remove the years of butyl underseal to see what I was dealing with. As with the front, there were a couple of small holes but on the whole they weren’t too bad, albeit the nearside spring mount needed replacing.

I made a couple of steel patches from 1mm sheet steel and bought a spring mount repair panel (far to complex to fabicate witha vice and a hammer). After welding them in place I covered the arches in RustBuster Fe-123, as I had done with the fronts, in the hope of subduing the rust sumewhat. As another nod towards greater longevity I also lined the edges of the inner wings with P40 where they meet the outer wings, effectively removing the lip that forever fills with mub, salt and debris. Finally I seam sealed and coated everything in Rust Buster epoxy mastic 121.

Wire Wheels

All of the chrome wire wheels were a bit ropey. I’ve spent a number of hours on the internet and in local wheel refurb shops looking for someone who could remove the rust, deep clean them, and lacquer them to make them easier to maintain in that sparkly condition.

I failed to find anyone who would do this at a reasonable price. So I set about the task myself. I think the results are pretty good.