Arry The Stag

For a number of months now “TR Tony” and his step son “Arry” have been following a parallel journey with the restoration of their Stag UNY49M. Whilst I have been blogging my progress, Tony has used the social media channels and has a video diary of progress and very interesting articles – Stag related.

I recommend that you visit his web page: https://arrythestag.com

Here are a couple of links to articles I found particularly of interest:

Tony was kind enough last week to send me a “Arry the Stag” window sticker which will be worn with pride!!

Differential

Whilst the rust on the rear drive shafts and brakes was predominantly surface based, that couldn’t be said for the diff and diff mounting plate. Detritus had obviously built up between the mounting plate the rear of the diff. Moister and salt had then settled in this gap and rotten both. There was hardly any steal left in the mounting plate.

The diff was just as bad. The rear plat had disintegrated to powder. A touch with a screwdriver and the screwdriver went straight through the back-plate of the diff. As repairing the rear of the diff case is beyond my skills, I popped to T.D Fitchett in Telford and swapped the complete unit for a reconditioned one. Easy but expensive fix.

Petrol Tank

When the underside of the car was sand-blasted, they ruptured the fuel tank and had the drain it. The fuel tank in the Stag is positioned inside the boot which is normally a good place to put it as the alternative is usually slung under the body somewhere where it is exposed to water and salt e.g. the TR7. However, being a Stag the boot tended the collect water which submerged the base of the fuel tank and rotted it.

When the sand-blasters told me about the hole in the fuel tank i was immediately worried that the bottom corner had rotten away. Whilst there was a clear hole and the steel had thinned, it was by means as bad as I has imagined.

Welding a used fuel tank is dangerous to say the least, so the next best is to use solder and a soldering iron to fill the holes. I have then covered all of the thinning areas with PC-7 Epoxy paste. It’s petrol and ethanol resistant and incredibly tough.

I will leave this to cure thoroughly for a week or so, then clean the inside of the tank before sealing the inside and the outside of the tank tank sealer. I’ve use Rustbuster Slosh for the inside and Rustbuster Tank Guard for the outside.

Here’s the fully cured and painted end result

Rear Brakes – Part 1

The rear brake drums need a little more TLC than the rear drive shafts, although most of the effort was the removal of superficial rust.

There was sufficient depth on the brake pads for these to be reused. The automatic adjusters were serviceable as were the brake shoe pull off springs.

The back-plate, hand-brake lever and brake drum all needed the surface rust to be removed and to be repainted – again black Hammerite was the finish I chose.

The brake shoe retainers (spring, pin and clip) I have replaced as they can to less that £3 and were too fiddly to rub down and paint. I also replaced the wheel cylinder and the rubber hand-brake boot that covers the hand-brake lever at the rear. The new wheel cylinder comes complete with the cir-clip and bleed nipple so bleeding the system once re-assembled should be straight forward. I’ve also bought a new set of brake pipes from E-bay and a 3-way connector so the braking system should be as good as new once re-assembled. When I had the underside of the car sand-blasted, I was told that there was a fluid leak from the rear brakes. I haven’t found the culprit yet. That’s the second good reason to replace all the hydraulics.

Rear Drive Shafts

The drive shafts looked worst than they turned out to be – quite a surprise for a stag. The Universal Joints are all strong although I have noticed that a couple have been welded in! I’ll have to grind them out when they come to need replacing.

Both the inner and outer drive shafts were pitted with rust but it was only surface rust which was cleaned up with a wire brush before re-painting with a couple of coats of Hammerite. The hub bearings were also remarkably smooth and quiet so I haven’t touched them either. Just a couple of new gaiters.

Front Extension & Quill Shaft

Having removed the front extension from the diff, I found the bearing was making a horrible griding noise. So the only thing for it was to dismantle the extension housing and replace the bearing.

To do this, I first removed the drive flange and the first of the two circlips. The operations manaul then tells you to “tap out the bearing” by inserting a drift into the hollow end of the quill shaft. Easier said then done. Even with a very large hammer and plenty of WD40, it took me quite a time to ease it out without damaging anything in the process. My first “give it a big wack method” didn’t work. I had to move it out a few millimeters, push it back, more WD40, and repeat several times.

Once out, I took the opportinity to clean up and repaing the housing ang the drive flange, before fitting a new baering and reassembling. Looks and feels like new now.

Rear Subframe Arms

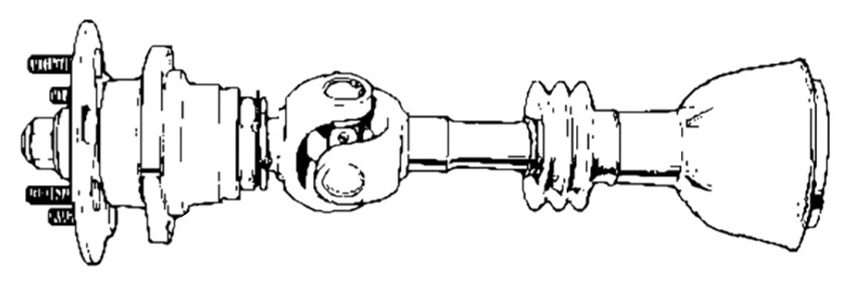
With the front suspension now refurbished, it’s time to start the rear. The obvious first task being to remove the hand brake cable and the prop shaft which both gave no problem at all – at least after I had stuffed a rag into the rear of the auto box – the fluid just kept on coming out…..

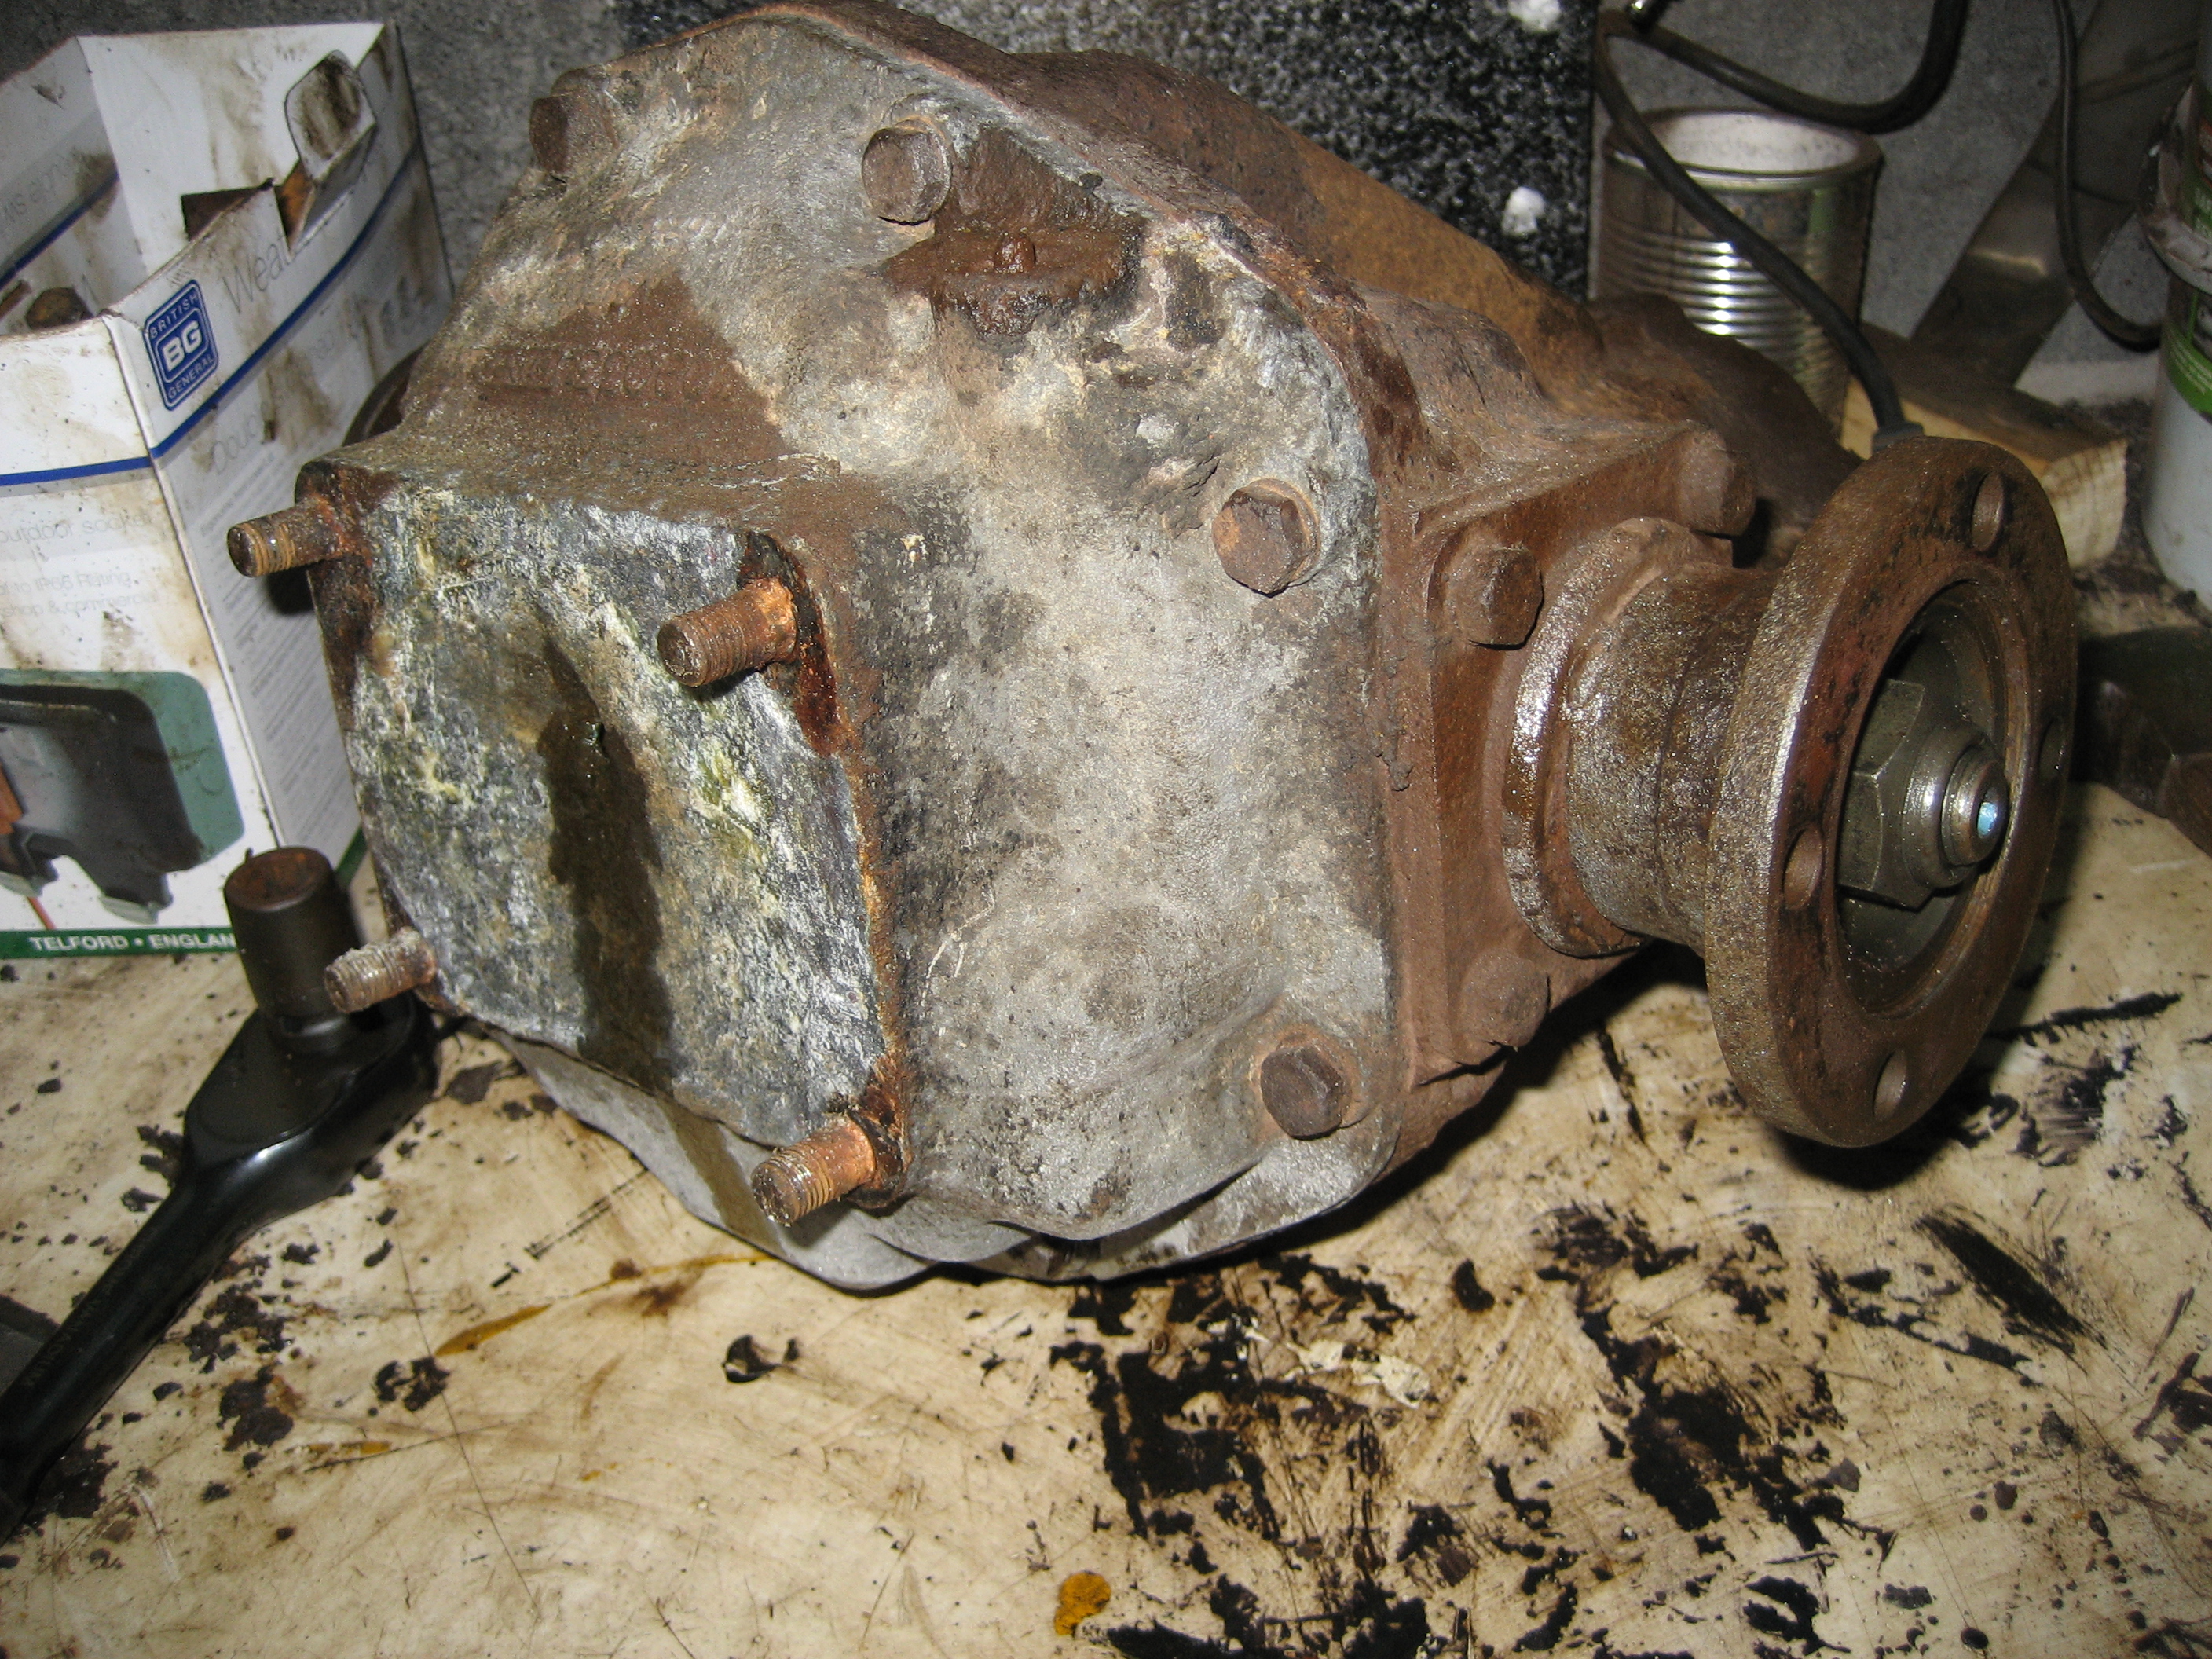
There are only really 4 bolts holding the rear suspension and drive train to the chassis of a Stag. The 2 connecting the anti-vibration straps to the rear floor and the 2 connecting the differential to its mounting plate. The whole rear suspension, diff and brakes all then drop from the car. Simple but very heavy so make sure you have a jack under the hypoid casing of the diff before you start!!.

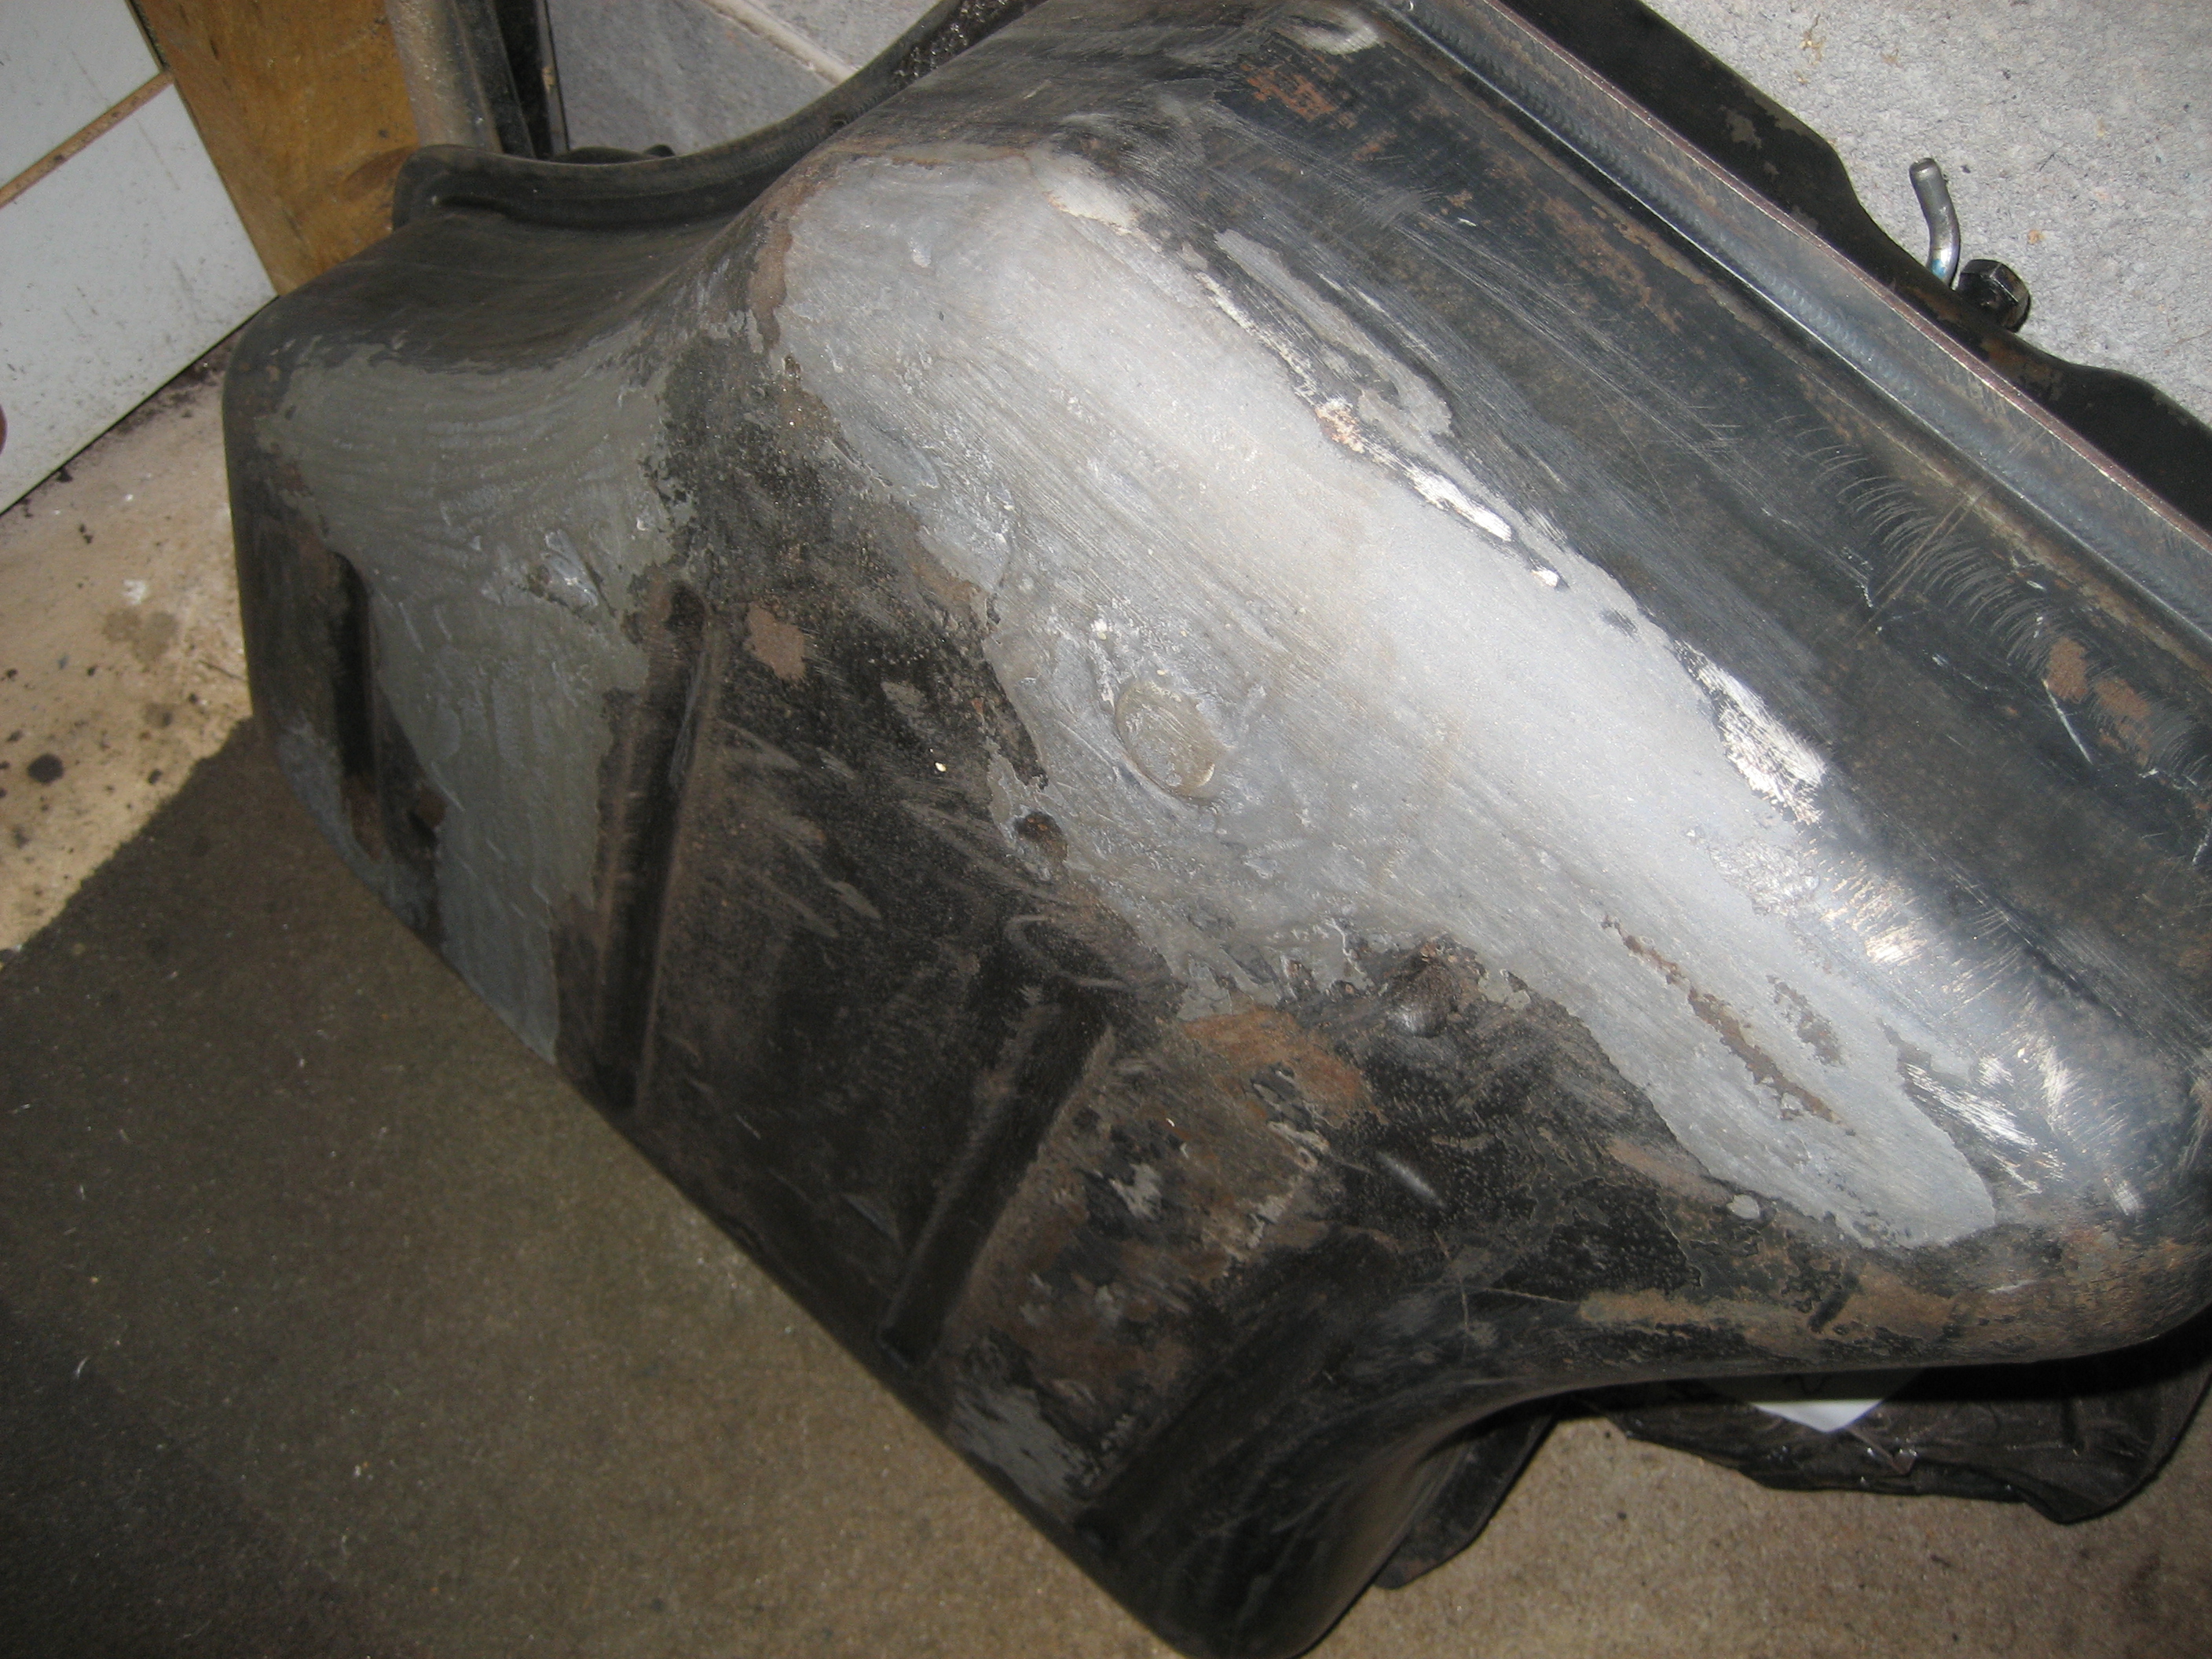
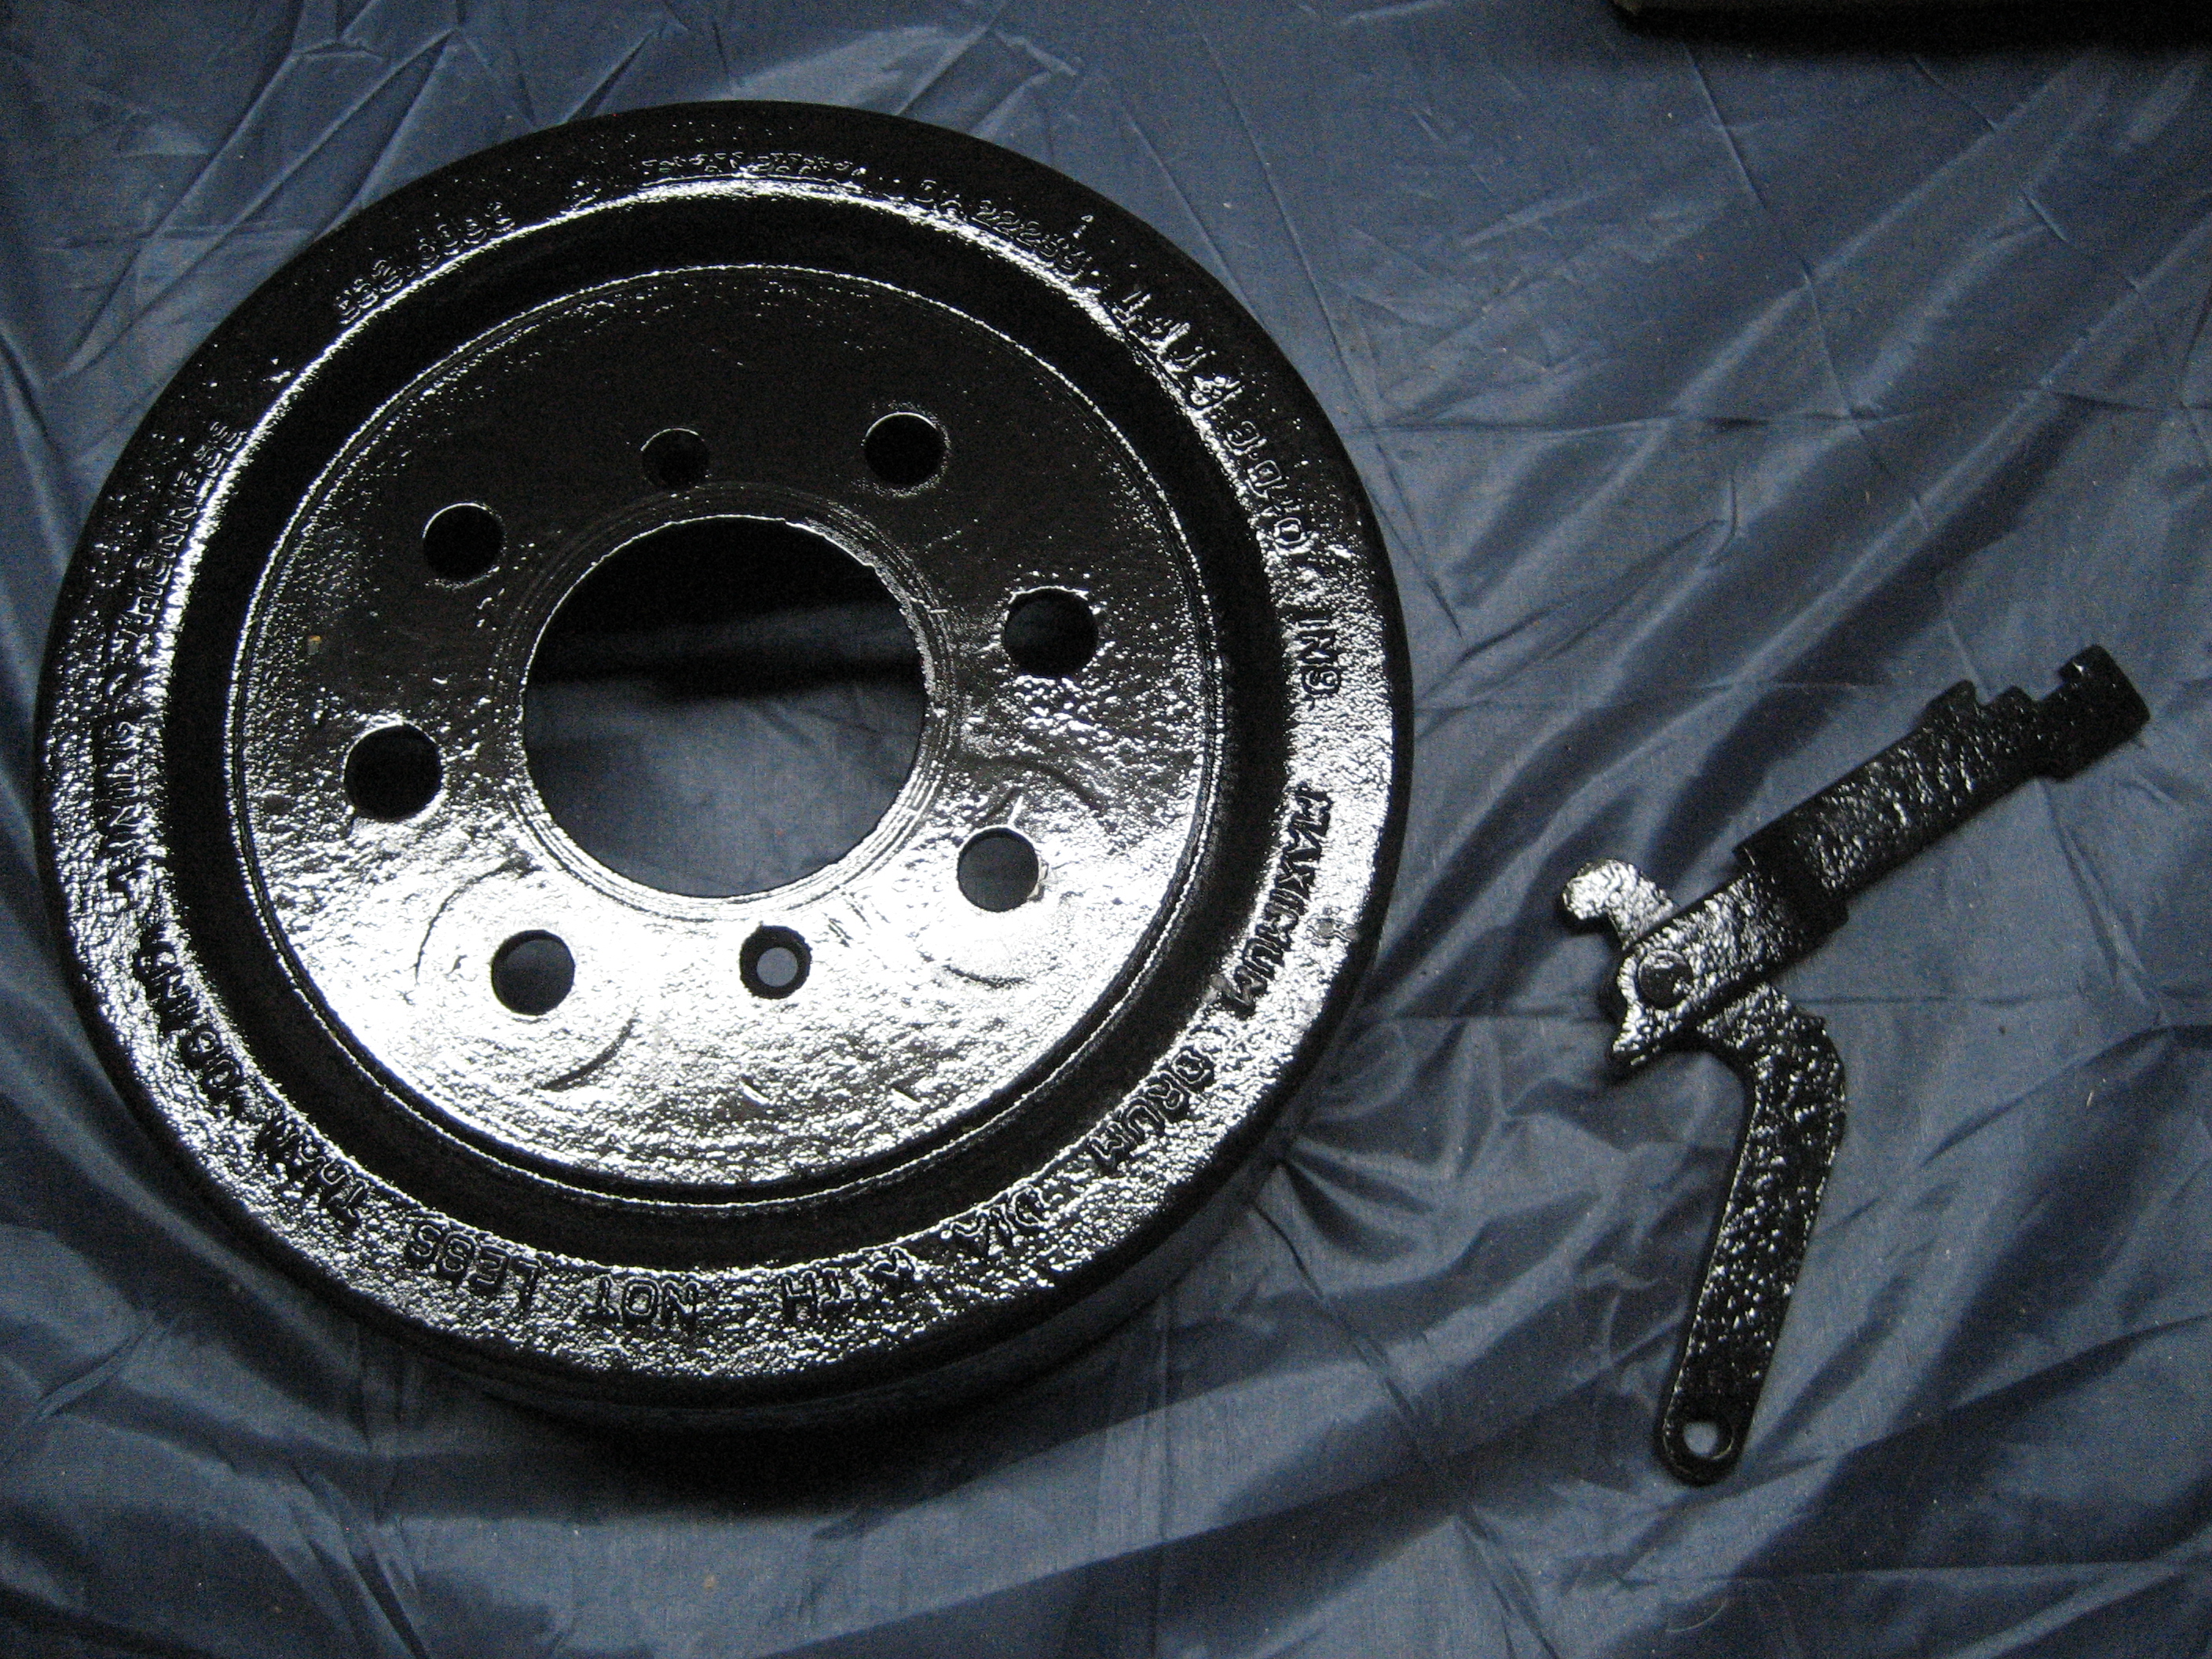
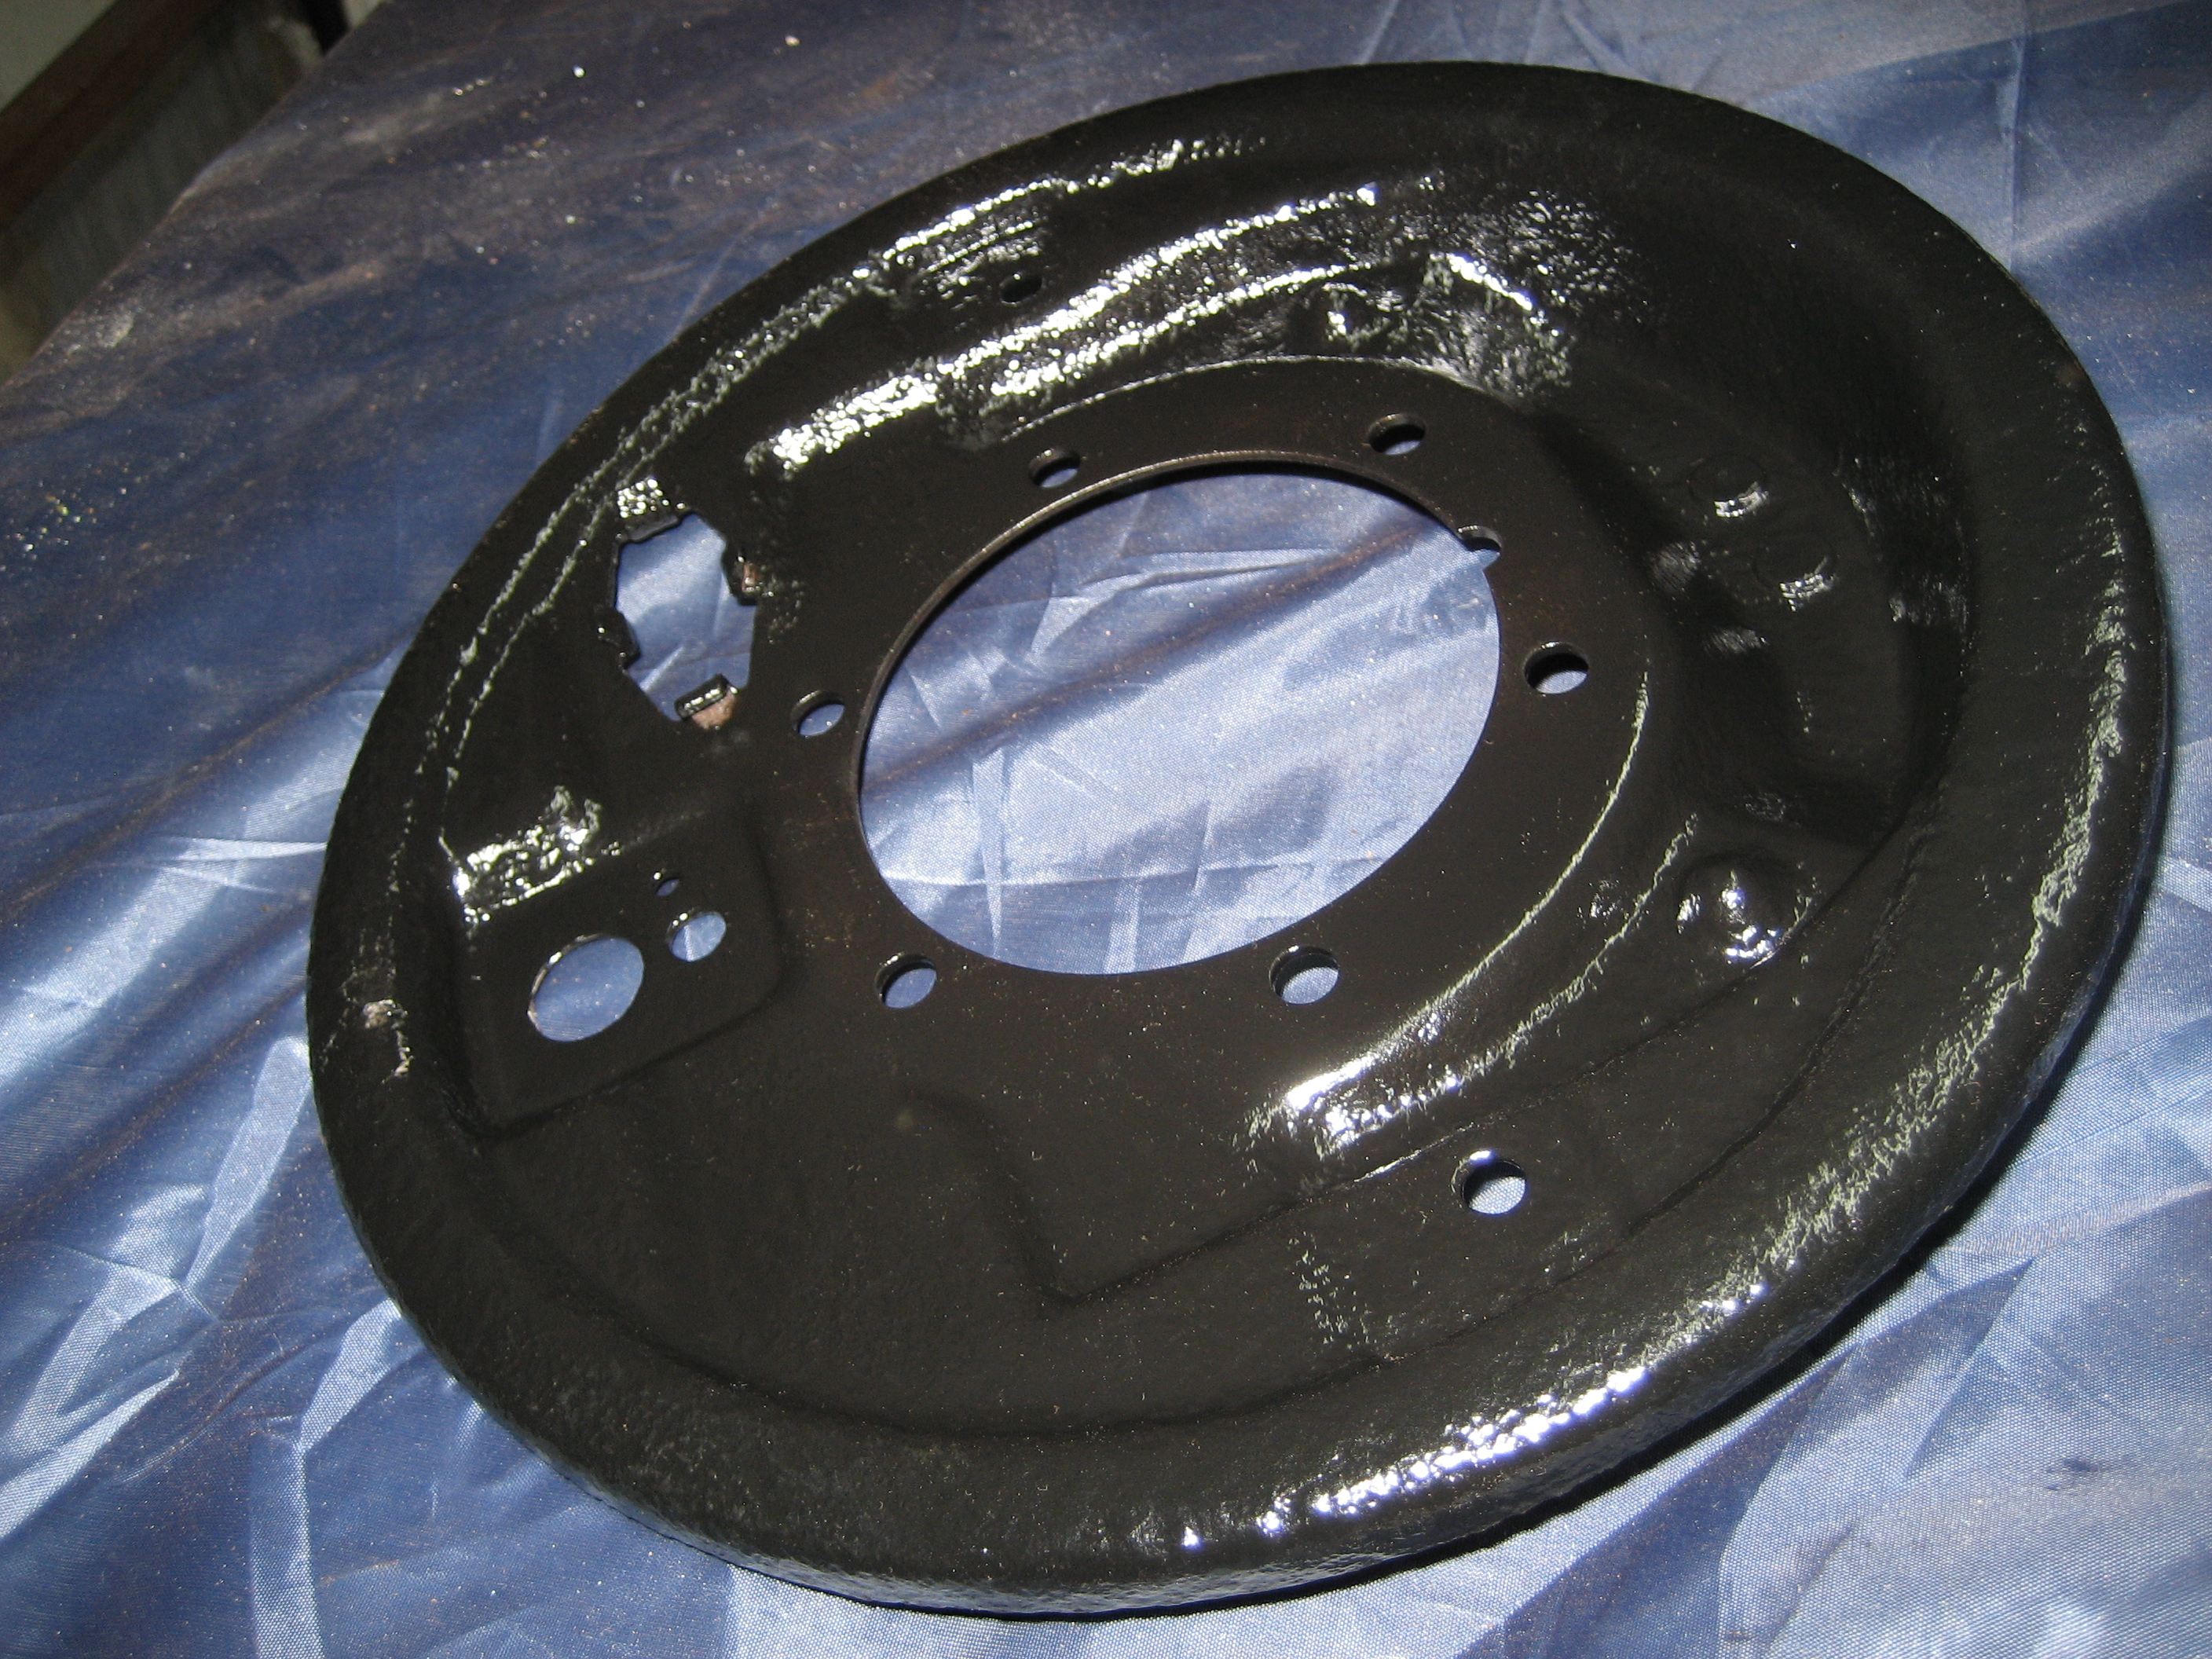
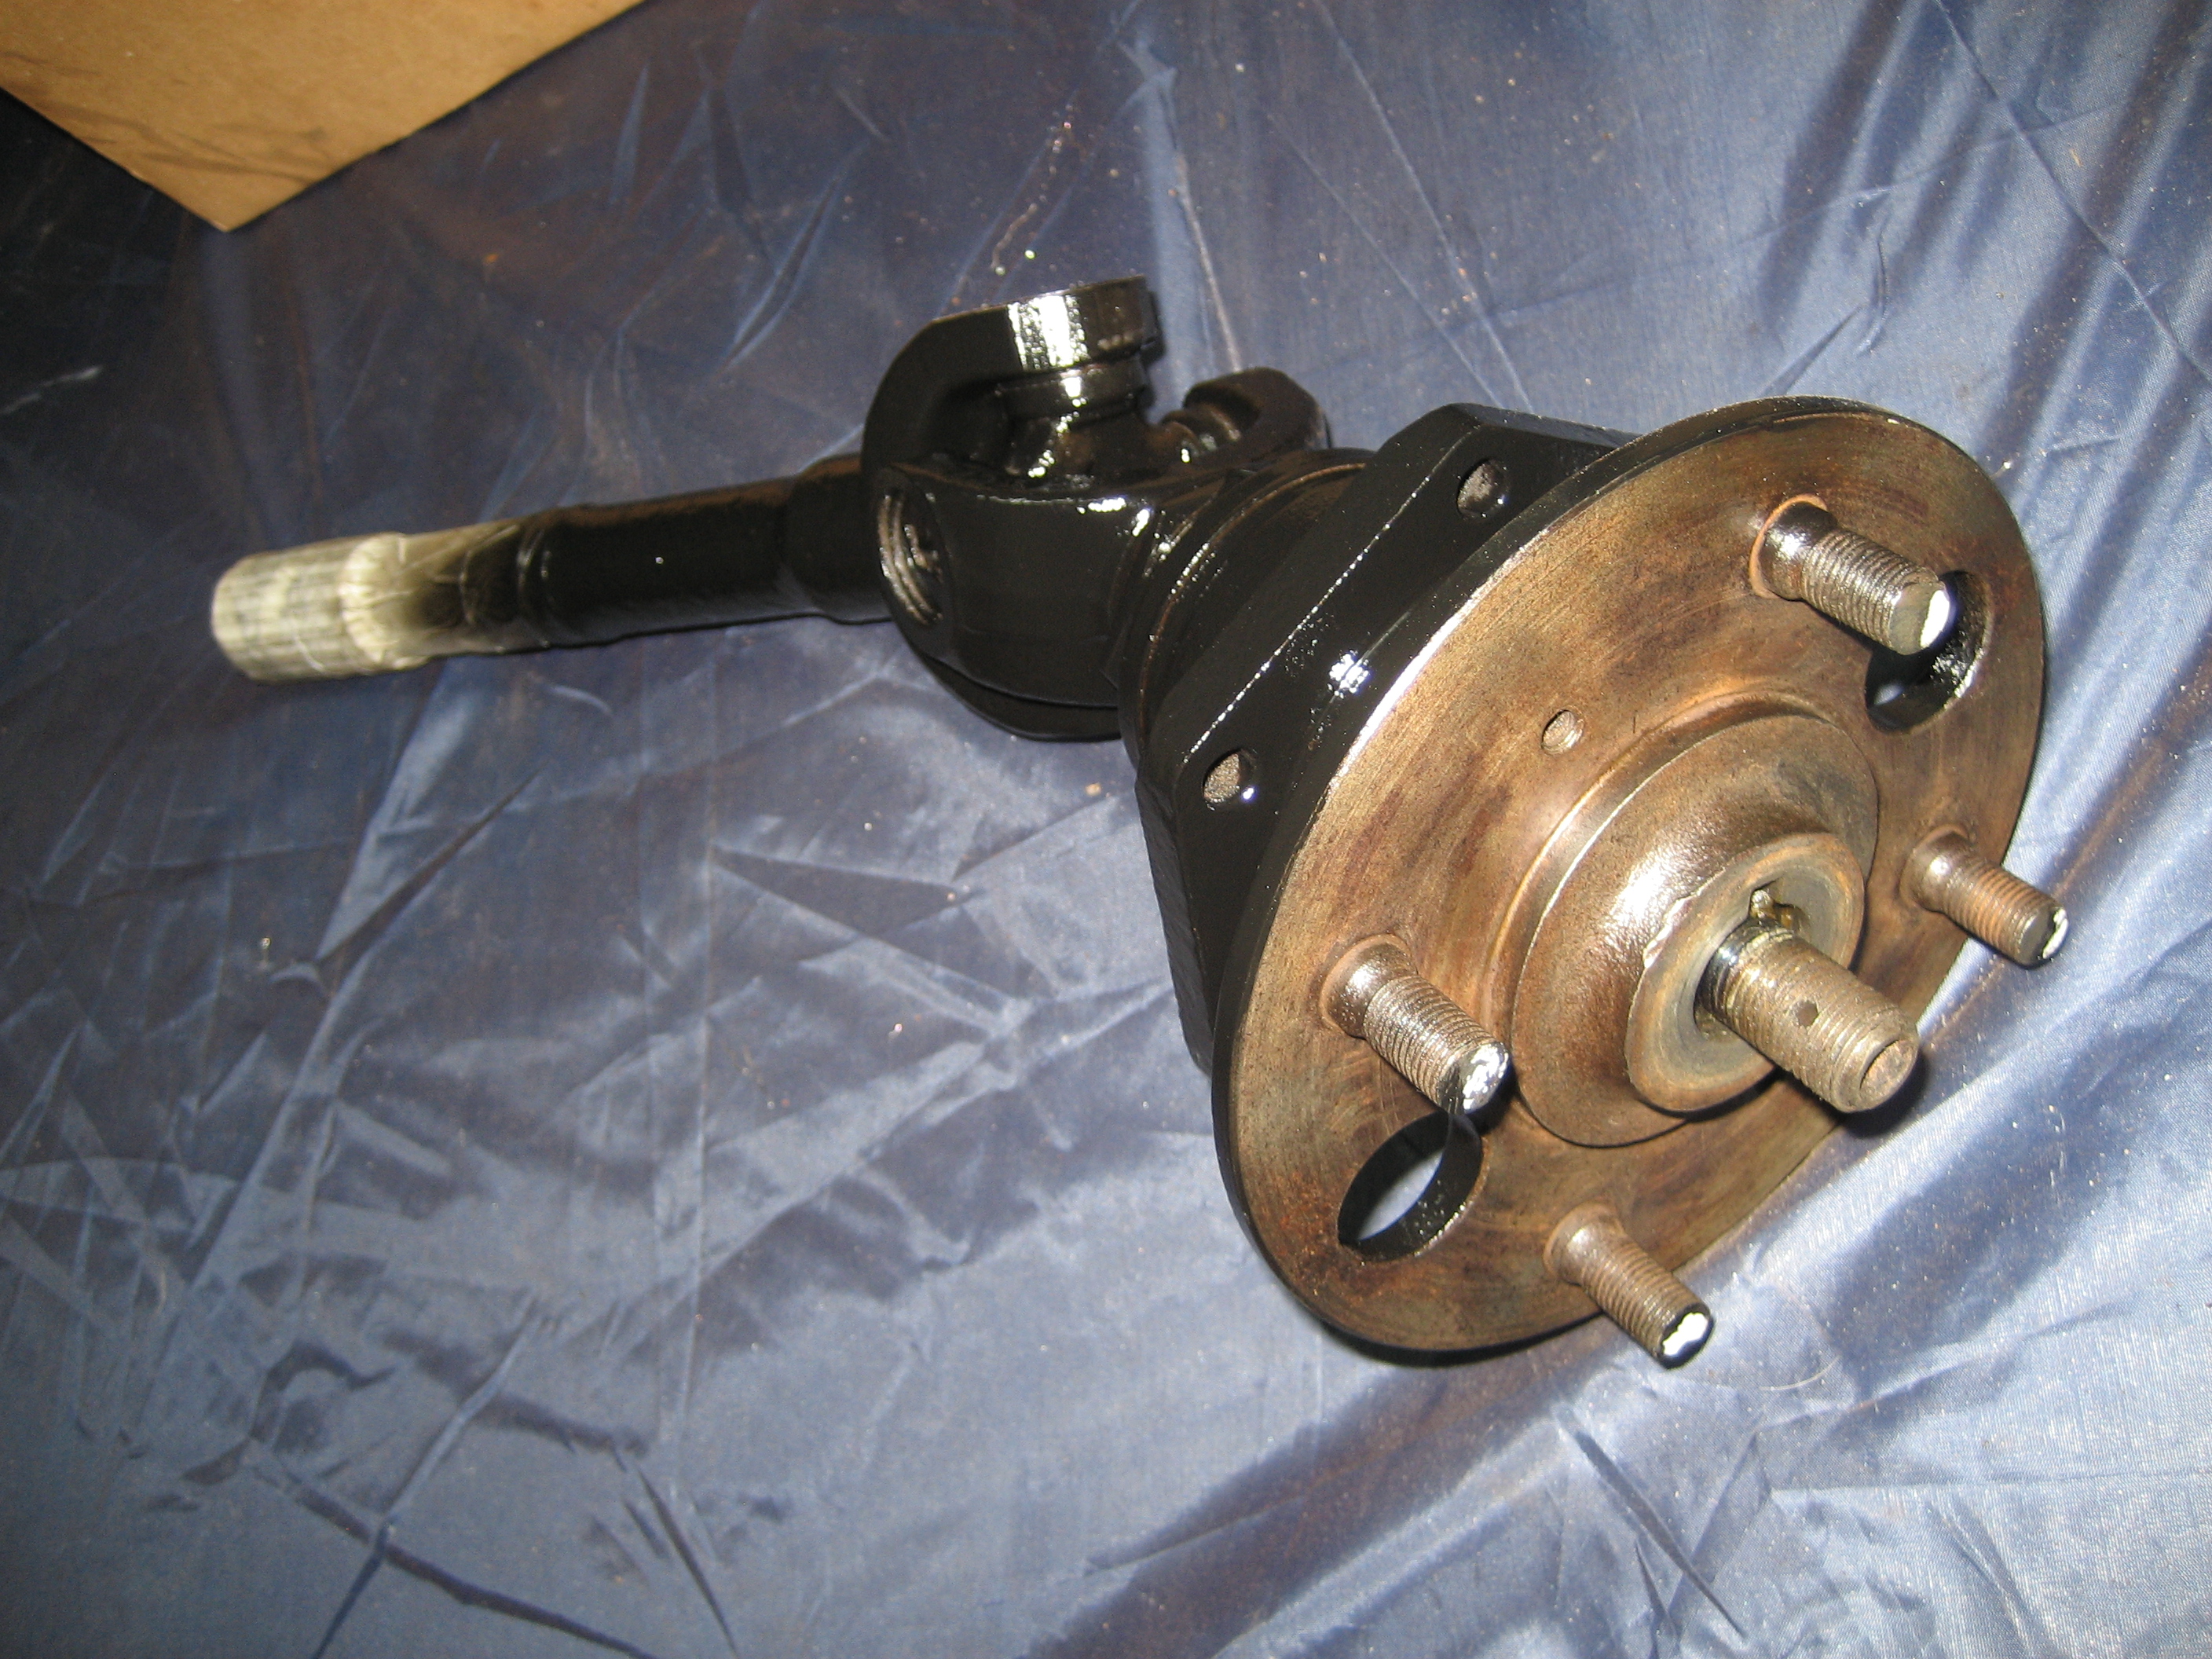
Once detatched from the car, the rear suspension components, drive shafts and brakes can be dismantled and refurbished seperately. You will read about these later.

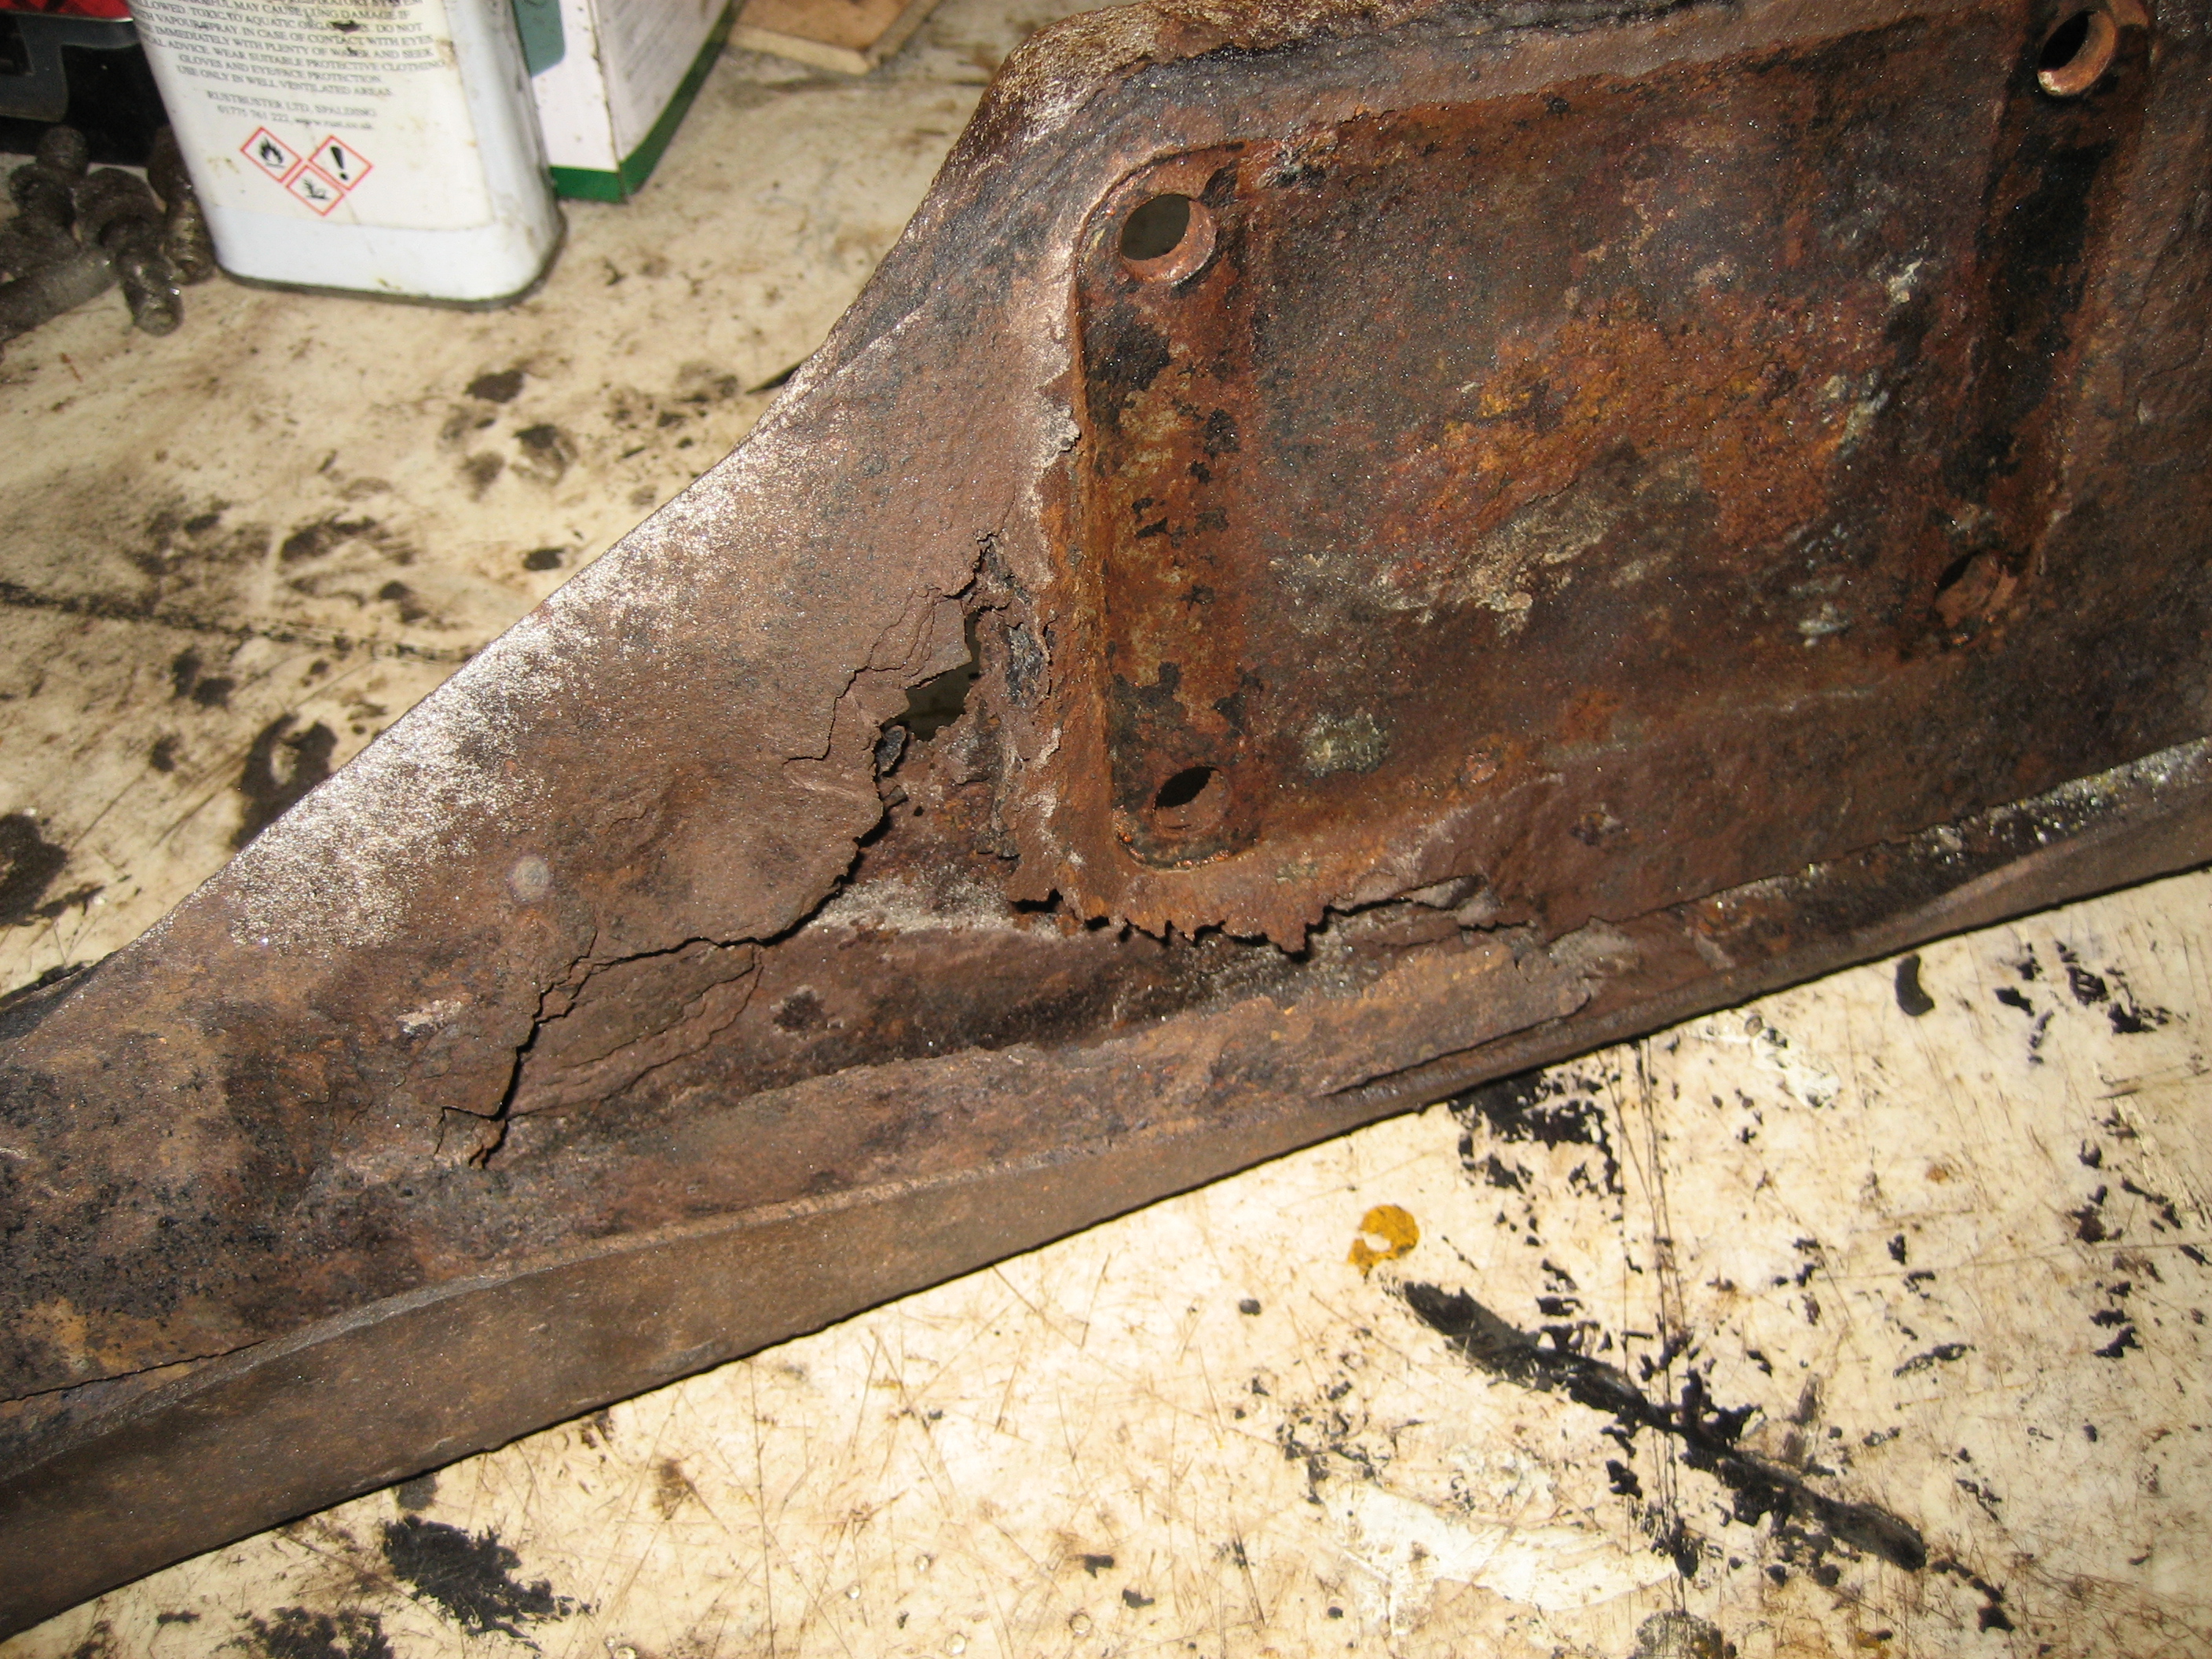
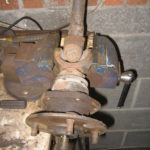
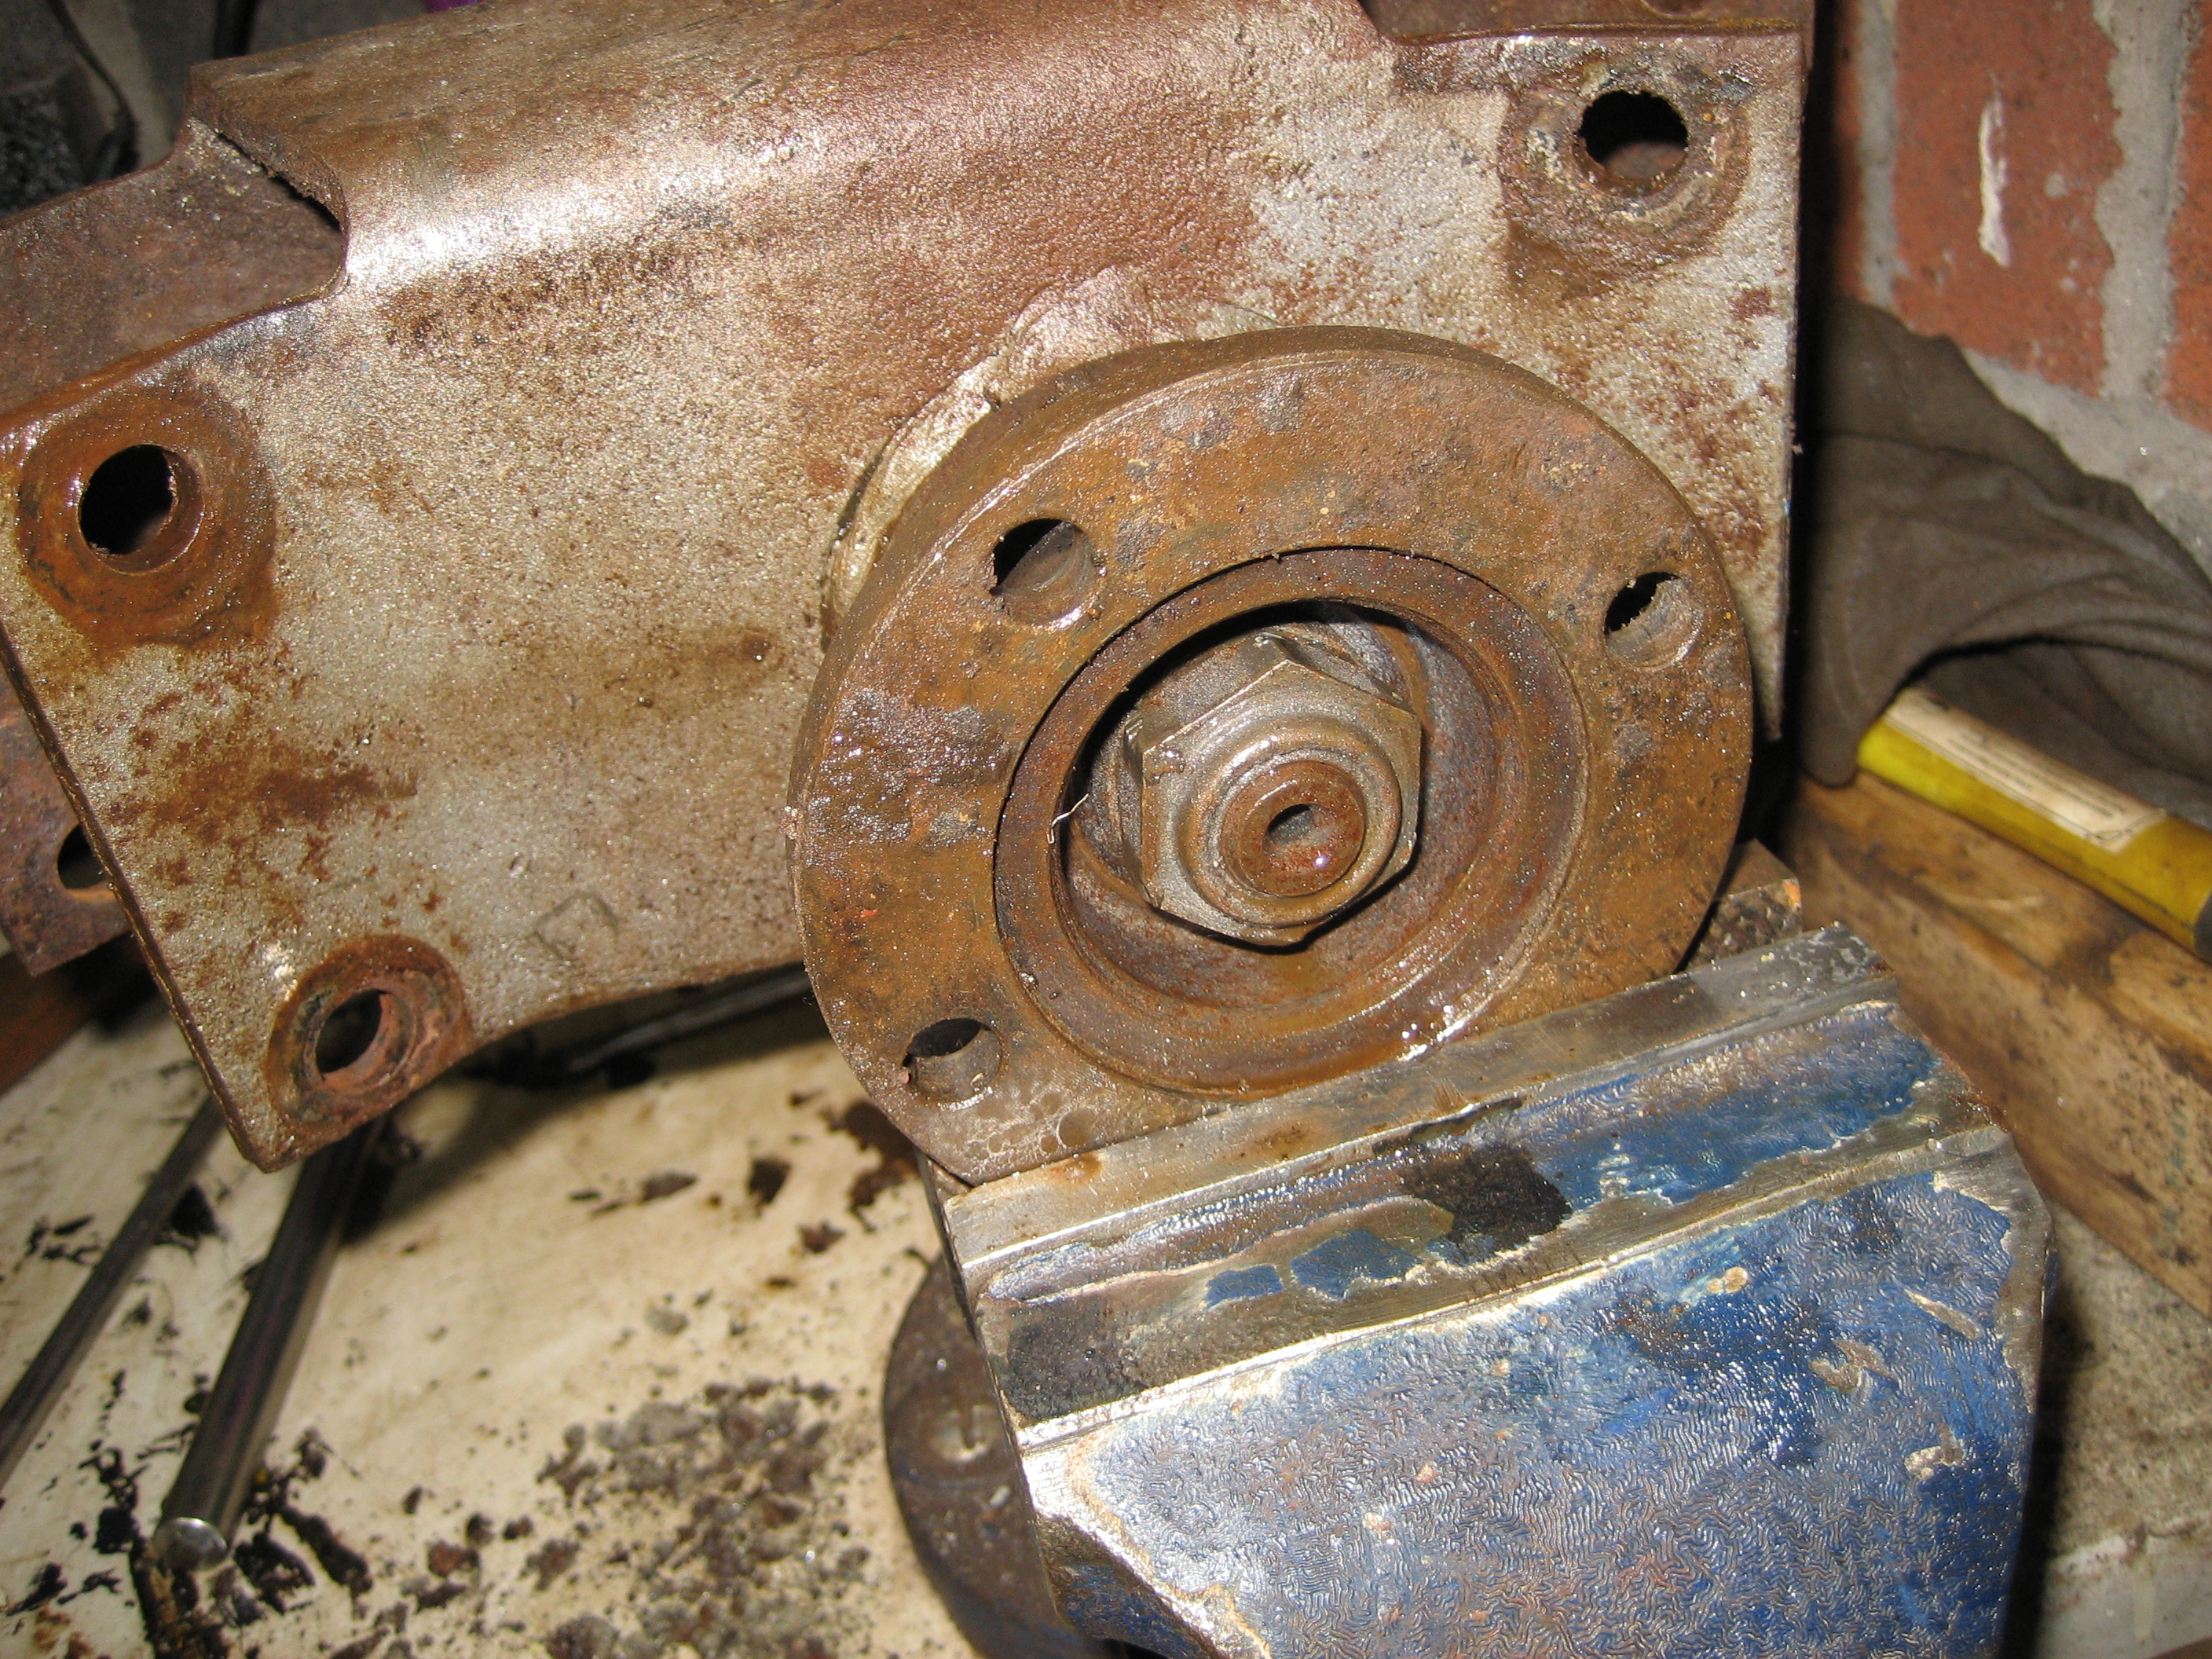
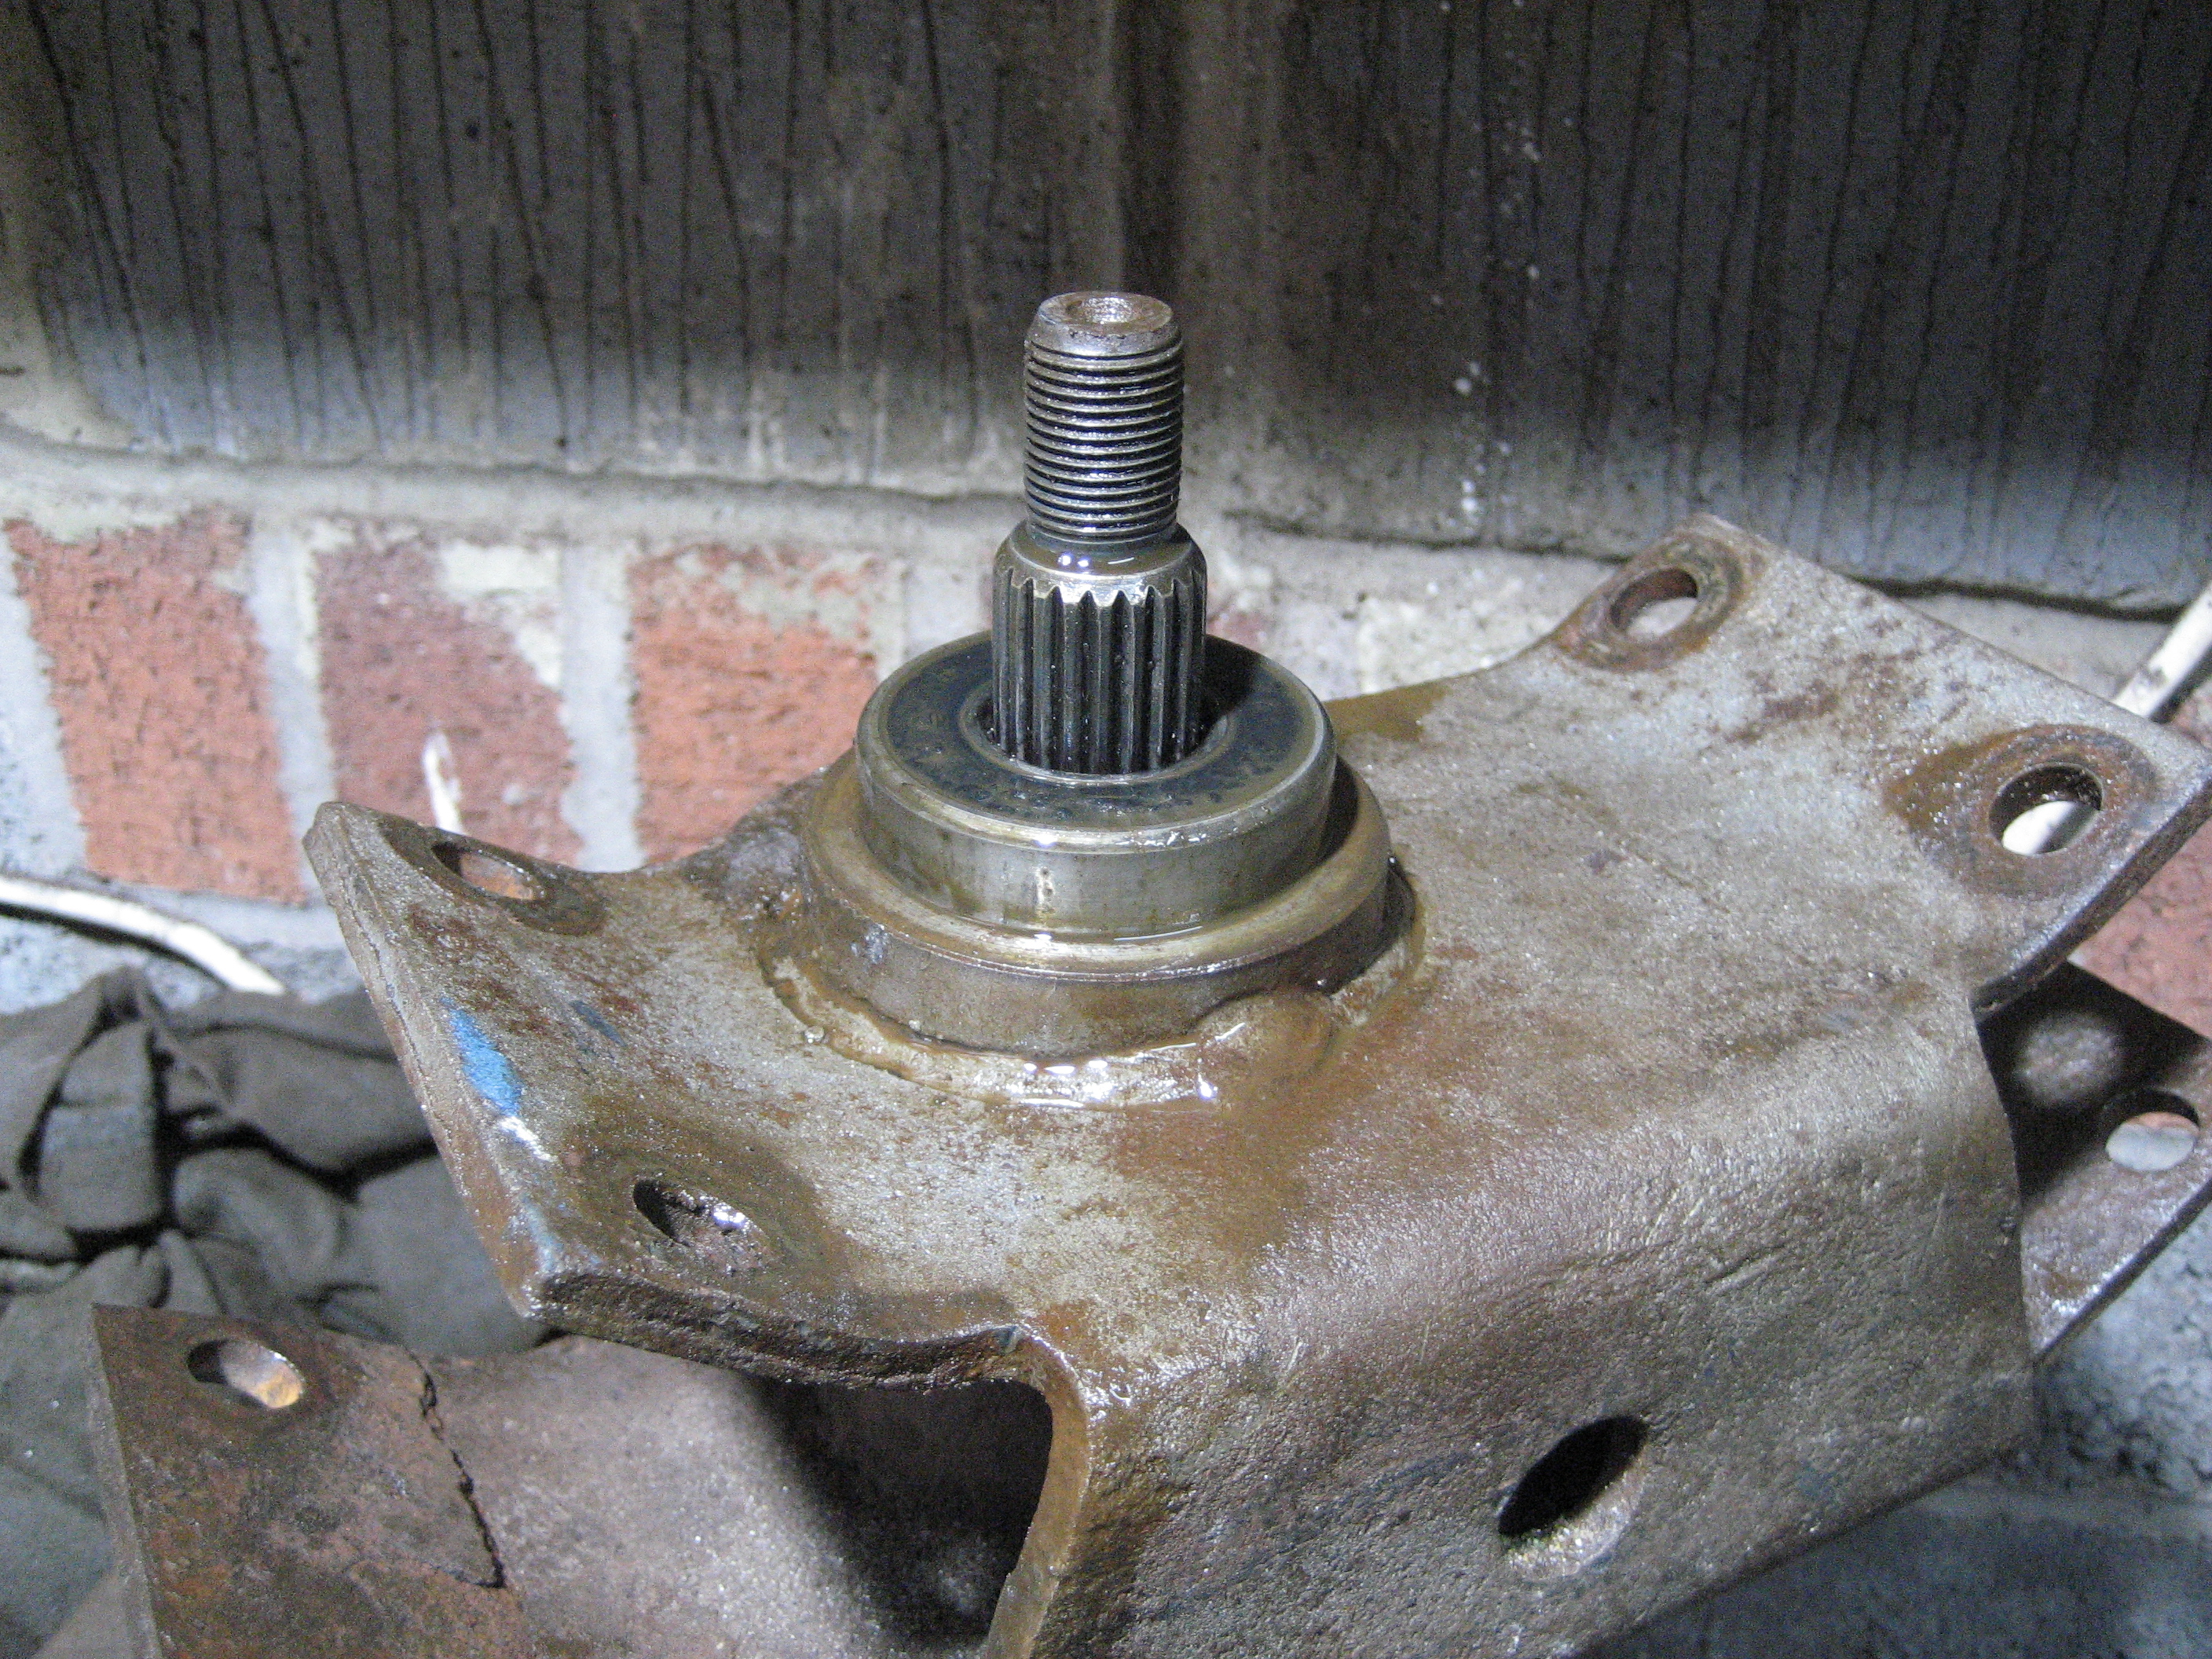
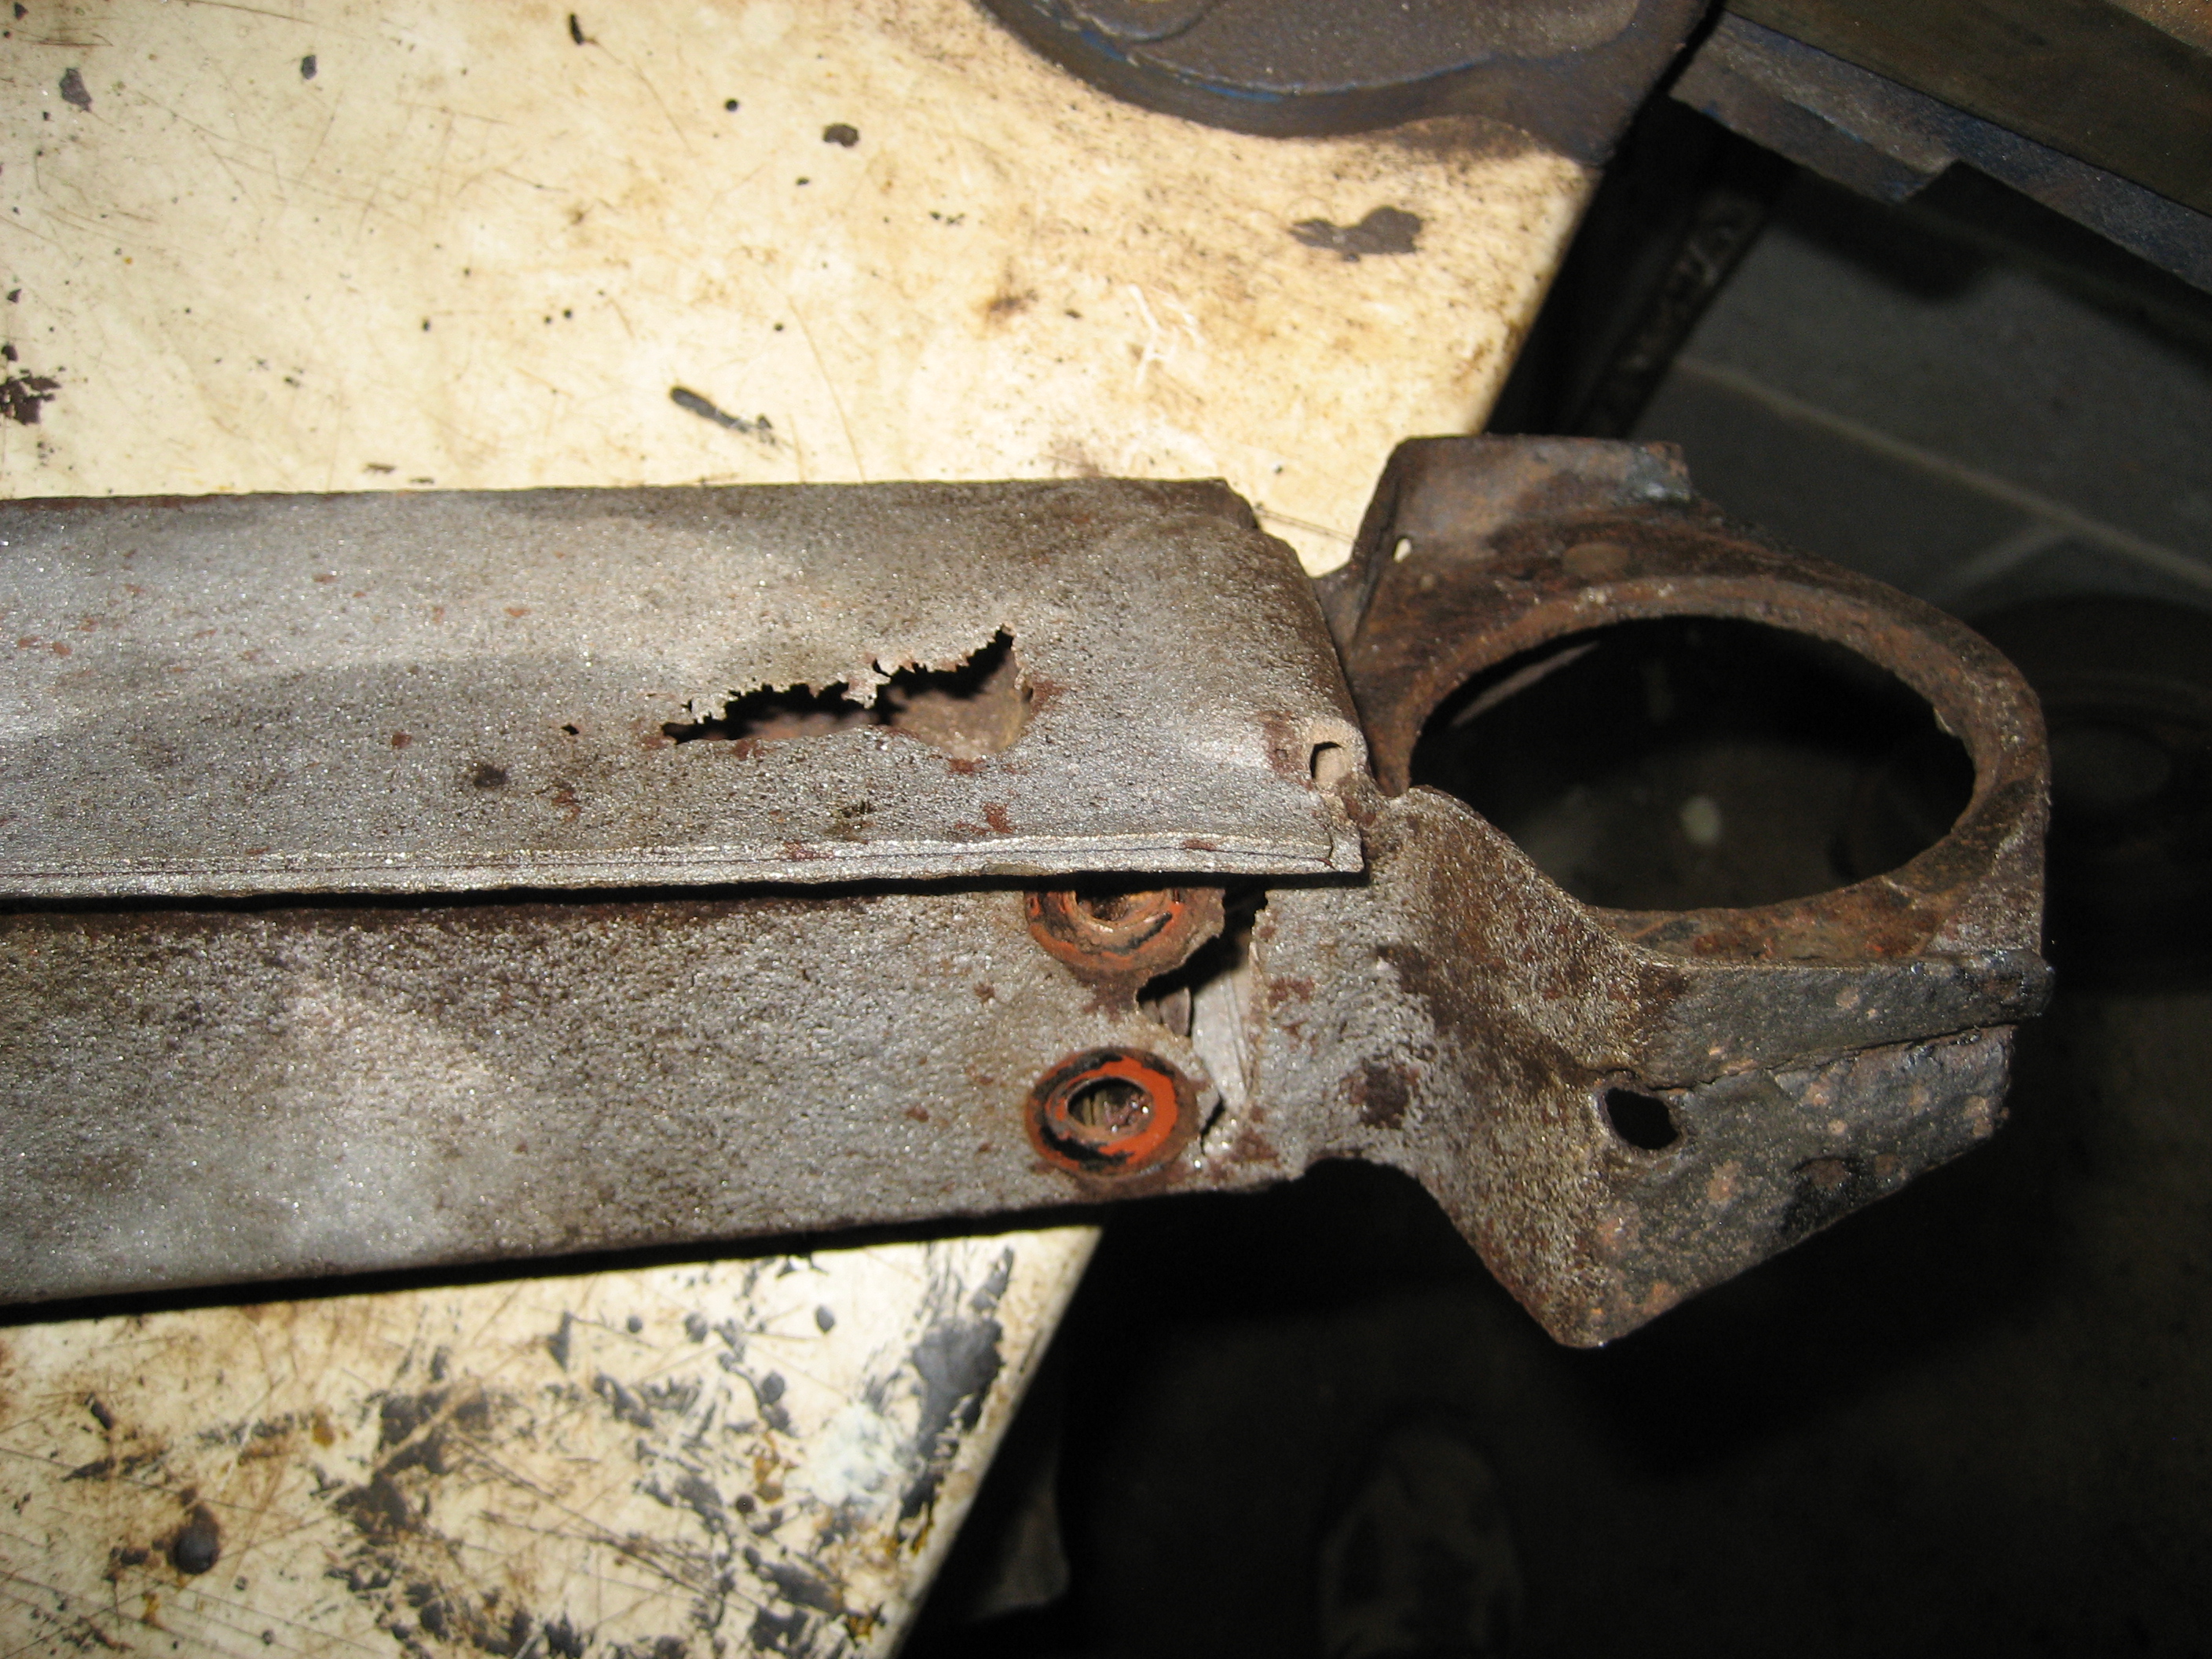
The first items I tackled were the rear subframe arms. Whilst these are fairly heftly lumps of steel, you can see that mine have suffered from major rust ingress to the point where holes can be seen on the base and sides close to the rear subframe bush. How this ever got through it’s last MOT. I’m amazed. These holes had been covered by a thick coating of underseal but are clearly dangerous as a quarter of the weight and cornering forces of the vehicle pass through this point.

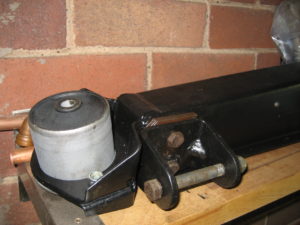
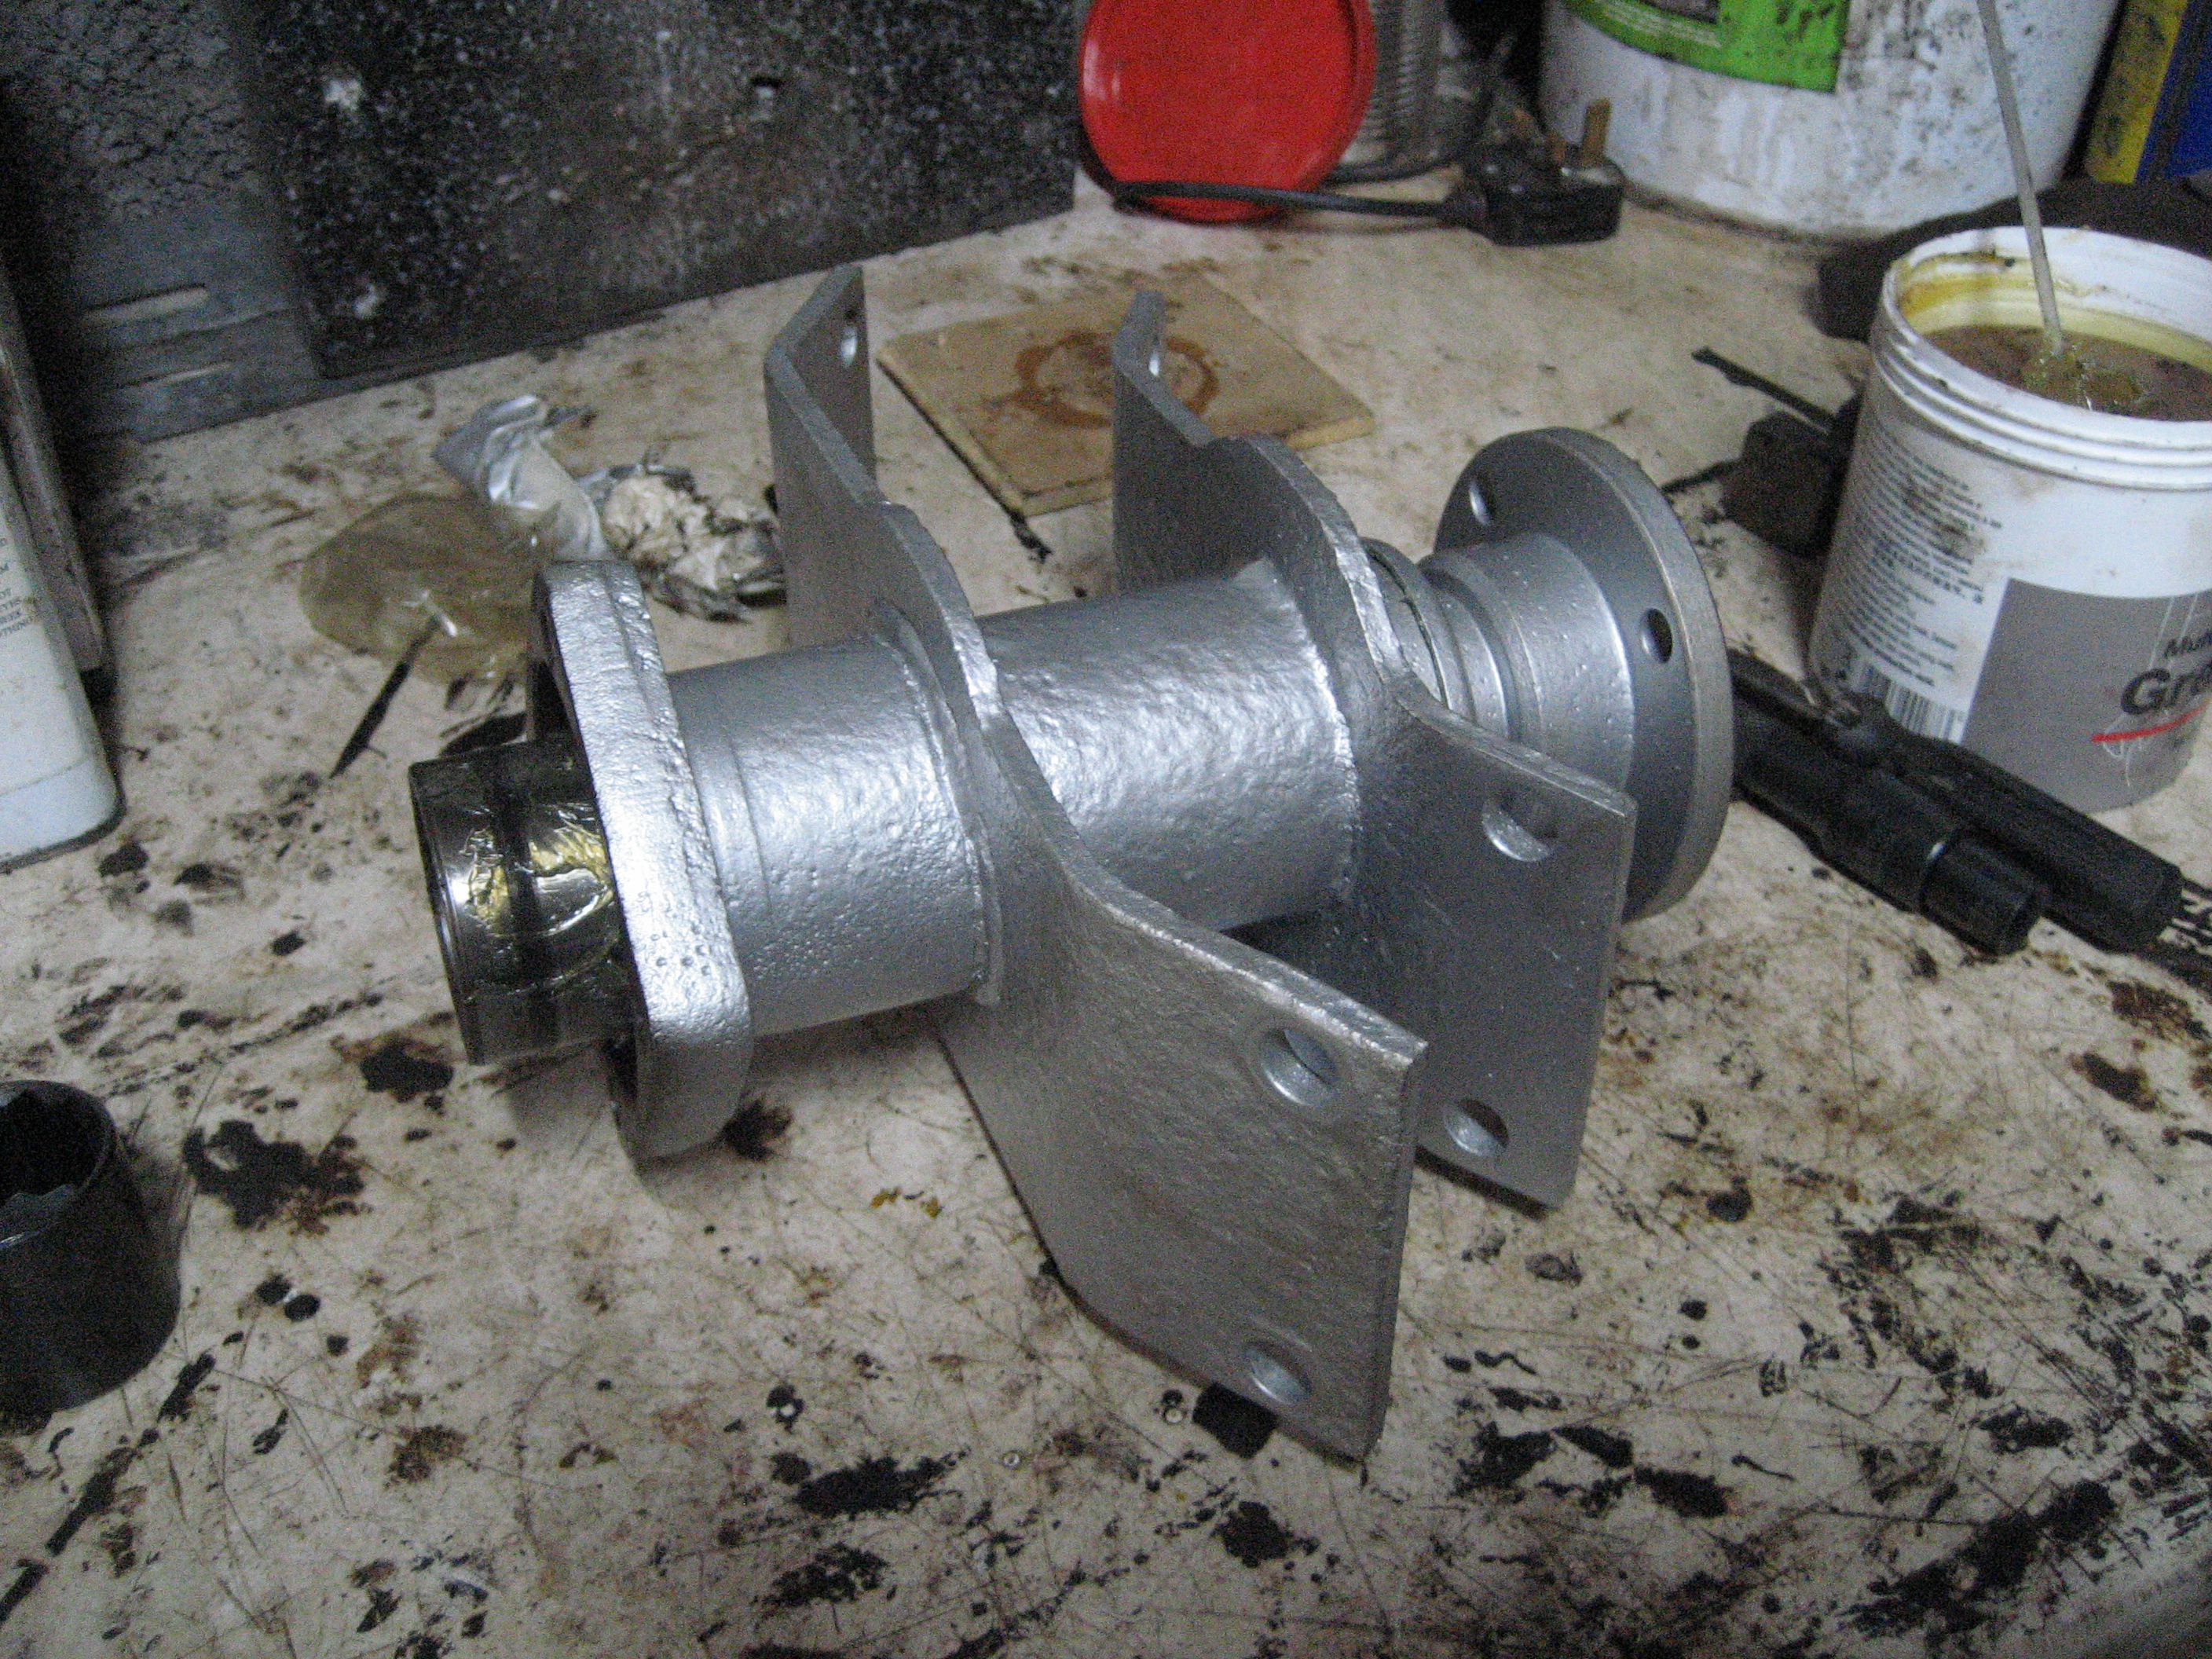
I managed to find a couple of rear subframe arms at the Triumph show at Stoneligh earlier this year. They where in a scrap bin and covered in rust and muck – but solid. I paid £30 for the pair. Rimmer price for used is £60 each or £140 for new. After a good going-over with a wire brush and several coats of epoxy paint, both came up looking great and with no signs of rust ingress. A bit of elbow grease and paint but a saving of over £250 !!

I also reburbished and painted the brackets, cleaned and replaced the shims, and bought some more nylocs and a new rear sub-frame bush. Looks better than new now. Ready to go back on.