Disassebly – Part 2

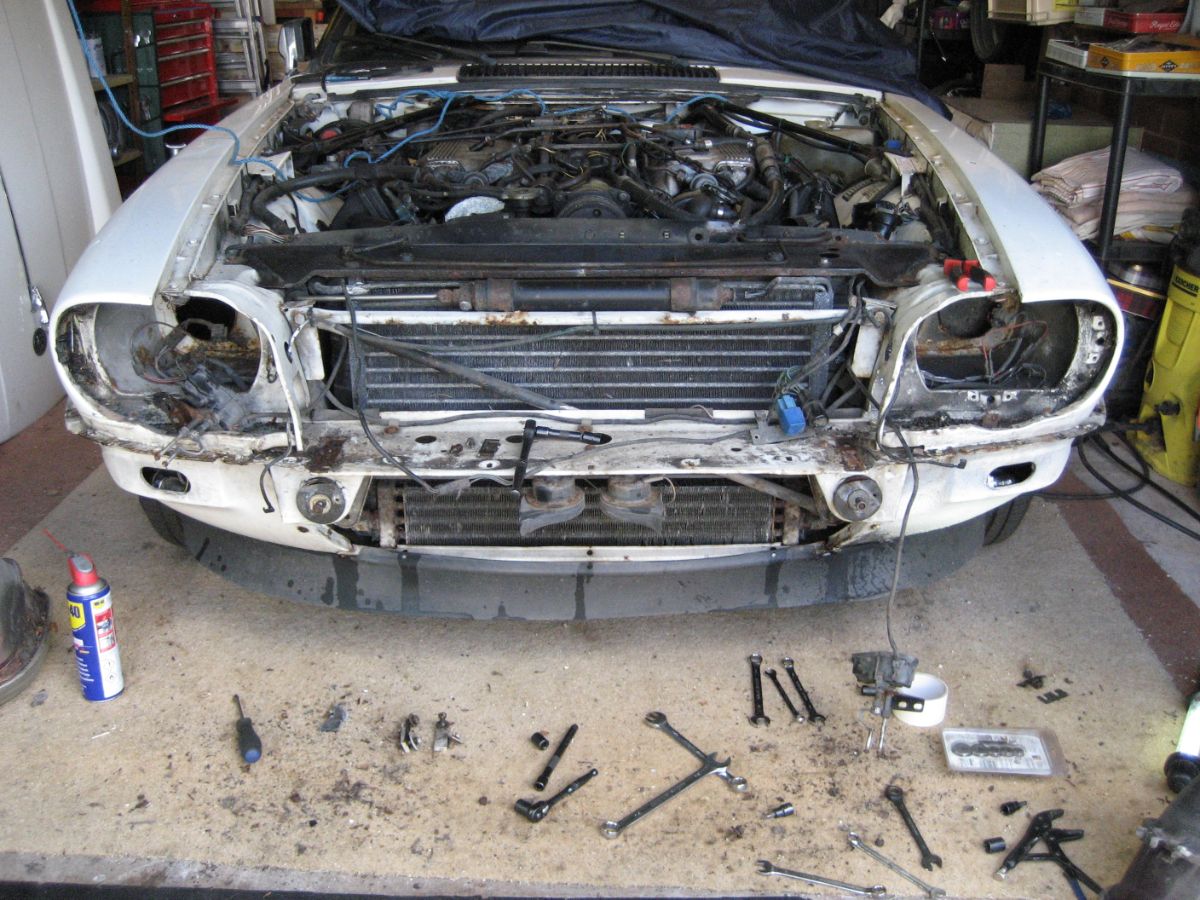
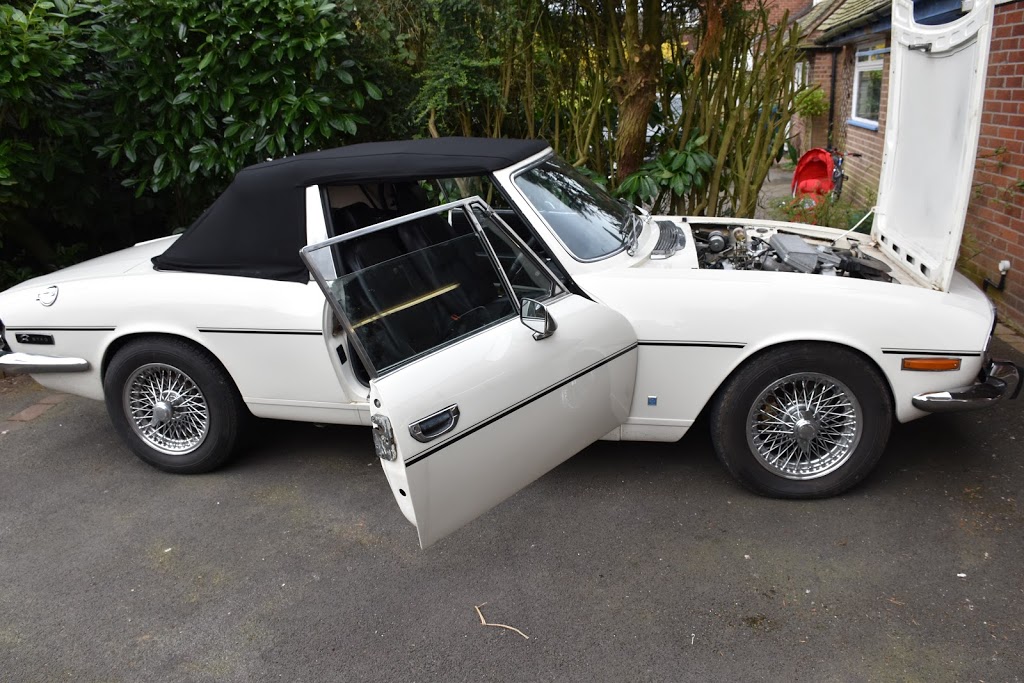
New drive belts were delivered this week, but as always with classics, I’ve found another problem. The fan cowls have been fitted but not secured properly. So much so, there is no way I can get the drive belts around the fan blades. So, I’ve decided to continue dismantling the front end and to worry about the belts as I put the front back together again.

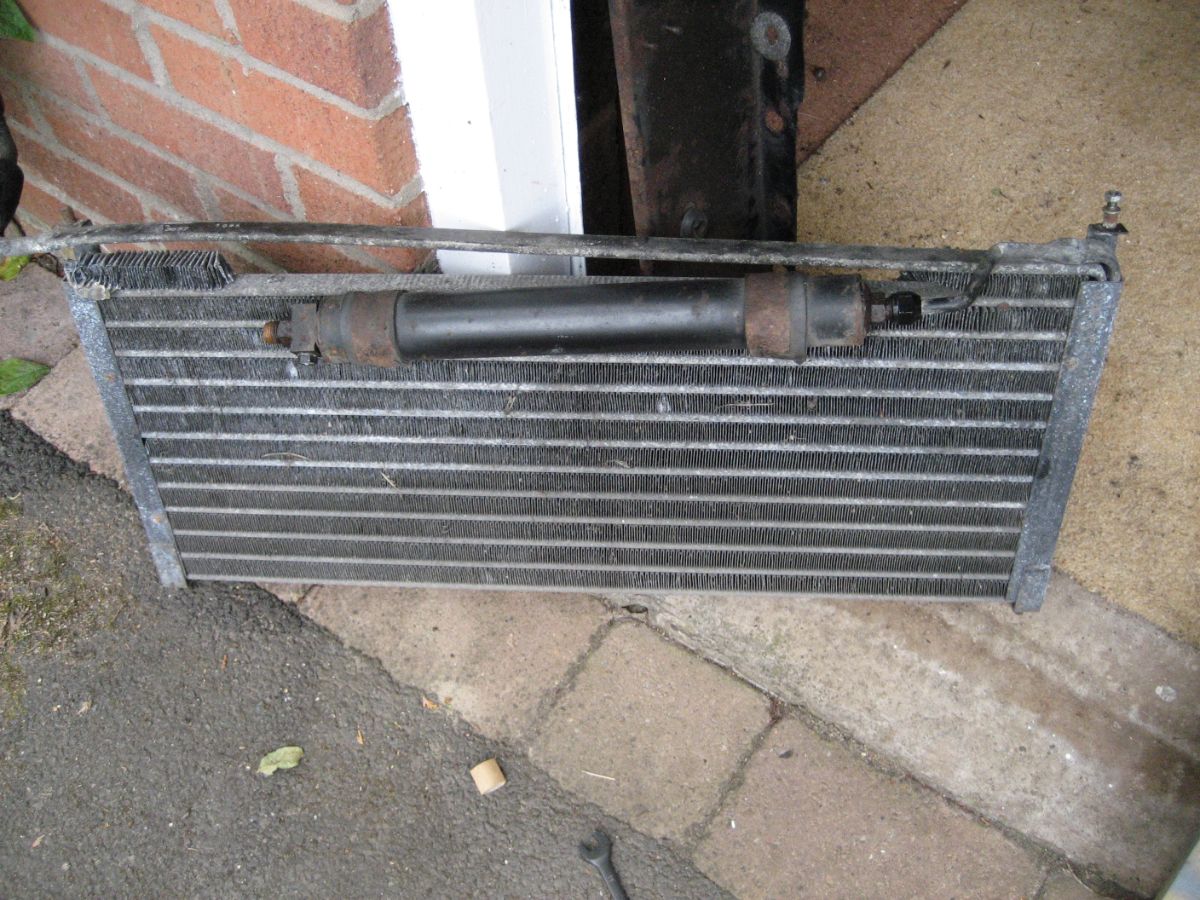
First to be removed was the condenser and receiver/dryer for the aircon. It looks like the top cooling strip has come detached from the frame. Another job for the future.

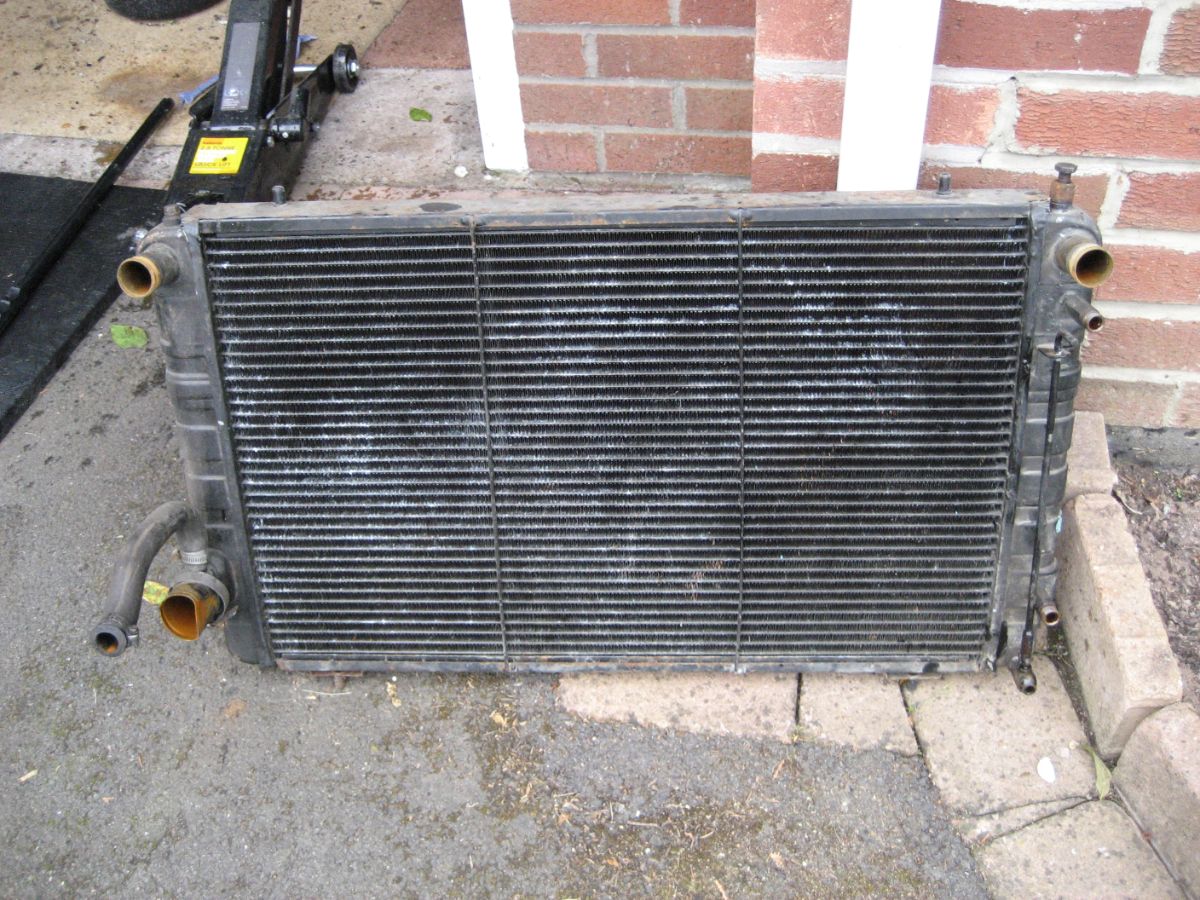
Then the radiator came out after draining the system from the lower hose. The radiator is definitely serviceable. It will need flushing and painting but that’s all.

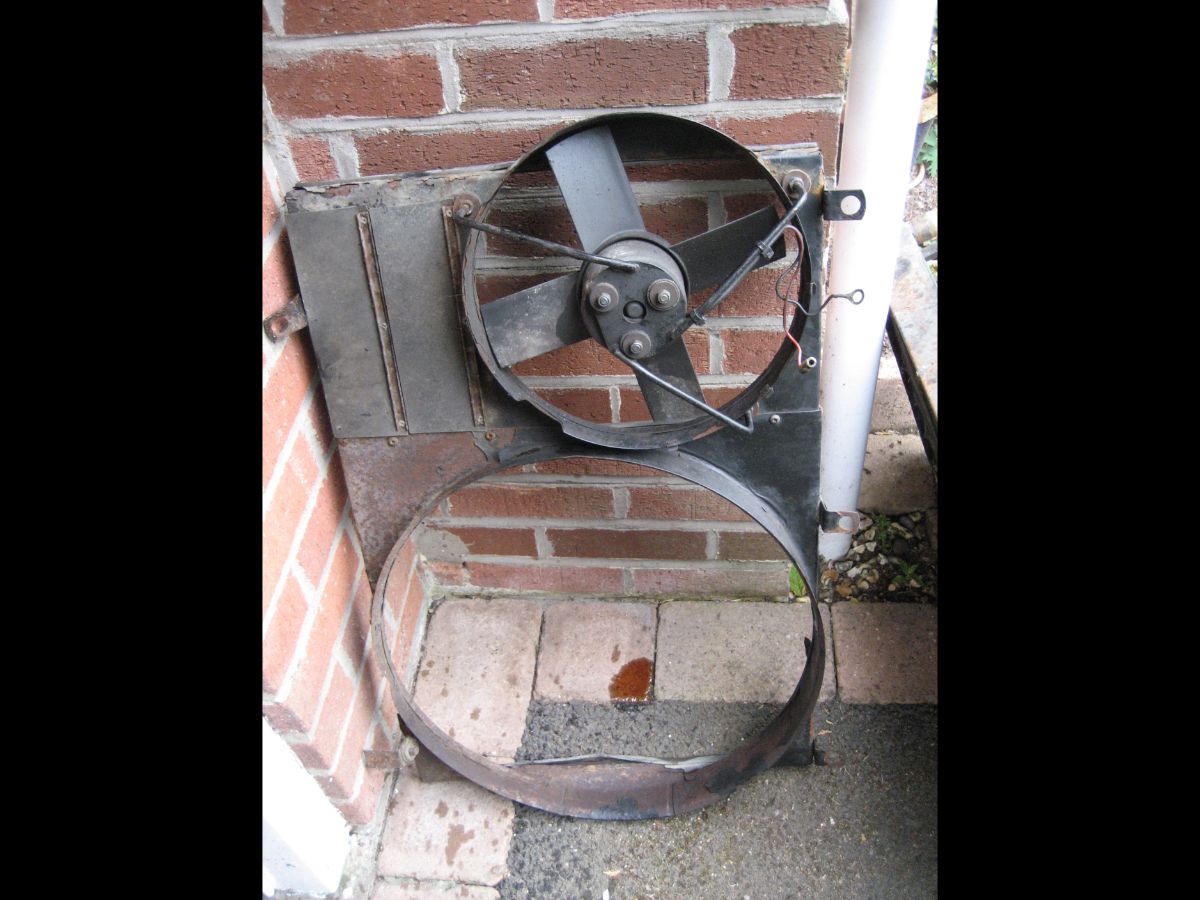
The fan cowls are also in need of de-rusting and painting, but they can be re-used as well.

The assembly is missing the packing blocks / radiator seals on the side and bottom, and also the cross member undershield which I can see in the parts catalogue but isn’t on the car.

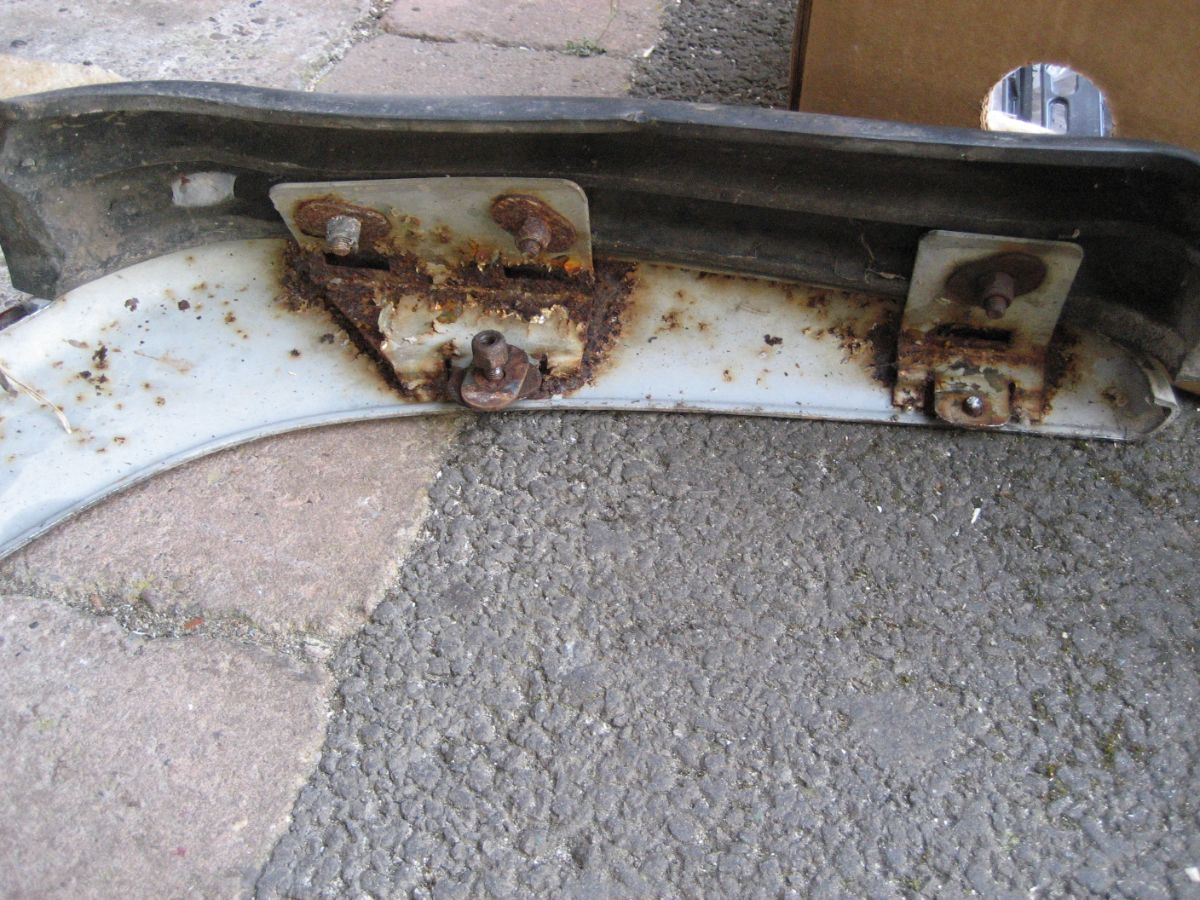
Also at the front I removed the damaged chin spoiler and lower front panel. Both need replacement. The lower front panel has rusted through.

Where to start

My first intention is to find the things that are either missing or broken. I can then source replacements whilst I work on the other aspects of the car.

The car came with an alternator belt on the front seat. A quick check revealed that there was no alternator belt fitted around the alternator pulley and the aircon belt was missing too. So first job is to order a new set of belts and replace them all. I can then run the car up to temp and see what else needs attention.

In order to replace the alternator belt, all of the other belts (4 in all) need to be removed. This is awkward enough in an XJ-S engine bay but harder still with the bonnet in place. So I decided to start disassembling the front end. Firstly because I wanted to see the state of the panels behind the lights and secondly so I can get better access when I replace the belts.

The grill was the first – held on by 2 self tappers. Then the rubber coated bumper, which is secured from the 2 front bumper irons. There was some surface rust on the inside of the steel bumper, but nothing terminal. It will clean up nicely. The drivers side indicator lens was missing so I will need to source a replacement.

Next the chrome blades that sit above the bumper and the plastic plinth in the centre. This was a bit more tricky. The bolts clamping the plinth between the 2 oval washers were rusted heavily and a few sheared. Also the headlamp wiper motors needed removing to get access to one of the bolts.

The headlamps themselves, being the UK variant, simply un clipped from their 3 brackets, however the brackets themselves were held with phillips headed bolts which were partly mangled by a previous owner and heavily rusted in place. I had to drill out 4 of these to release the brackets.

Finally I removed the lower grill (in front of the oil cooler) before unbolting the bonnet hinges and removing the bonnet.

Looking inside the front wings I was pleasantly surprised. The panels enclosing the headlights were almost rust free.

Triumph Stag Restoration Blog


Triumph Stag Mk2 – 3.0L V8 Automatic

Manufactured in 1973 with commission number LD23036 BW, (BW standing for Borg Warner 35 – the model of the auto gearbox), with Body Colour 19 (White) and Interior Trim code 11 (Black).

The mileage on the current MOT shows 65,730.

The car has done roughly 500 miles in the last 27 years!!