I’ve rapidly run out of storage space in the garage. I’ve tried dangling the boot lid from cables attached to the roof but the risk of it dropping onto the roof of the car and effectively righting off the car before I really start the restoration is too great. I’ve looked around the local area for self-storage. All the smaller sized spaces are full, and the larger sizes start at circa £60 per month – too much for me. So now that all the garden potting is complete for this year, I’ve agreed with my wife that I can use the potting shed for storage.
The first job today was creating space in the garage by moving all the disassembled parts into the potting shed. The potting shed is at the bottom of the garden and my garage at the front of the house. As the temp today was an astounding 32 degrees C, the wheelbarrow came out the help with the heavy bits. Lying under an old Jag in a dark corner of a north facing garage was absolute heaven today, as cooler place as you will find without aircon or fans.
The Boot
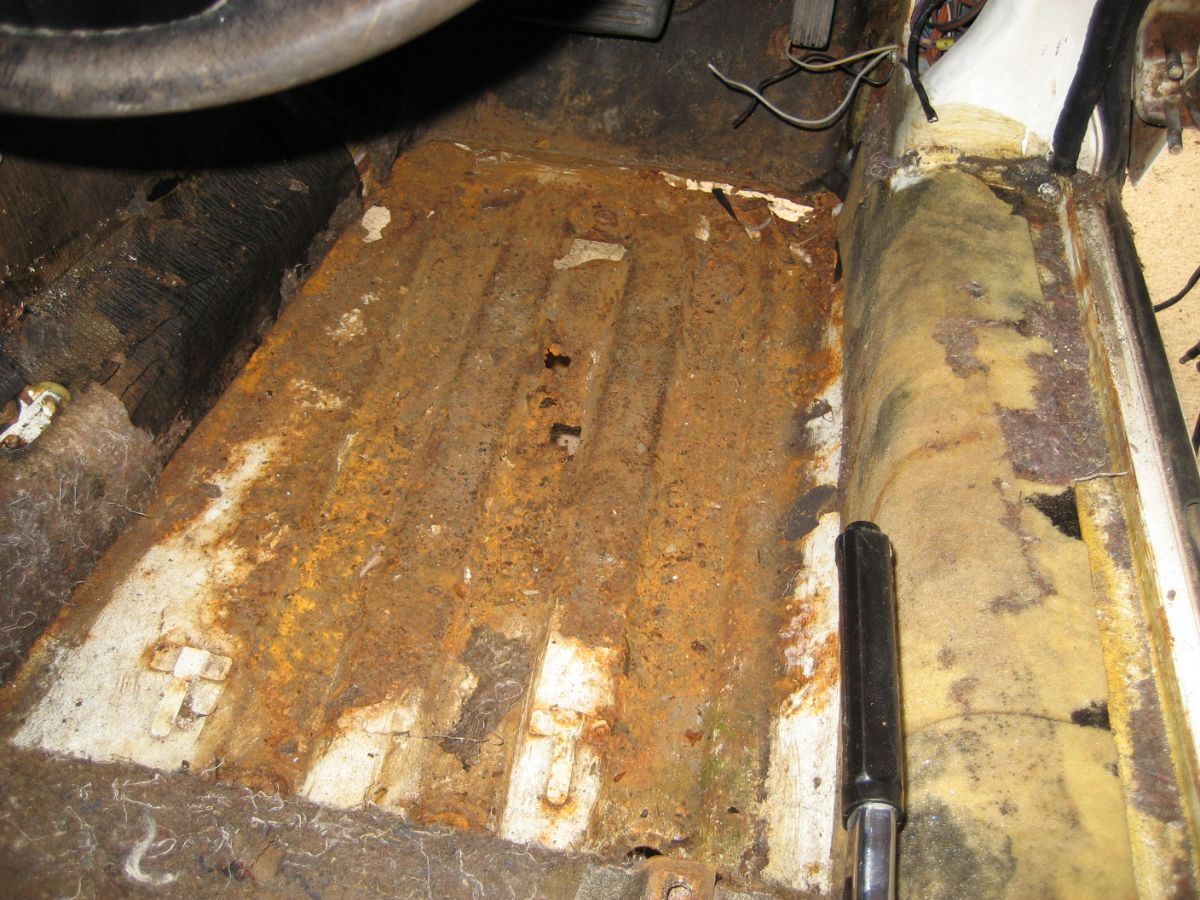
First out were the old carpets. They look to be original and all there but in a very poor condition. I’ve kept them to act as templates. I’ll purchase some suitable carpet material and make some new. Next was the spare wheel clamp and battery lower surround.
The Rear Bumper
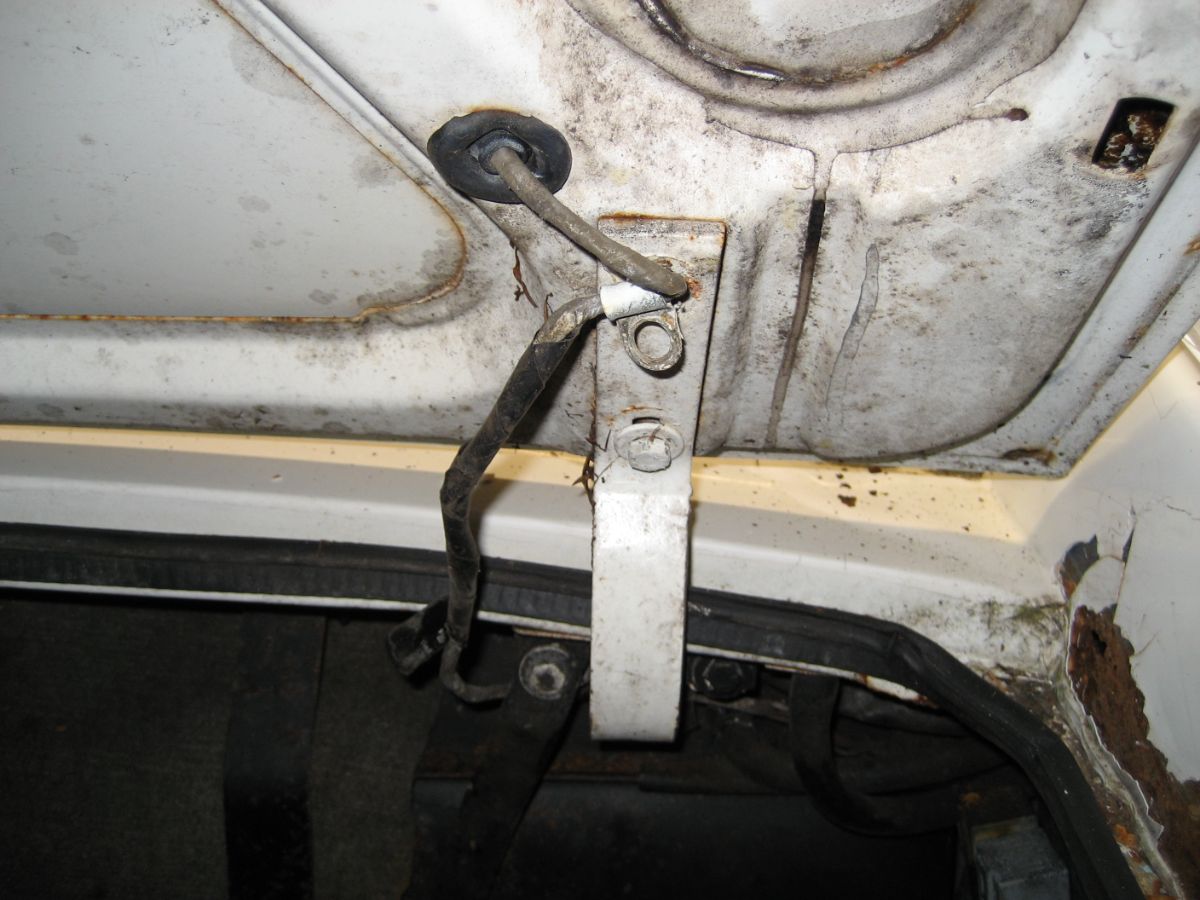
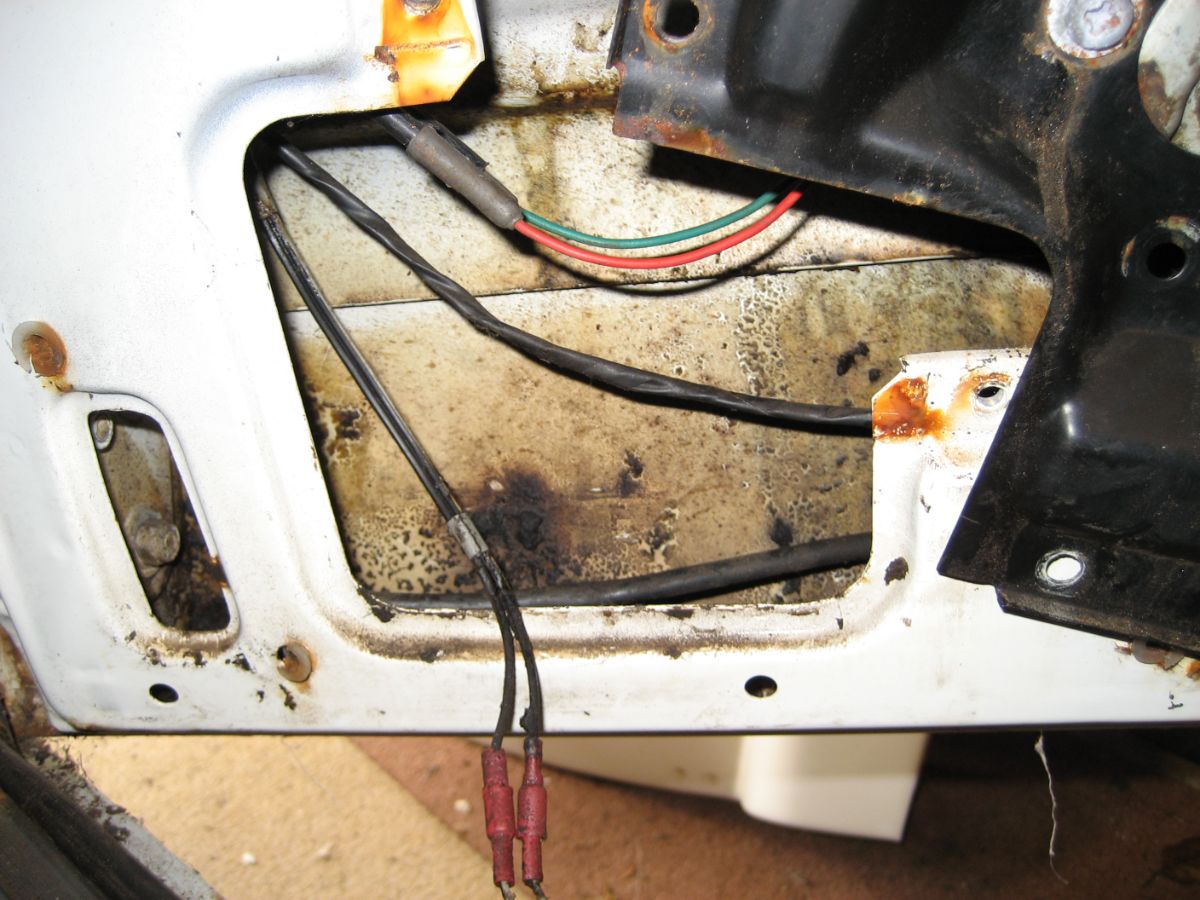
The left and right rear corners are secured via bolts from inside the boot. These bolts screw into brackets with welded nuts on the rear of the bumpers. Both sides were heavily rusted and even after soaking with penetrating oil, I managed to shear 2 out of the 6. The right-hand side corner looks fine for it’s age and should clean up well.
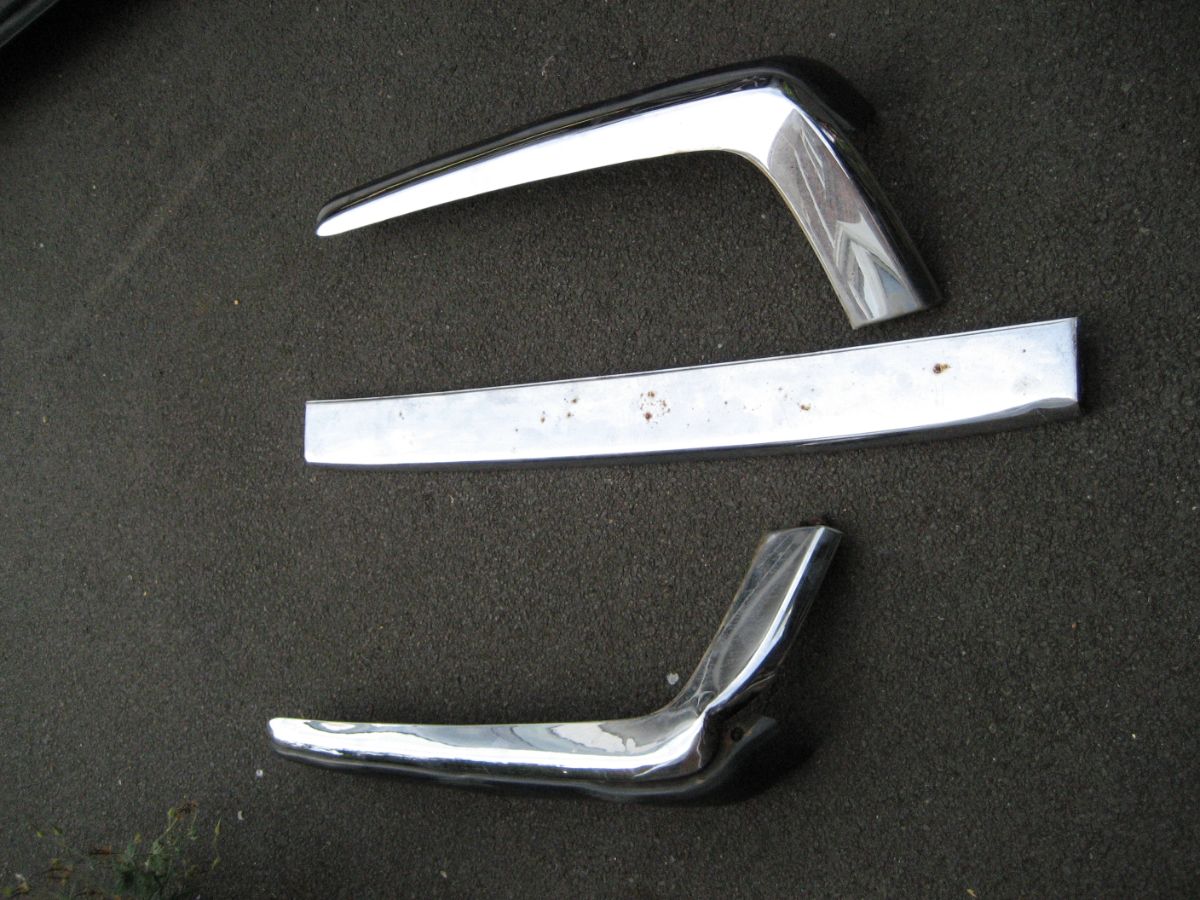
The left-hand side corner is not so good. At some point there has been a serious impact causing the chrome to be severely out of shape. Not only that but the damage has let the water in and the rear of the chrome section maybe scrap.

The chrome upper section of the long straight rear bumper has a few minor marks but will clean up to look like new. The same applies (with a little extra effort) to the rear lower bumper steel box section and over-rubber. Both rear bumper fog lights are fine also.
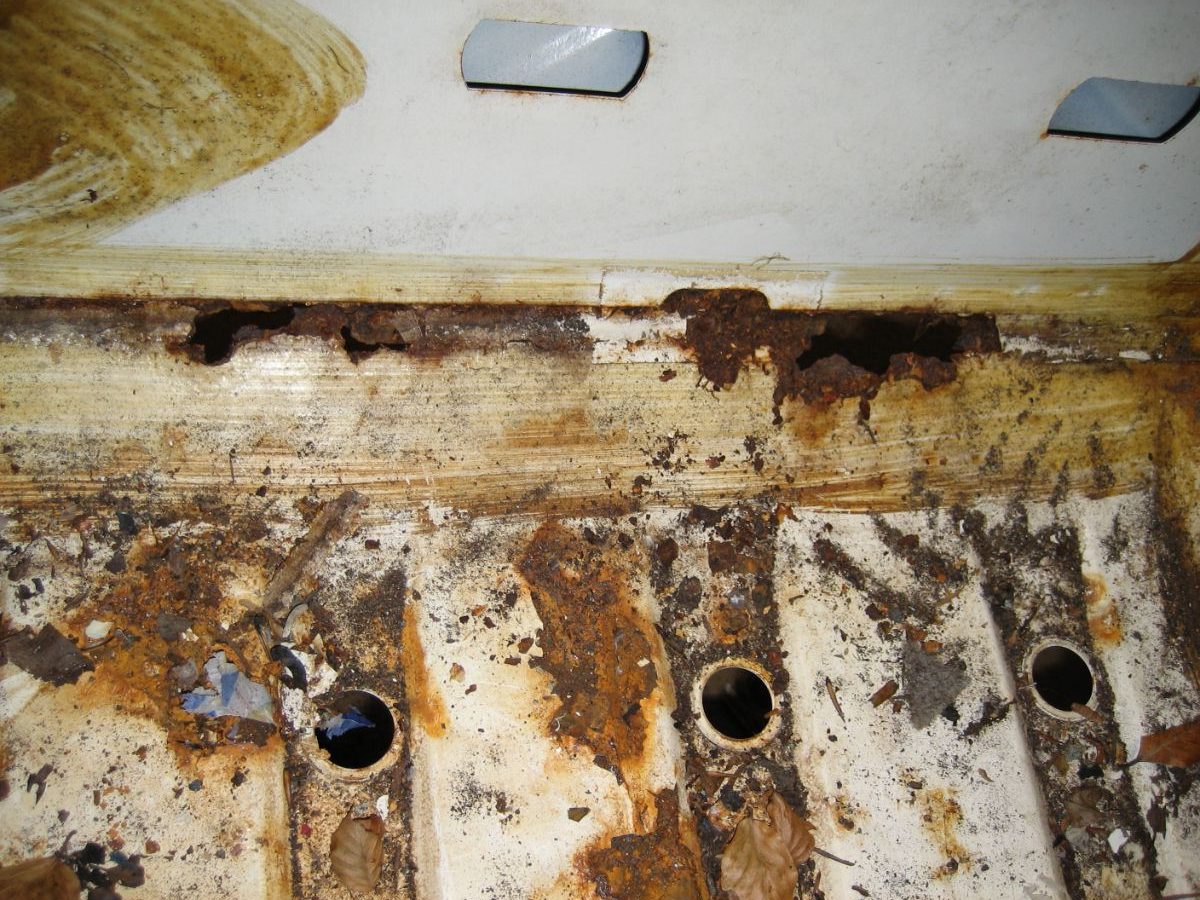
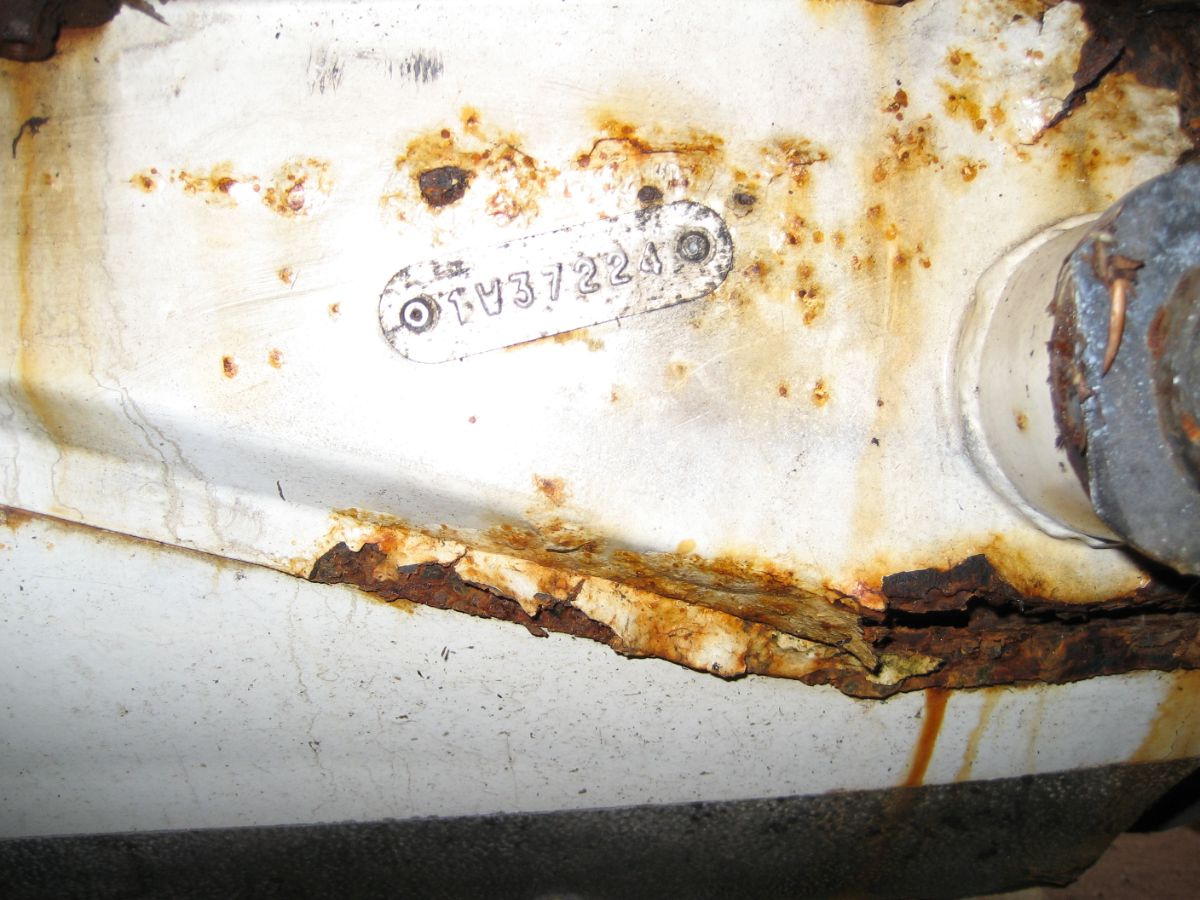
The rusty bits I found today are the boot floor where it meets the lower rear panel and the lower rear panel itself especially below the rear bumper mounting plates. Also, the nut on the bumper end of the long bolt that holds the bumper irons is seized and in trying to release it, I’ve removed the threads from the end.