Fuel System
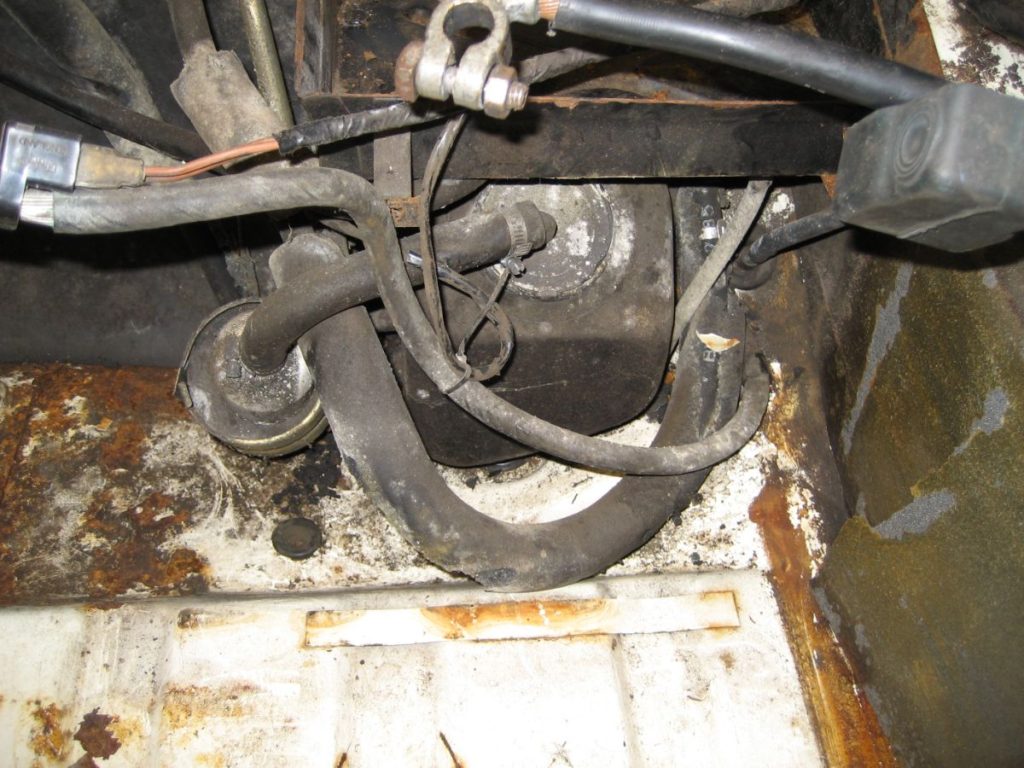
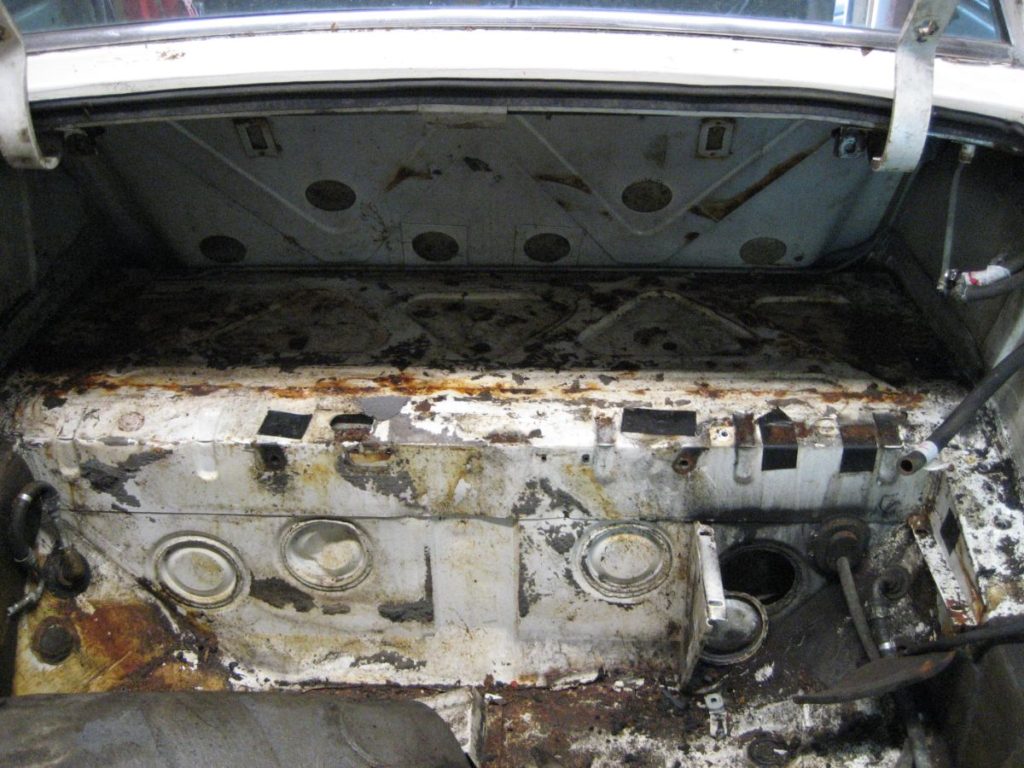
Ever wondered what lurked under the battery tray? Well I think it’s a swirl pot – the small reservoir that ensures a steady flow of fuel into the high pressure side of the fuel system. As this sits below the petrol tank, then this was where I started the disassembly to make sure the tank was drained.
Removing the petrol tank itself, requires other stuff to be removed first. Obviously, the feeding and return pipes all need disconnecting, including the filler neck, but you also need to remove the steel strips either side of the boot opening, the right hand of which is the mounting point for the relays and fuel injection electronics.
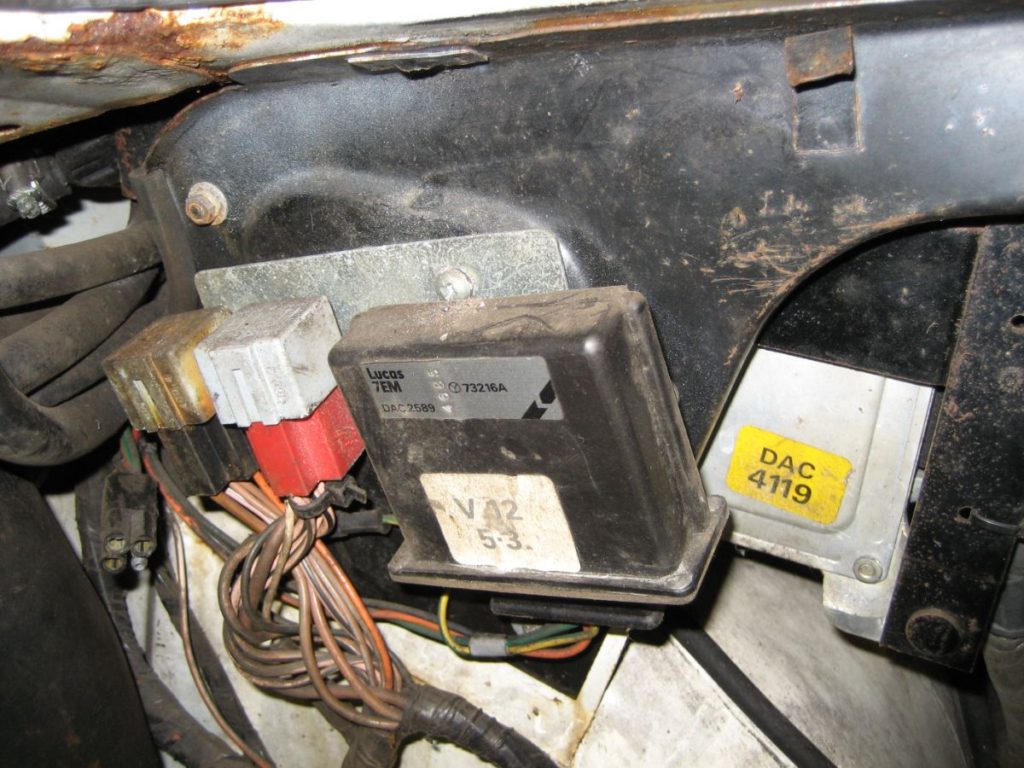
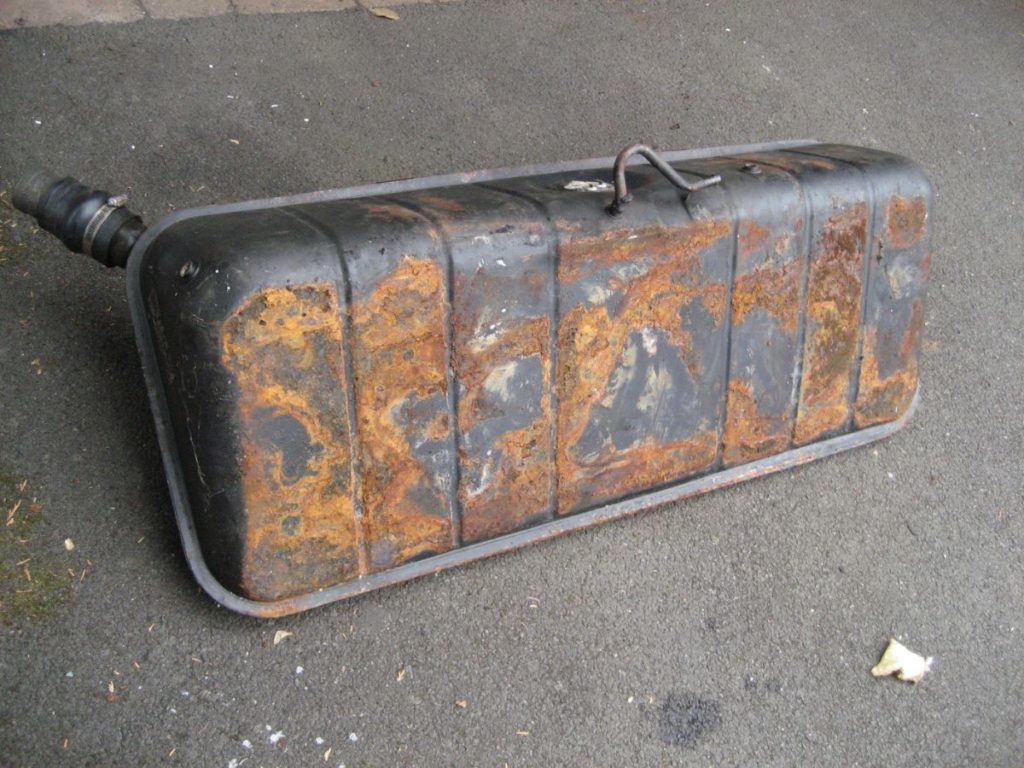
Once all of that is out of the way the petrol tank slides out. The underside of the petrol tank is susceptible to rust if the rear window has leaked water onto it for long enough. The sound insulation it sits on absorbs the water and keeps the base of the petrol tank moist – nice. In my case, there is some surface rust but nothing more.
Rear Window
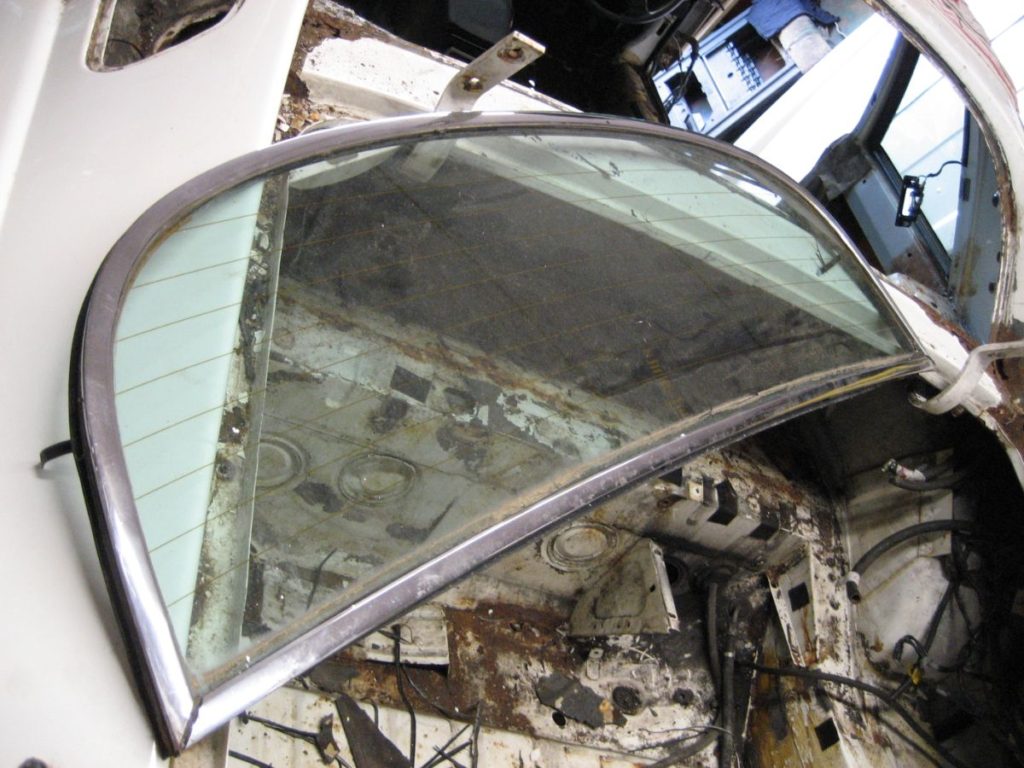
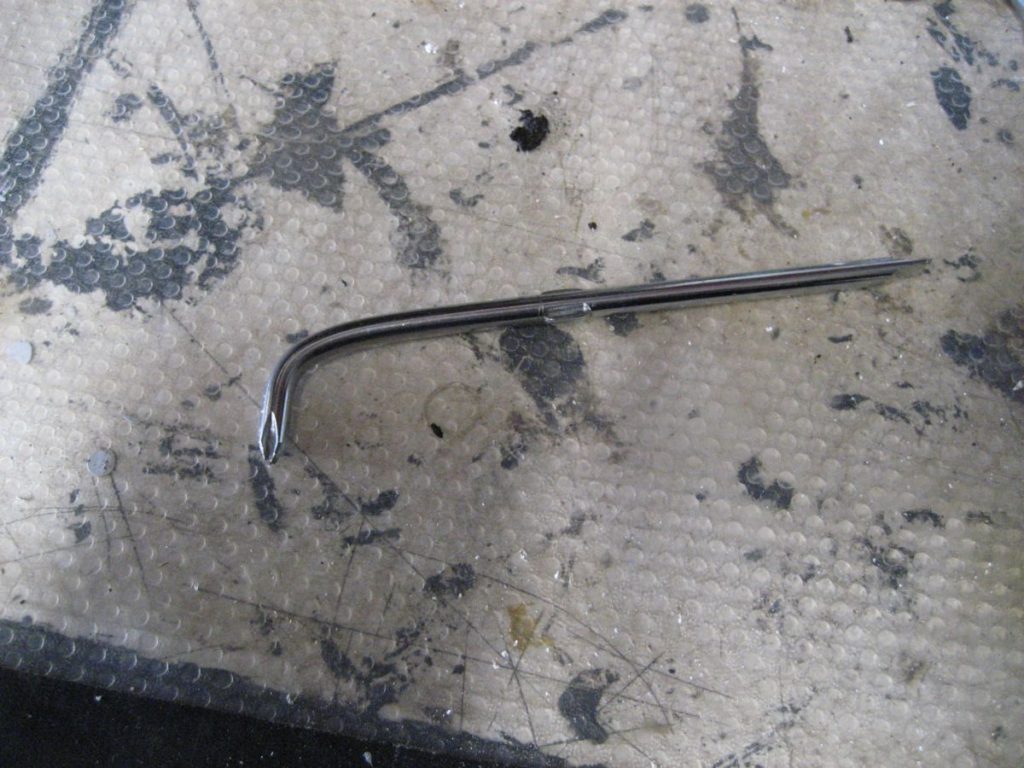
As you may have guessed, the rear window has been leaking and needs to be removed so that I can repair the window channels and get access to the corners of the buttresses to repair them too. Removal was not as worrying a job as I had thought. A sharp knife following the line of the chrome trim releases the seal and the rear window comes free. Sounds simple, but there’s a lot of careful cutting, and scraping involved to make sure it comes out in one piece.
So apart from the wiring loom, that’s the boot emptied and ready for the real work to begin.
