More Front Tub Disassembly

Today I braved the low temperatures for another few hours of disassembly. The throttle cable and the throttle peddle were first out followed by the footwell backing boards and insulation behind them. Then the speedo cable and RPM cable followed by the heater control cable. As I am dismantling I am taking copious photos and trying to label everything in ziplock bags and then taking of photos of the bags so I know where everything went.

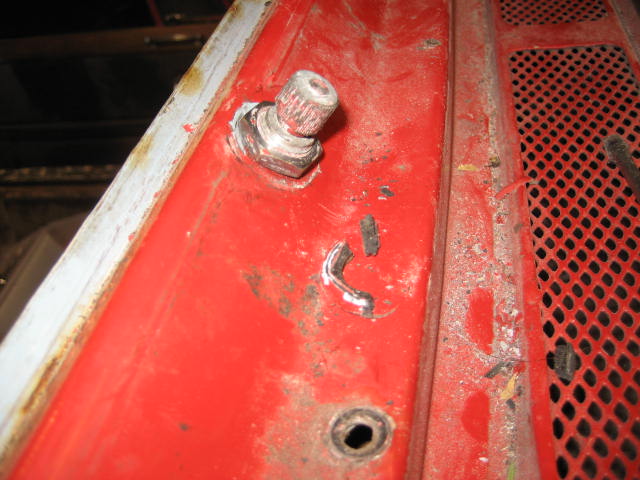
Next was the wiper motor, wiper cable and the trunking that protects it. All was going well until I tried to remove the wiper boxes. I was curious as to why the wiper arm mounting and lock nut had been painted body colour as the lock nut was originally chromed. The reason was that the lock nuts on both sides had ceased onto the wheel box threads and been left in-situ when the tub was repainted, rather than being removed. Both will need replacing along with the rubber gromets they sit on. Rimmers has them listed as Wiper Box – 32 Teeth – 122781 Qty Req-2, vehicles from 1969. I will need to check if mine is the 32 teeth variety by looking at the gear wheel in the wiper motor which should have 160 stamped on it.
At this point I needed to warm up, but there isn’t much more to do before the front tub can be removed. Just the brake and clutch master cylinders, the heater and disconnection of some more of the wiring loom.
Front Tub Disassembly

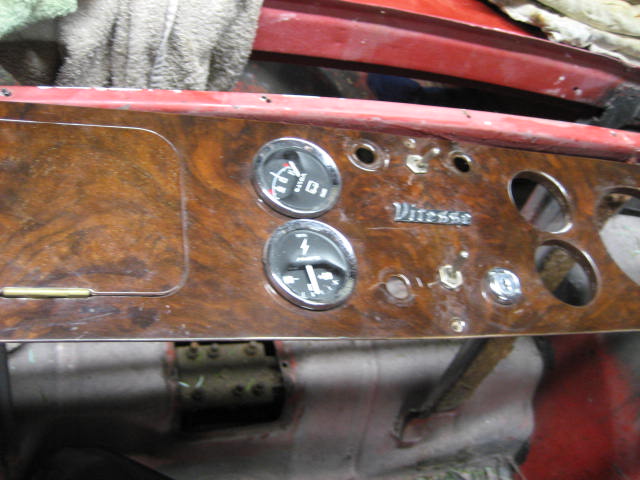
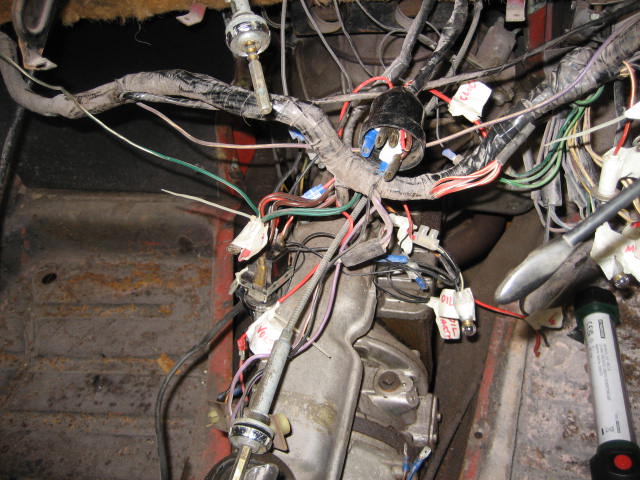
Firstly, the straightforward stuff: windscreen wipers, water jets, steering wheel and the windscreen. With the windscreen removed, then removal of the air vents on top of the dash and the dashboard itself, is a lot easier. Looking at the additional switches added to the standard dash layout, I knew someone had been fiddling, but one peak behind the dash confirmed the extent. I bit of a rats nest. I will need to trace many of the wires to figure out what has been done. I will also definitely need to redo the earthing. There were earth wires strewn everywhere. Some grouped and connected to the back of gauges but not even tightened up. I am sure most of the dash functionality would have been intermittent at best.

Donor Car

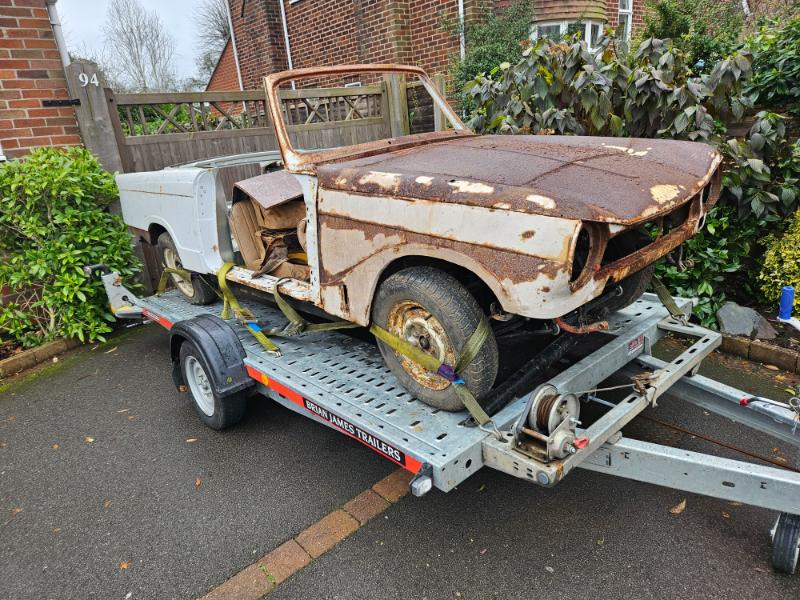
After some time on the keyboard and a couple of visits to potential candidates, I found one. Well not just the rear tub. I ended up buying pretty much the whole car. The back story here is that its owner had started the restoration a number of years ago but has since been distracted by other projects and the car has been sitting under tarp at the bottom of this garden ever since. I hope he won’t mind me using his first name here, but Dave has a passion for building small steam tractors from steel, brass, drawings and his lathes. His engineering skill and attention to detail are something I can only admire and wonder at. I fear that when Dave and other engineers of of his generation finally turn their lathes off, we will lose this capability for ever.

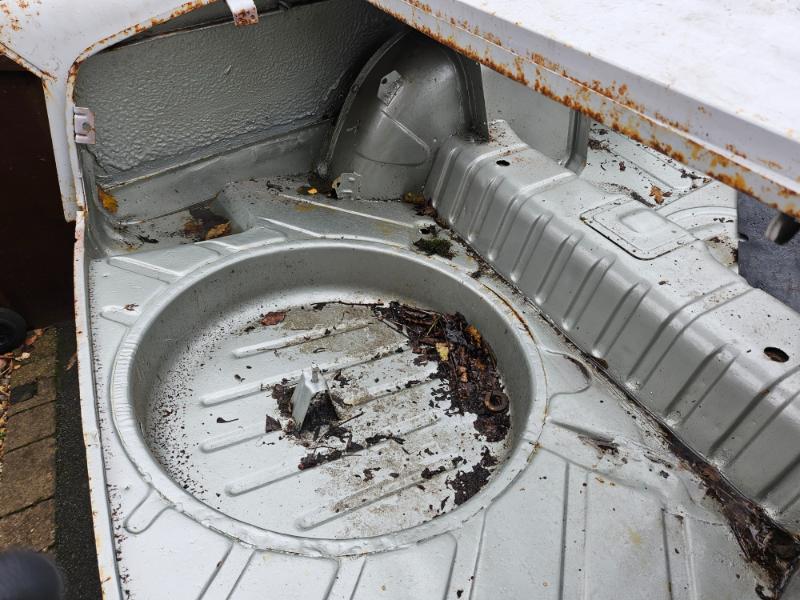
The car Dave had started to restore was a 13/60 convertible. The rear tub had been refurbished and fully painted. The front tub was likewise almost finished as was the chassis. The bonnet and ancillaries were yet to be completed. The car was still in pieces, but that was fine as it would save me the job of dismantling it. Not only did this car cost me less than the price of buying new panels, and save me the time of welding them all together, I also bought some of Dave’s engineering skill as I an expecting the welding and structural integrity of the shell to be as precise as components he is making for this steam tractors. And the other major positive was meeting and talking to Dave. Great chap.