|
After so fettling of the front outriggers, they now fit around the chassis and allow the front fixings of the bulkhead to bolt into the captured nut on the inside of the front outriggers. However, with these bolts in place the left hand side first and second fixing through the crush tubes on the side rails do not align with the bulkhead brackets. So it’s back to the issue of the brackets in the wrong place.
I could widen the fixing point on the underside of the bracket, but then the captive nut on the fixing plate wouldn’t fit and that would then need fettling. Or I could do it properly and remove the brackets and replace them in the correct position. Only what is the correct position? Are the left hand brackets correct or the right hand ones?
I asked the learned men on the TSSC forum. To my surprise someone else has had the same problem with Chic Doig side rails. Their solution was to create 2 new fixing points (with crush tubes) in the side rail. A lot less work.
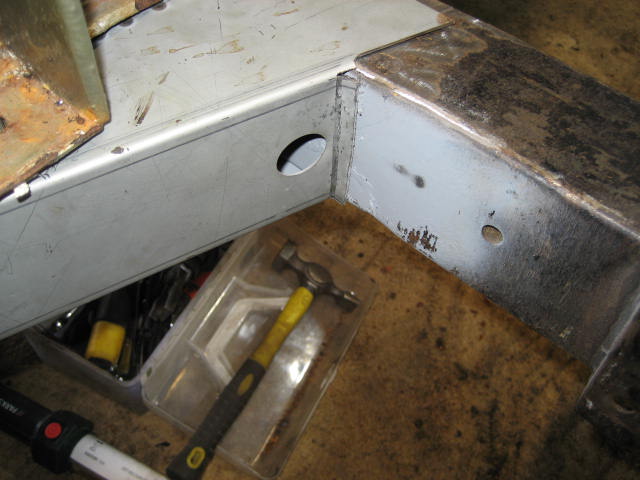
I decided to take their advice. One of the fixings was simply 10mm adrift from where it needed to be, so I drilled a new fixing point in the siderail and welded in a new crush tube. The other fixing point is the one connecting the front outrigger and the siderail. Initially I thought “even easier the crush tube is located on the front outrigger so even less work”. Then my brain kicked in. I couldn’t move the crush tube without also moving the captive nut for the front bulkhead fixing. As this fixing only needed to move a few millimetres I decided to simply drill out the bulkhead bracket. I will also need to adjust the mounting plate but that should be far far easier than replacing the bracket itself.
To get ready for welding the chassis components back together I took the opportunity to prime and paint the insides of the new outriggers. I used Rustbuster Epoxy Mastic Rust Proofing Paint as I have used this in the past and quite like it.
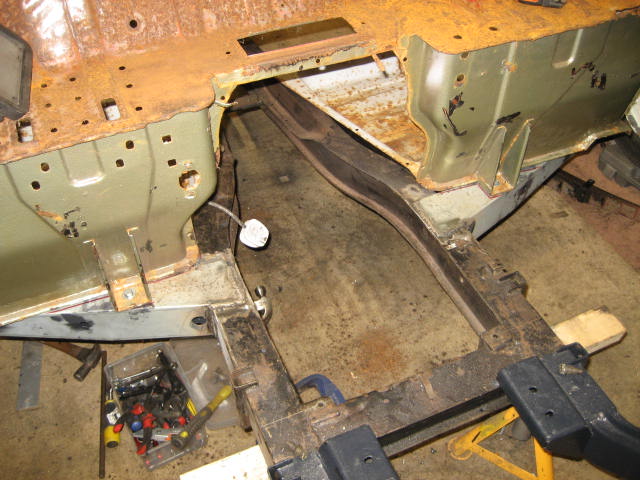
To ensure that the new front tub and repaired chassis fit together via the low tolerance fixing points, I bolted the front tub to the chassis before I started welding the new outriggers in place. Simply getting the tub and chassis to align was hard enough with the outriggers able to move. I think welding first, even with a template, would have left me needing to bodge the tub to fit.
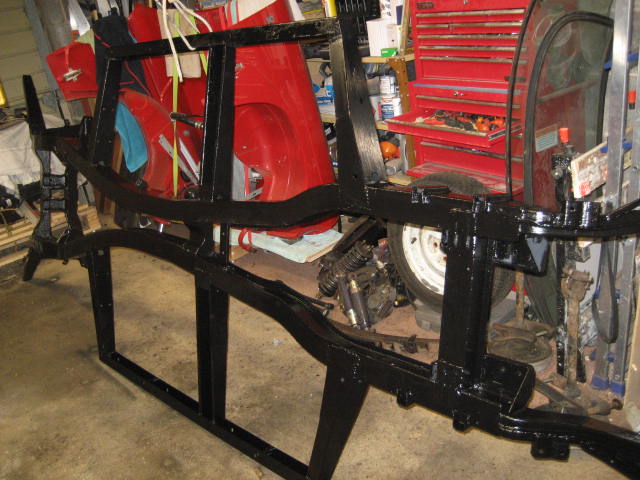
With the front outriggers welded in place on the front and upper surfaces, I removed the tub again to finish the welding and start the painting.
It looks brand new again. But this time it has two coats of epoxy rust retardant paint!!