
Dismantling:
The underside of the car is now clean and ready for repair and painting. To improve access I might as well remove some of the obstacles, for example the front suspension.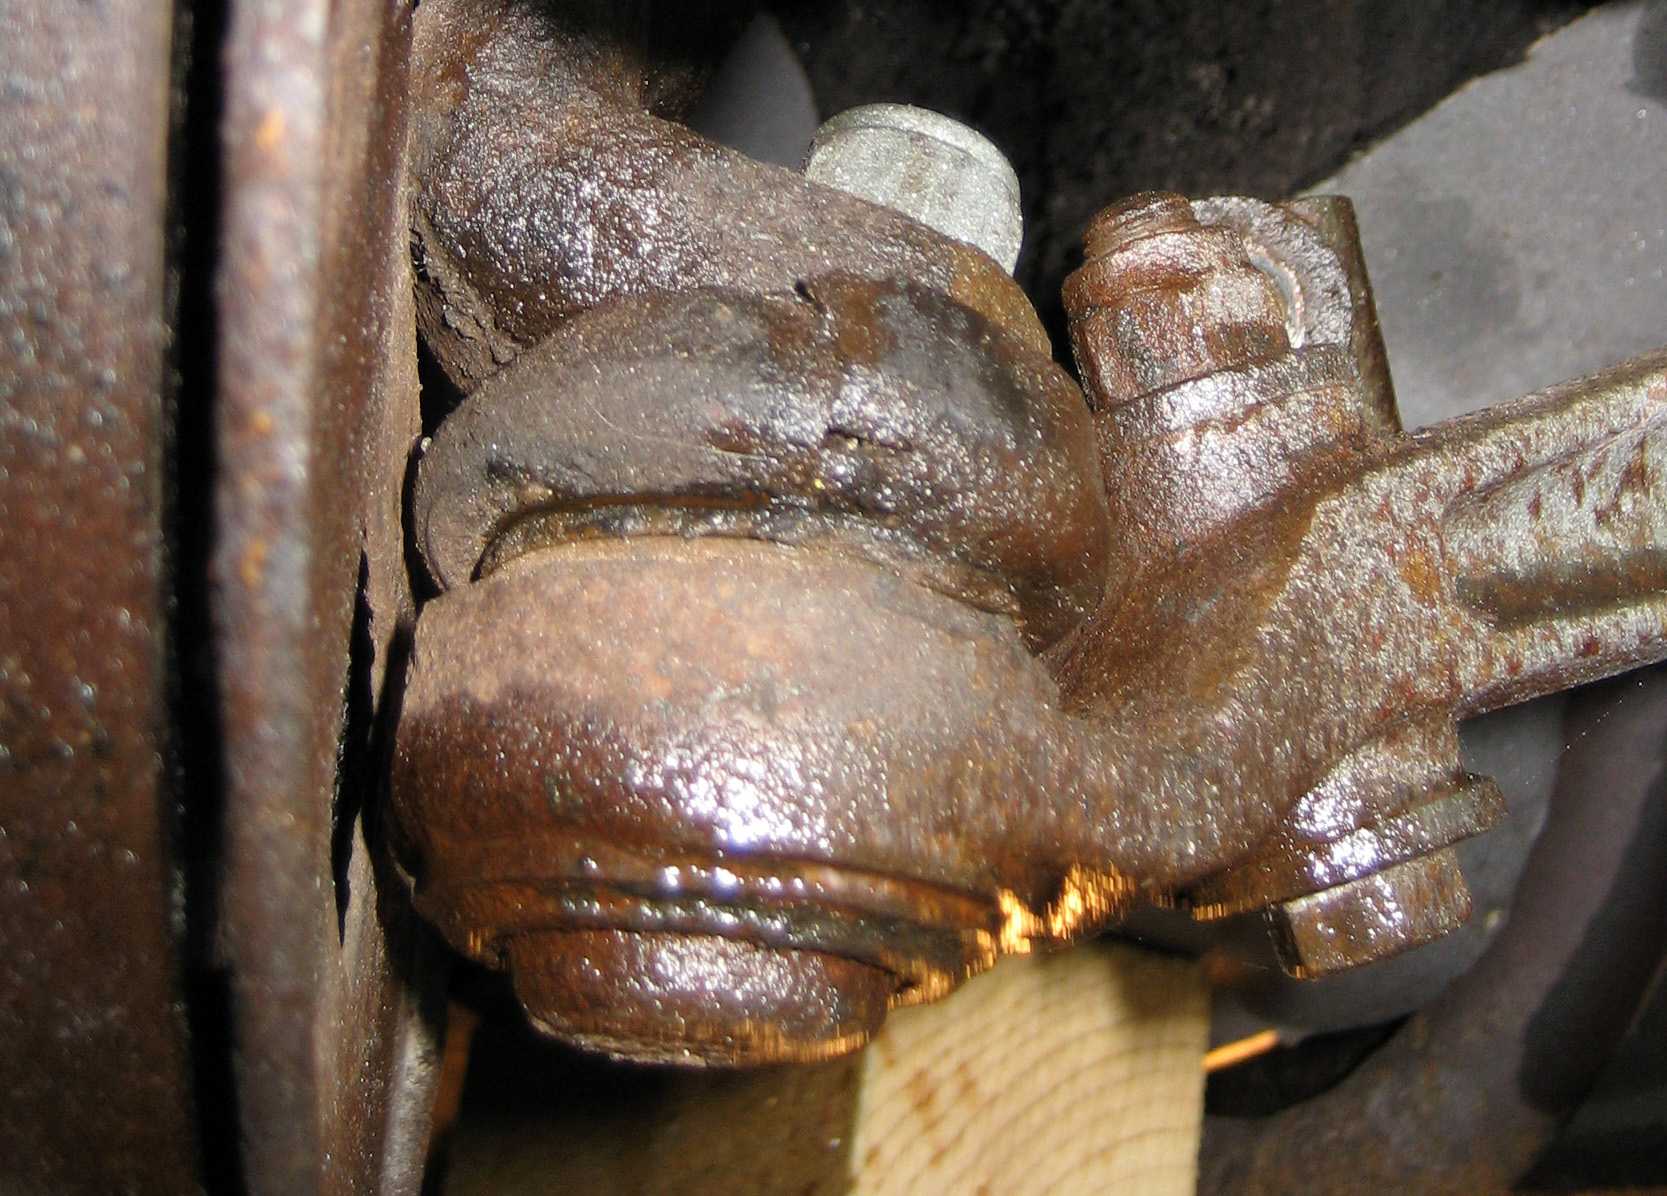
I need to do this anyway as the bushes look perished on the track control arm and anti-roll bar mountings. As they all look a similar age, then it’s probably worth replacing the lot. I’ll dismantle first and then decide.
The first step was to disconnect and drain the brake calliper. Followed by 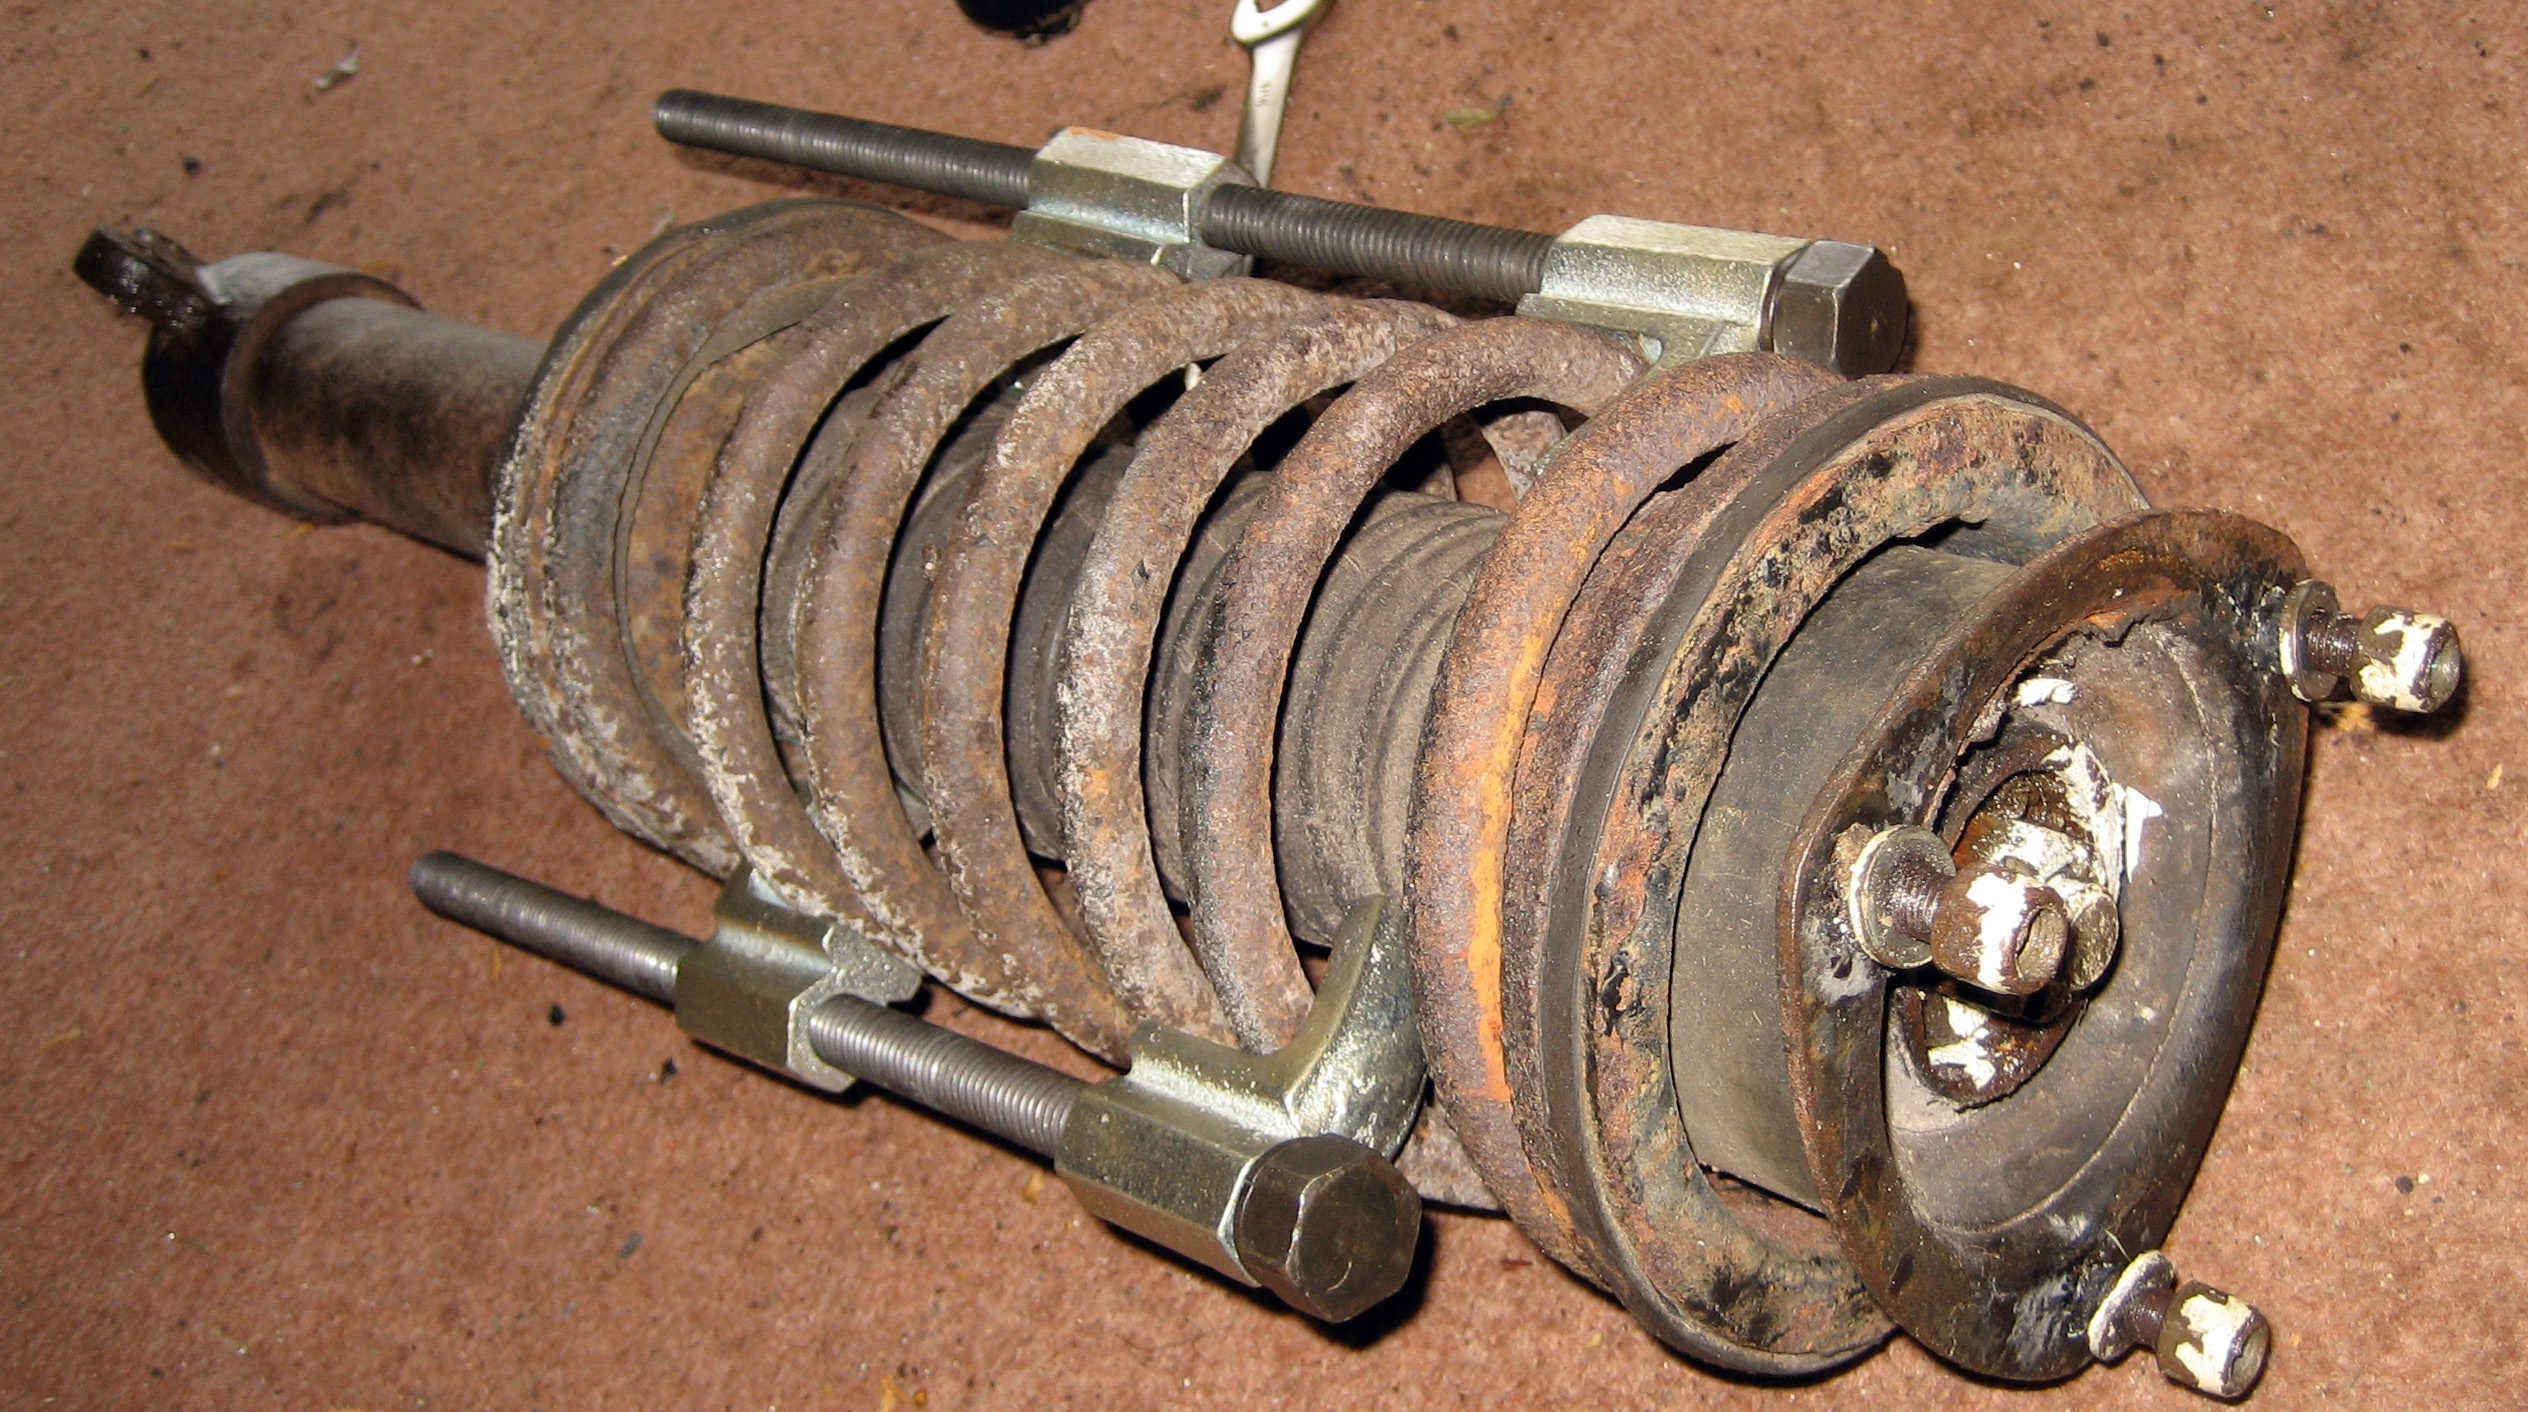 compressing the road spring (carefully and safely) with a set of spring compressors. With the tension released from the suspension, I could then break the taper joints on the track control arm ball joint and anti-roll bar ball joint. Releasing the anti-roll bar ball joint was quite straight forward. A couple of sharp blows with a hammer and it
 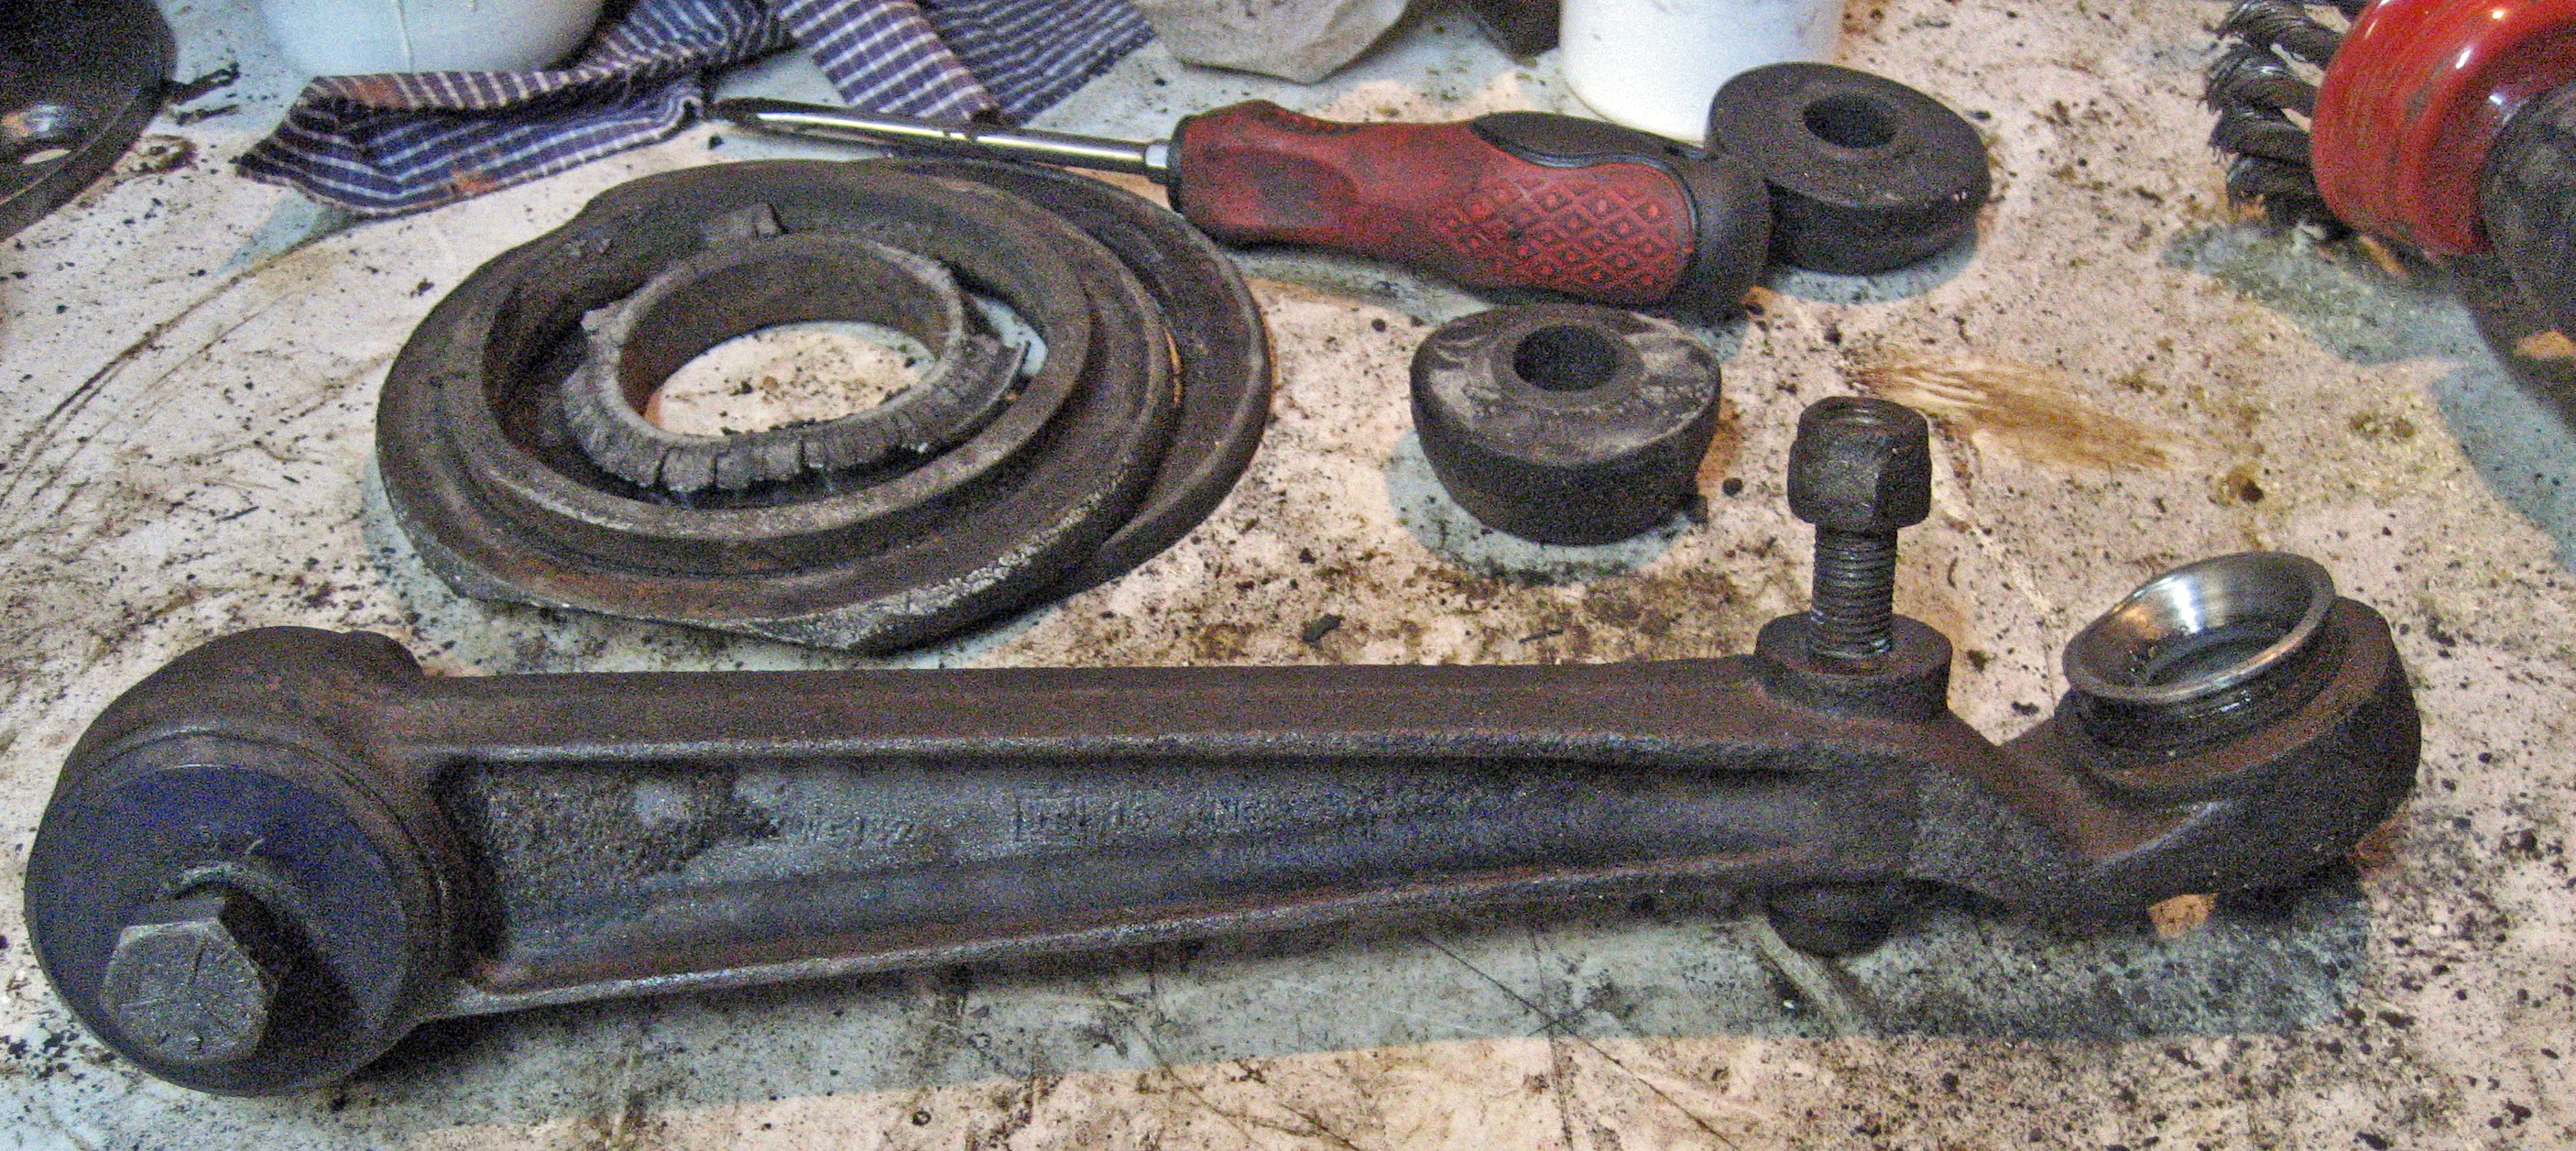 dropped apart. The track control arm ball joint put up considerably more resistance. In the end the joint gave up and disintegrated into it’s component pieces. One way to get it off I suppose.
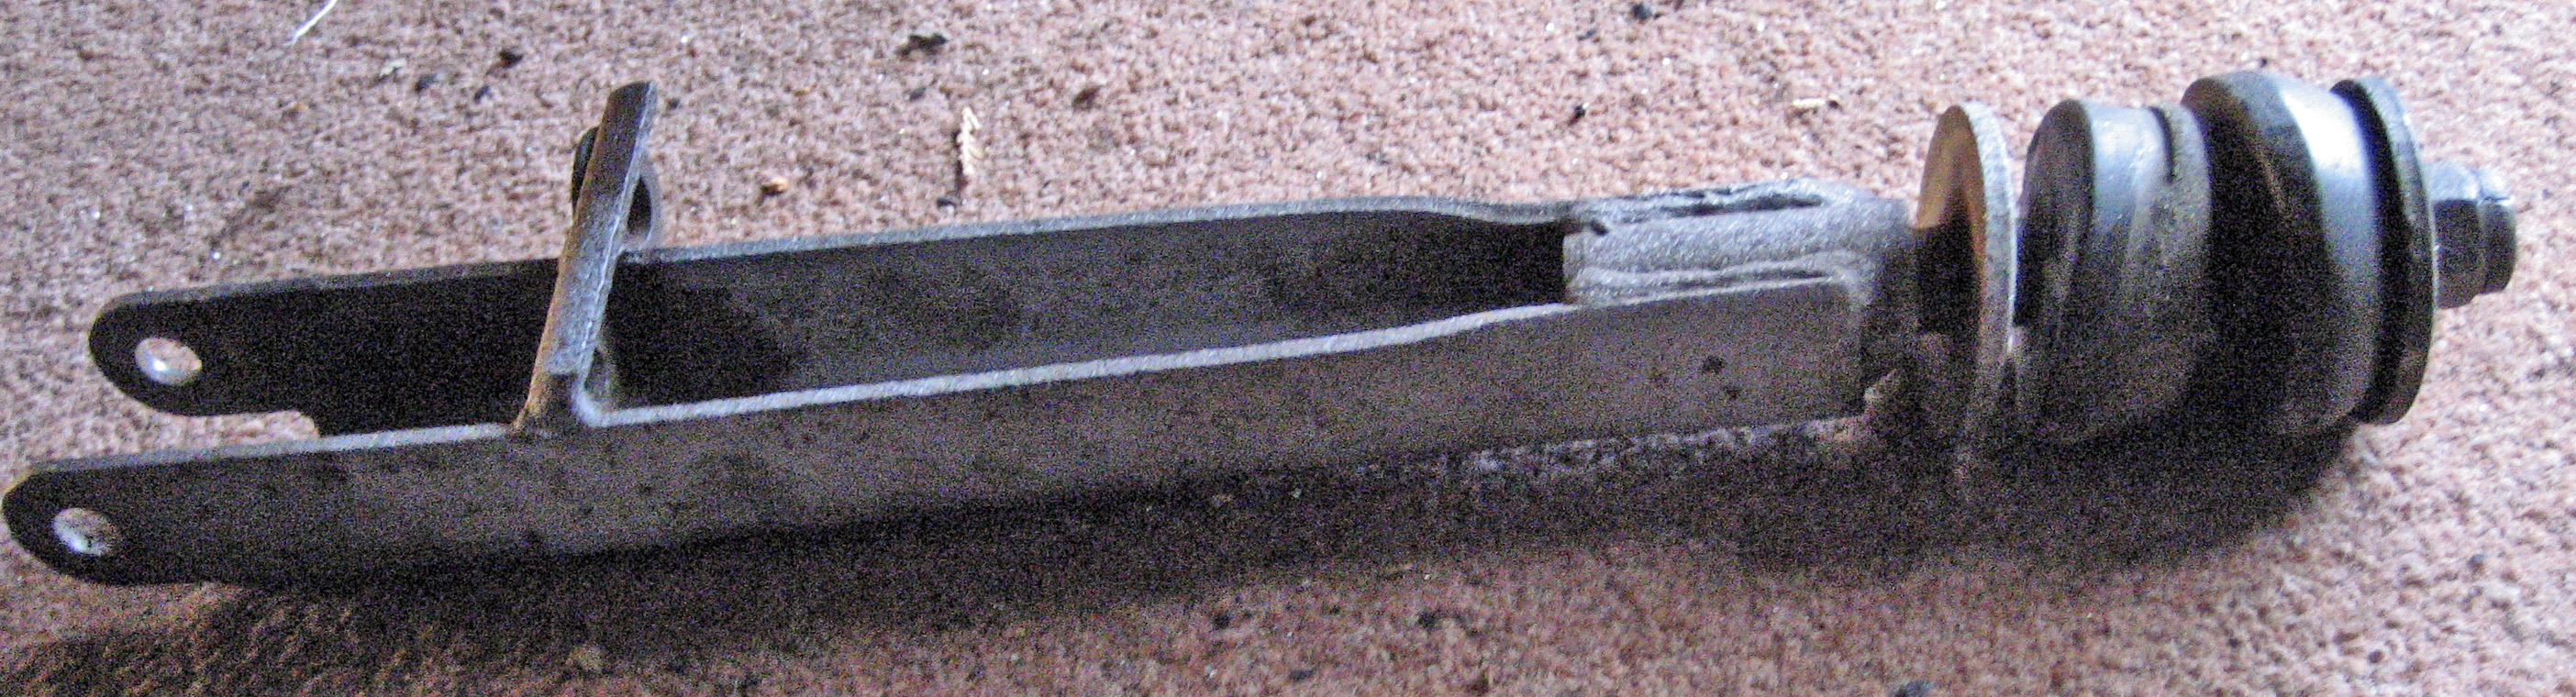 I then disconnected and removed the drag strut, suspension leg and hub. That left the wheel arch free and open to complete the repairs apart from the anti-roll bar itself. With the engine and alternator in
 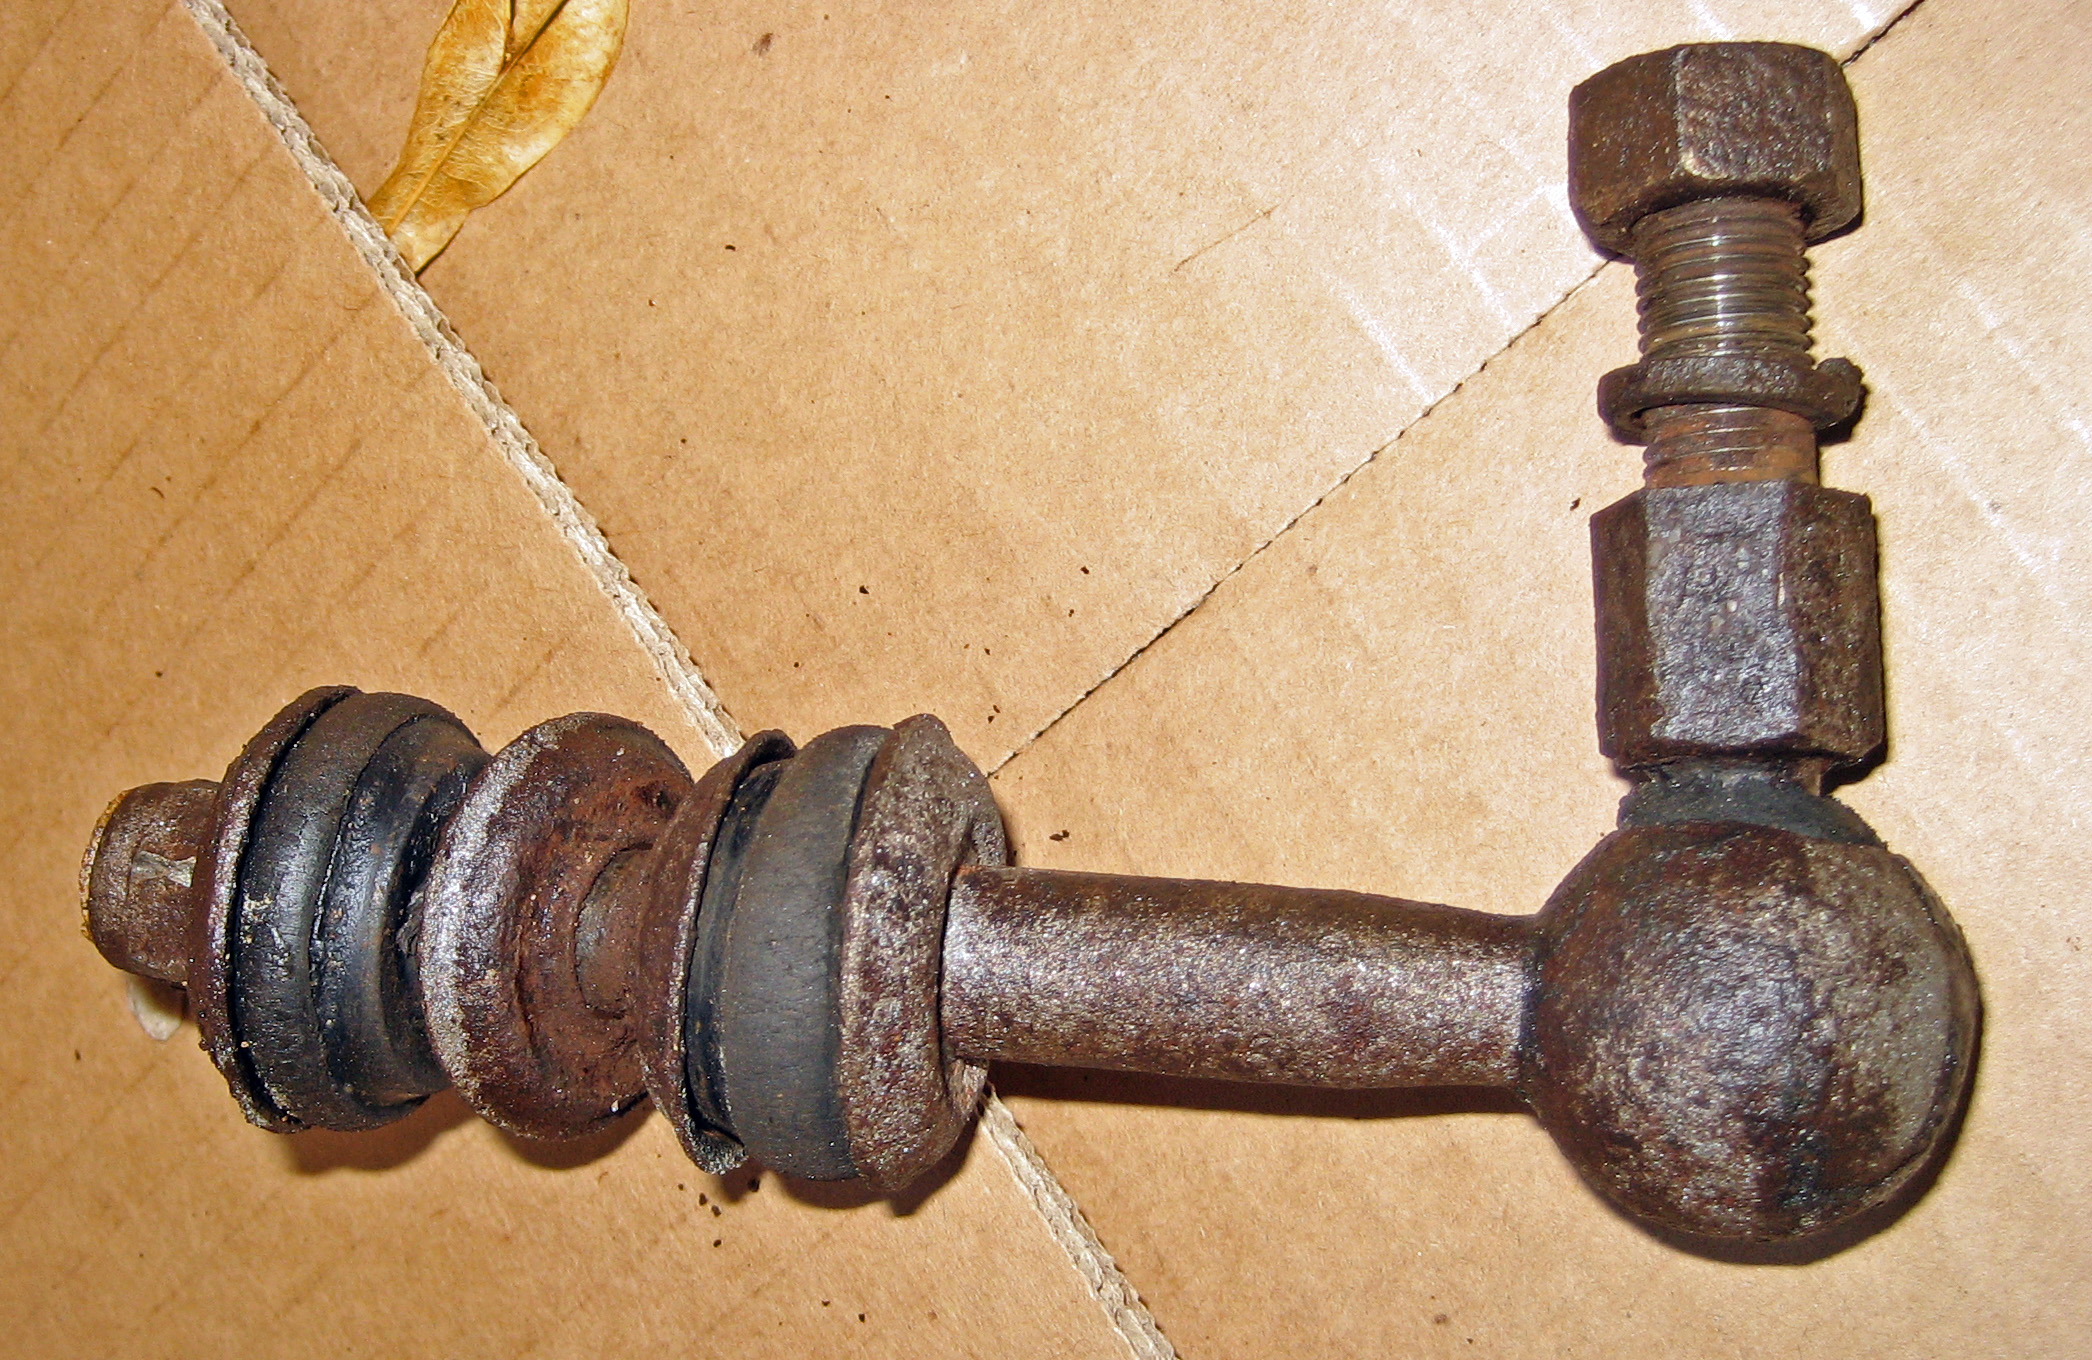 place the mounting bolts for the anti-roll bar bracket on the drivers side are a bit tricky to get to. Made more so by the fact they were initially seized. Patience, penetrating oil and brute force eventually proved over-whelming although the car did exert some revenge , by snapping a Halfords 1/2inch socket
 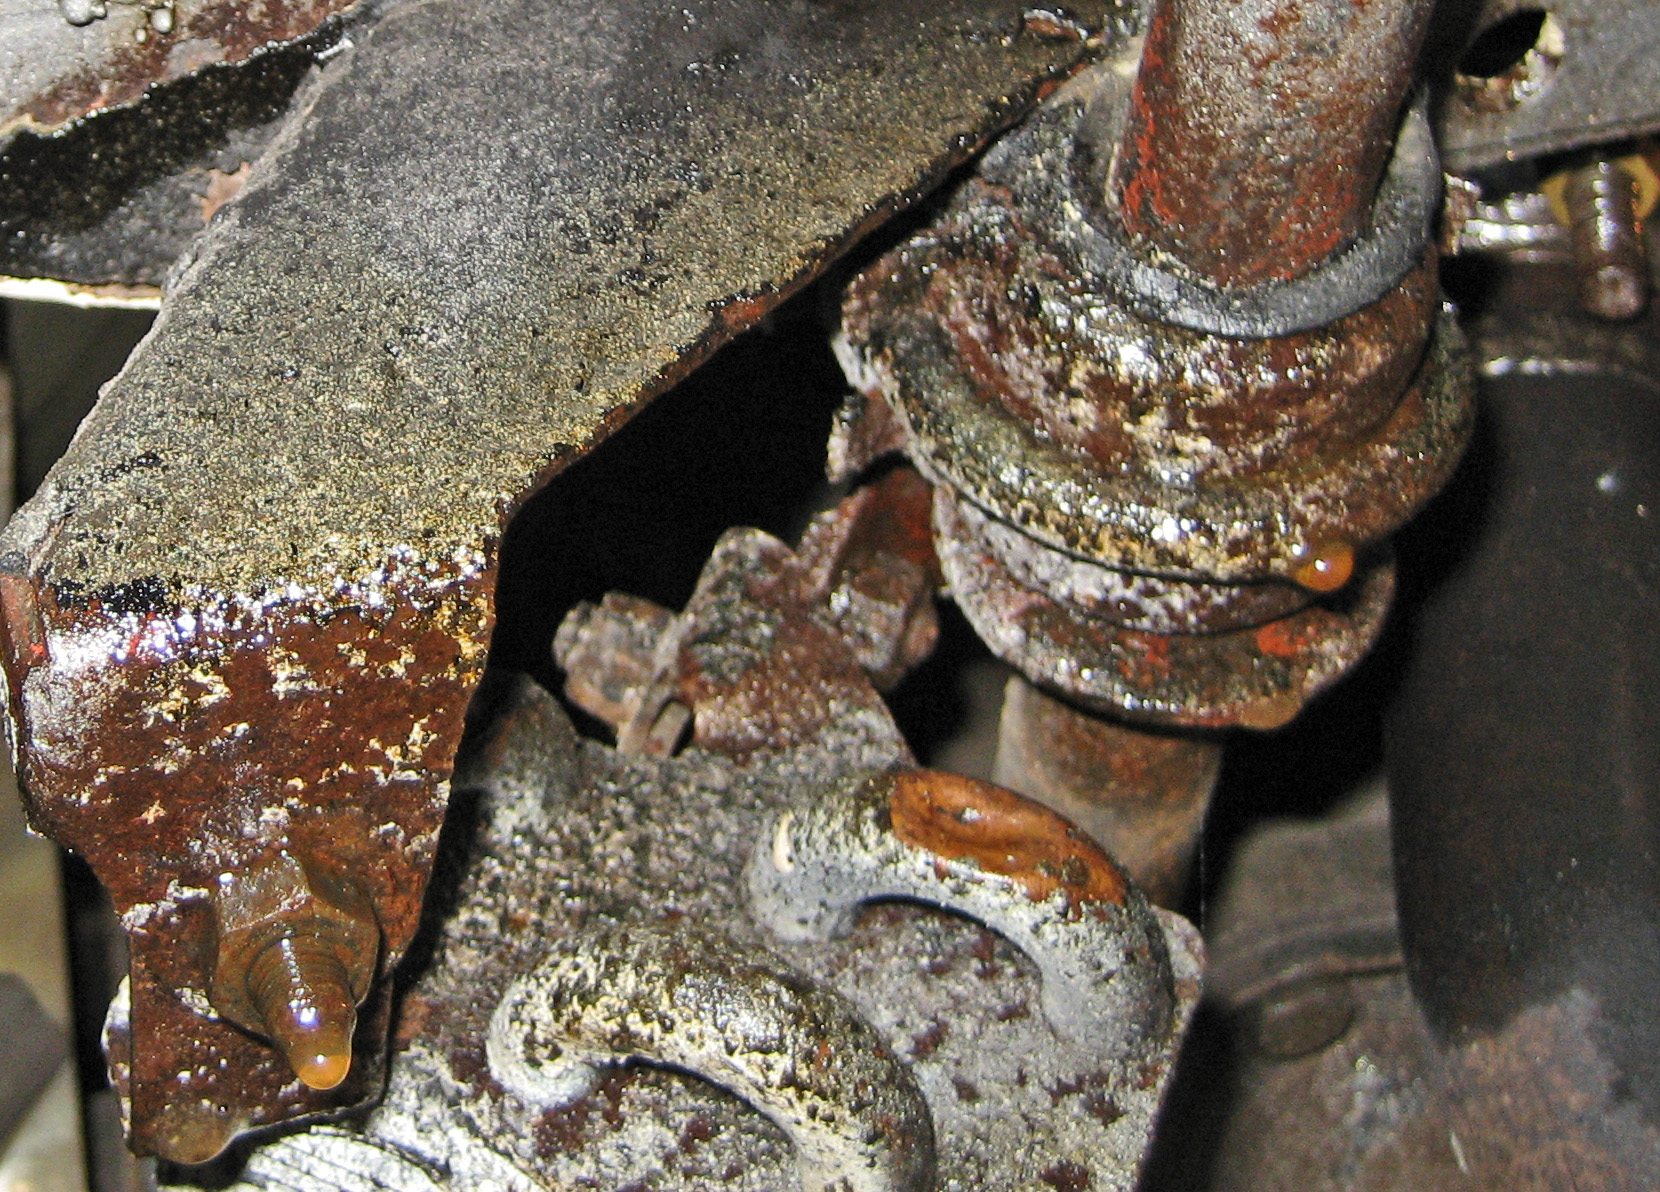 and removing the skin from my knuckles.
Disk Brake & Calliper
With the major front suspension components off the car, I could work on each of them on the bench. After removing the brake calliper it looked fairly new and the 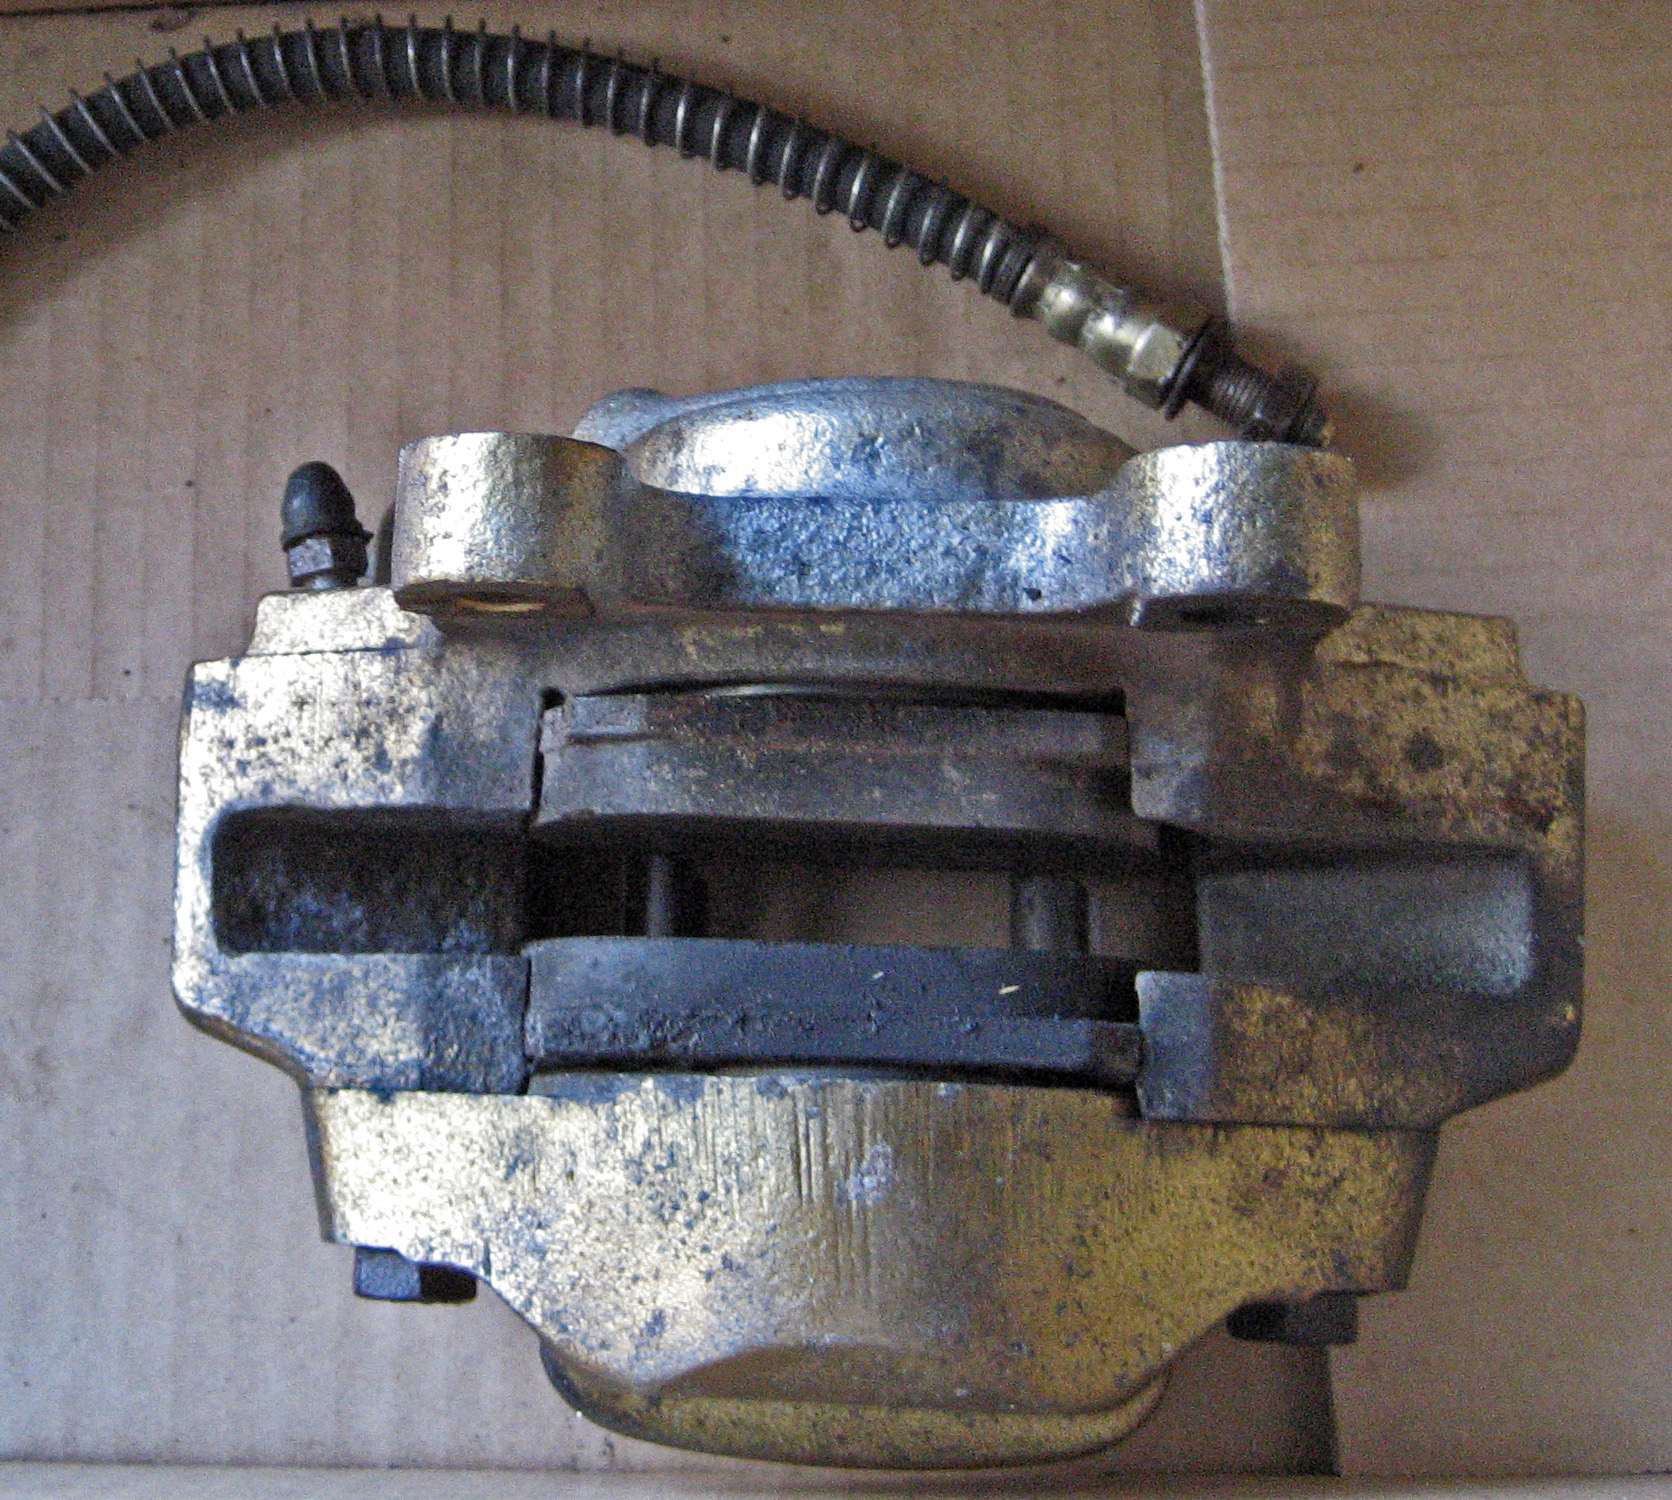 pads were hardly worn. I think this just needs degreasing and an new coat of paint.
Removing the disk from the hub should have been straight forward – after all this is a regular maintenance job. But no. Even after soaking in penetrating oil, 2 of the retaining bolts wouldn’t budge. To compound the problem my 9/16″ socket has side walls too thick to fit properly around the bolt head. So I used a metric 13 which eventually rounded the heads of both seized bolts.
What to do?
Well if in doubt Google it. Sure enough there is a readily available tool called a grip nut remover tool. After 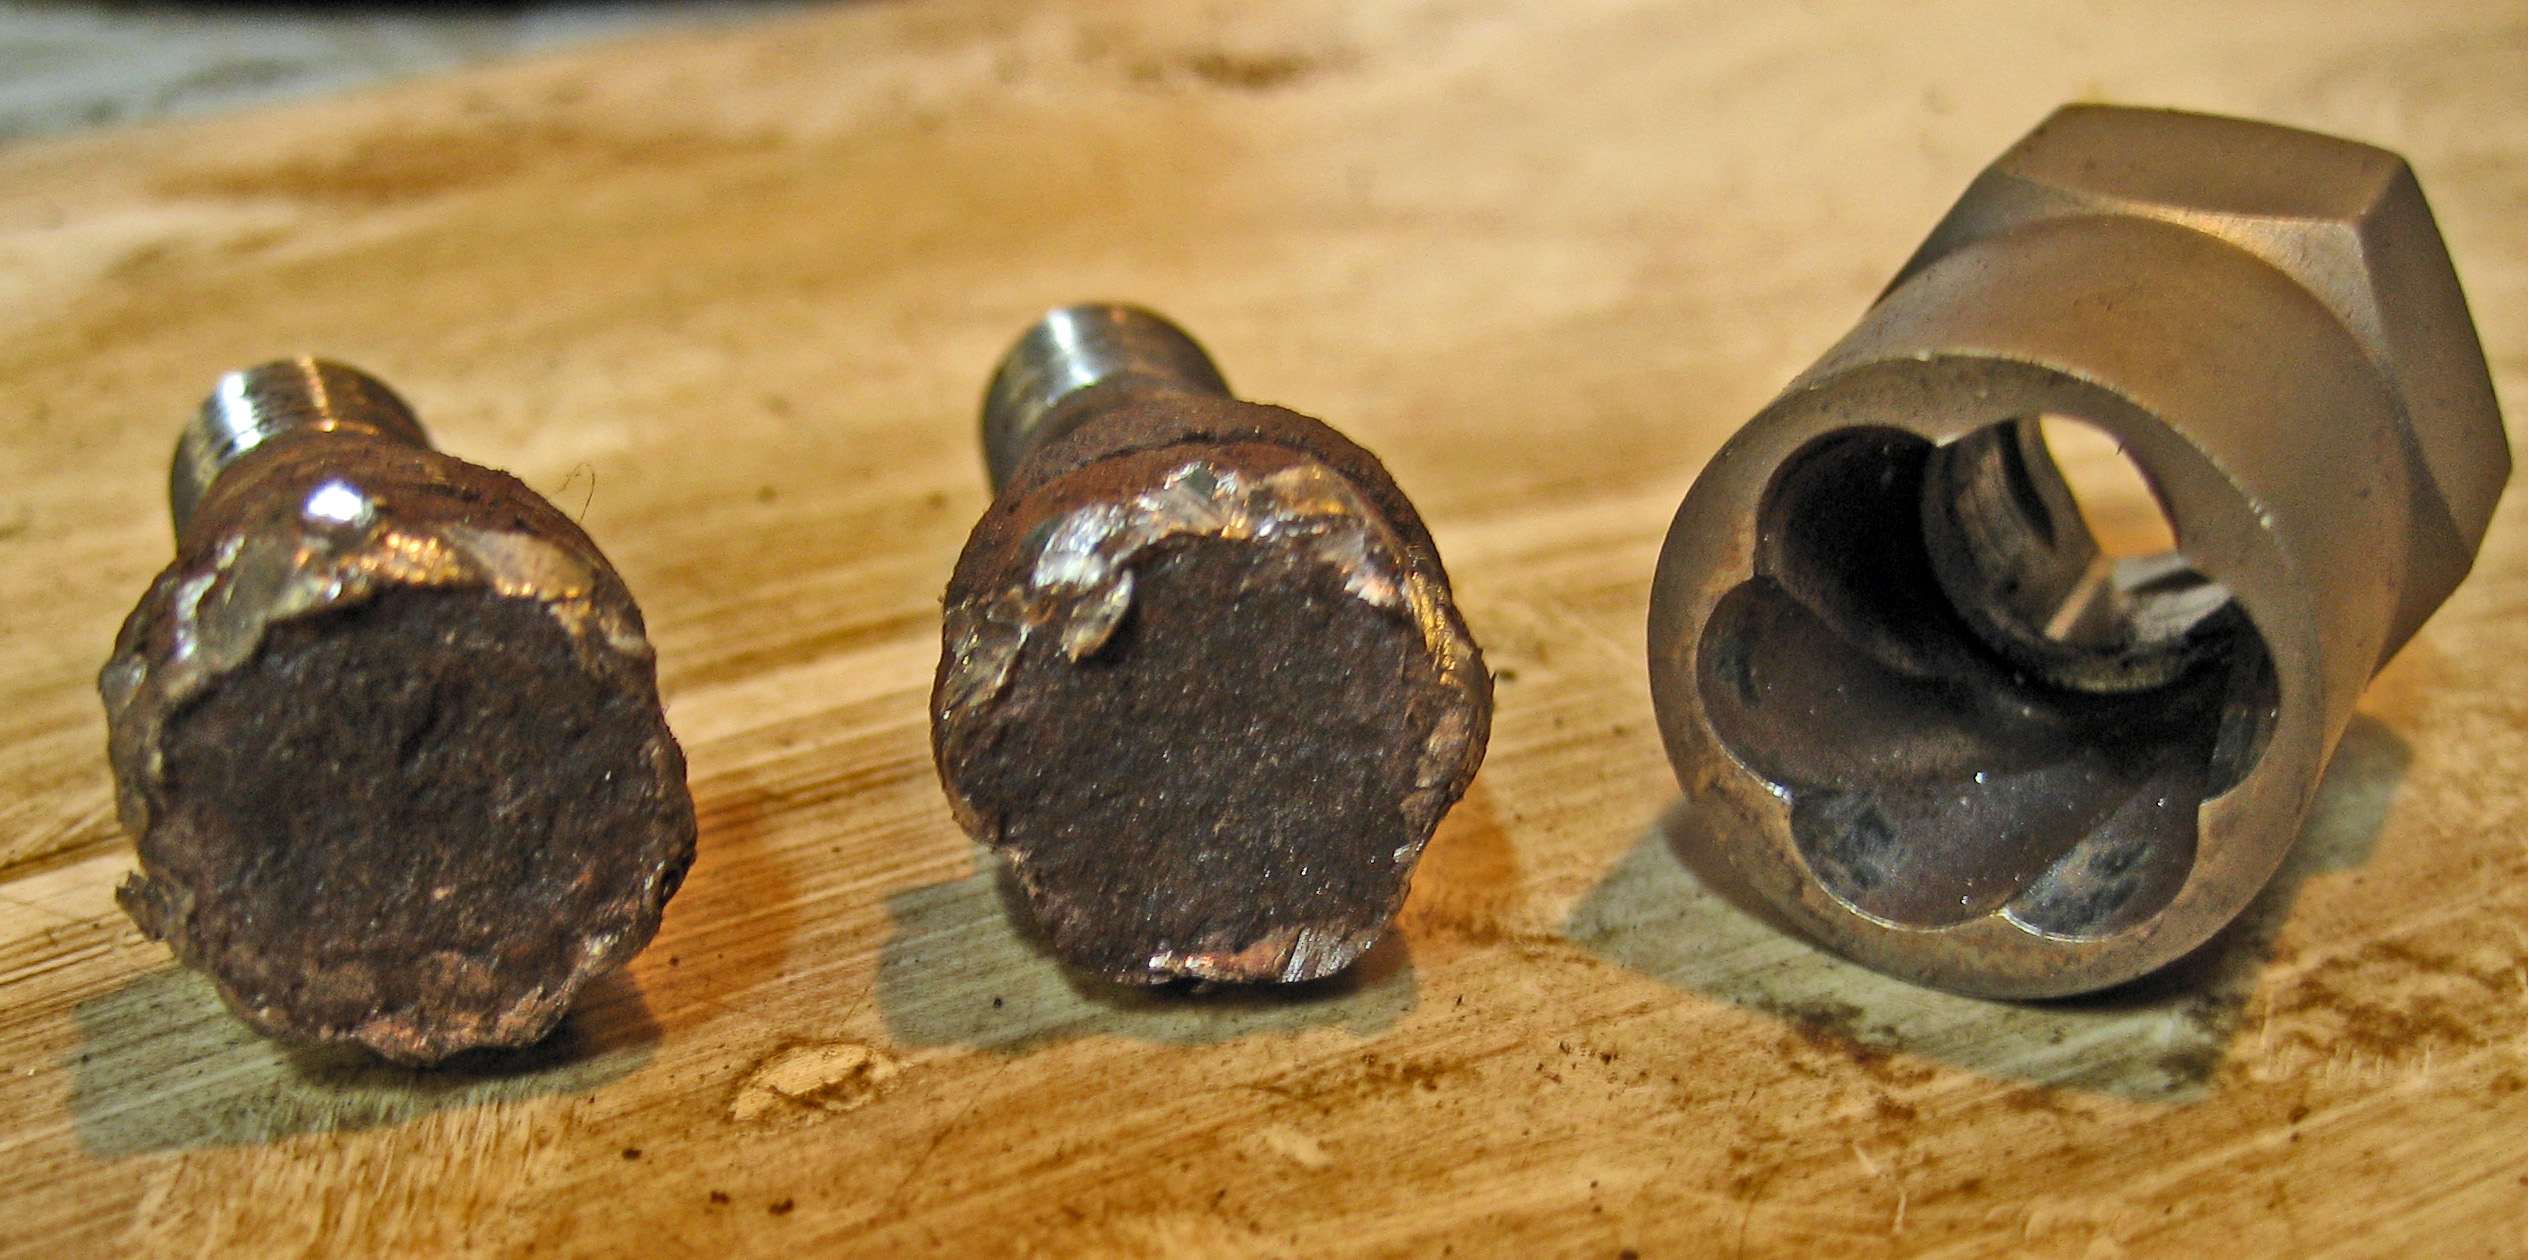 reading some reviews the best one seemed to be the Irwin brand which arrived next day courtesy of Amazon Prime. It worked a treat – plenty of penetrating oil, some heat on the hub and a pri-bar behind the Irwin socket and the seized bolts both started to move again.
Suspension Leg
I was hoping not to have to replace the dampers, but on extracting the damper from the strut, there was a pool of damper oil in the strut. This type of damper was the original fit. 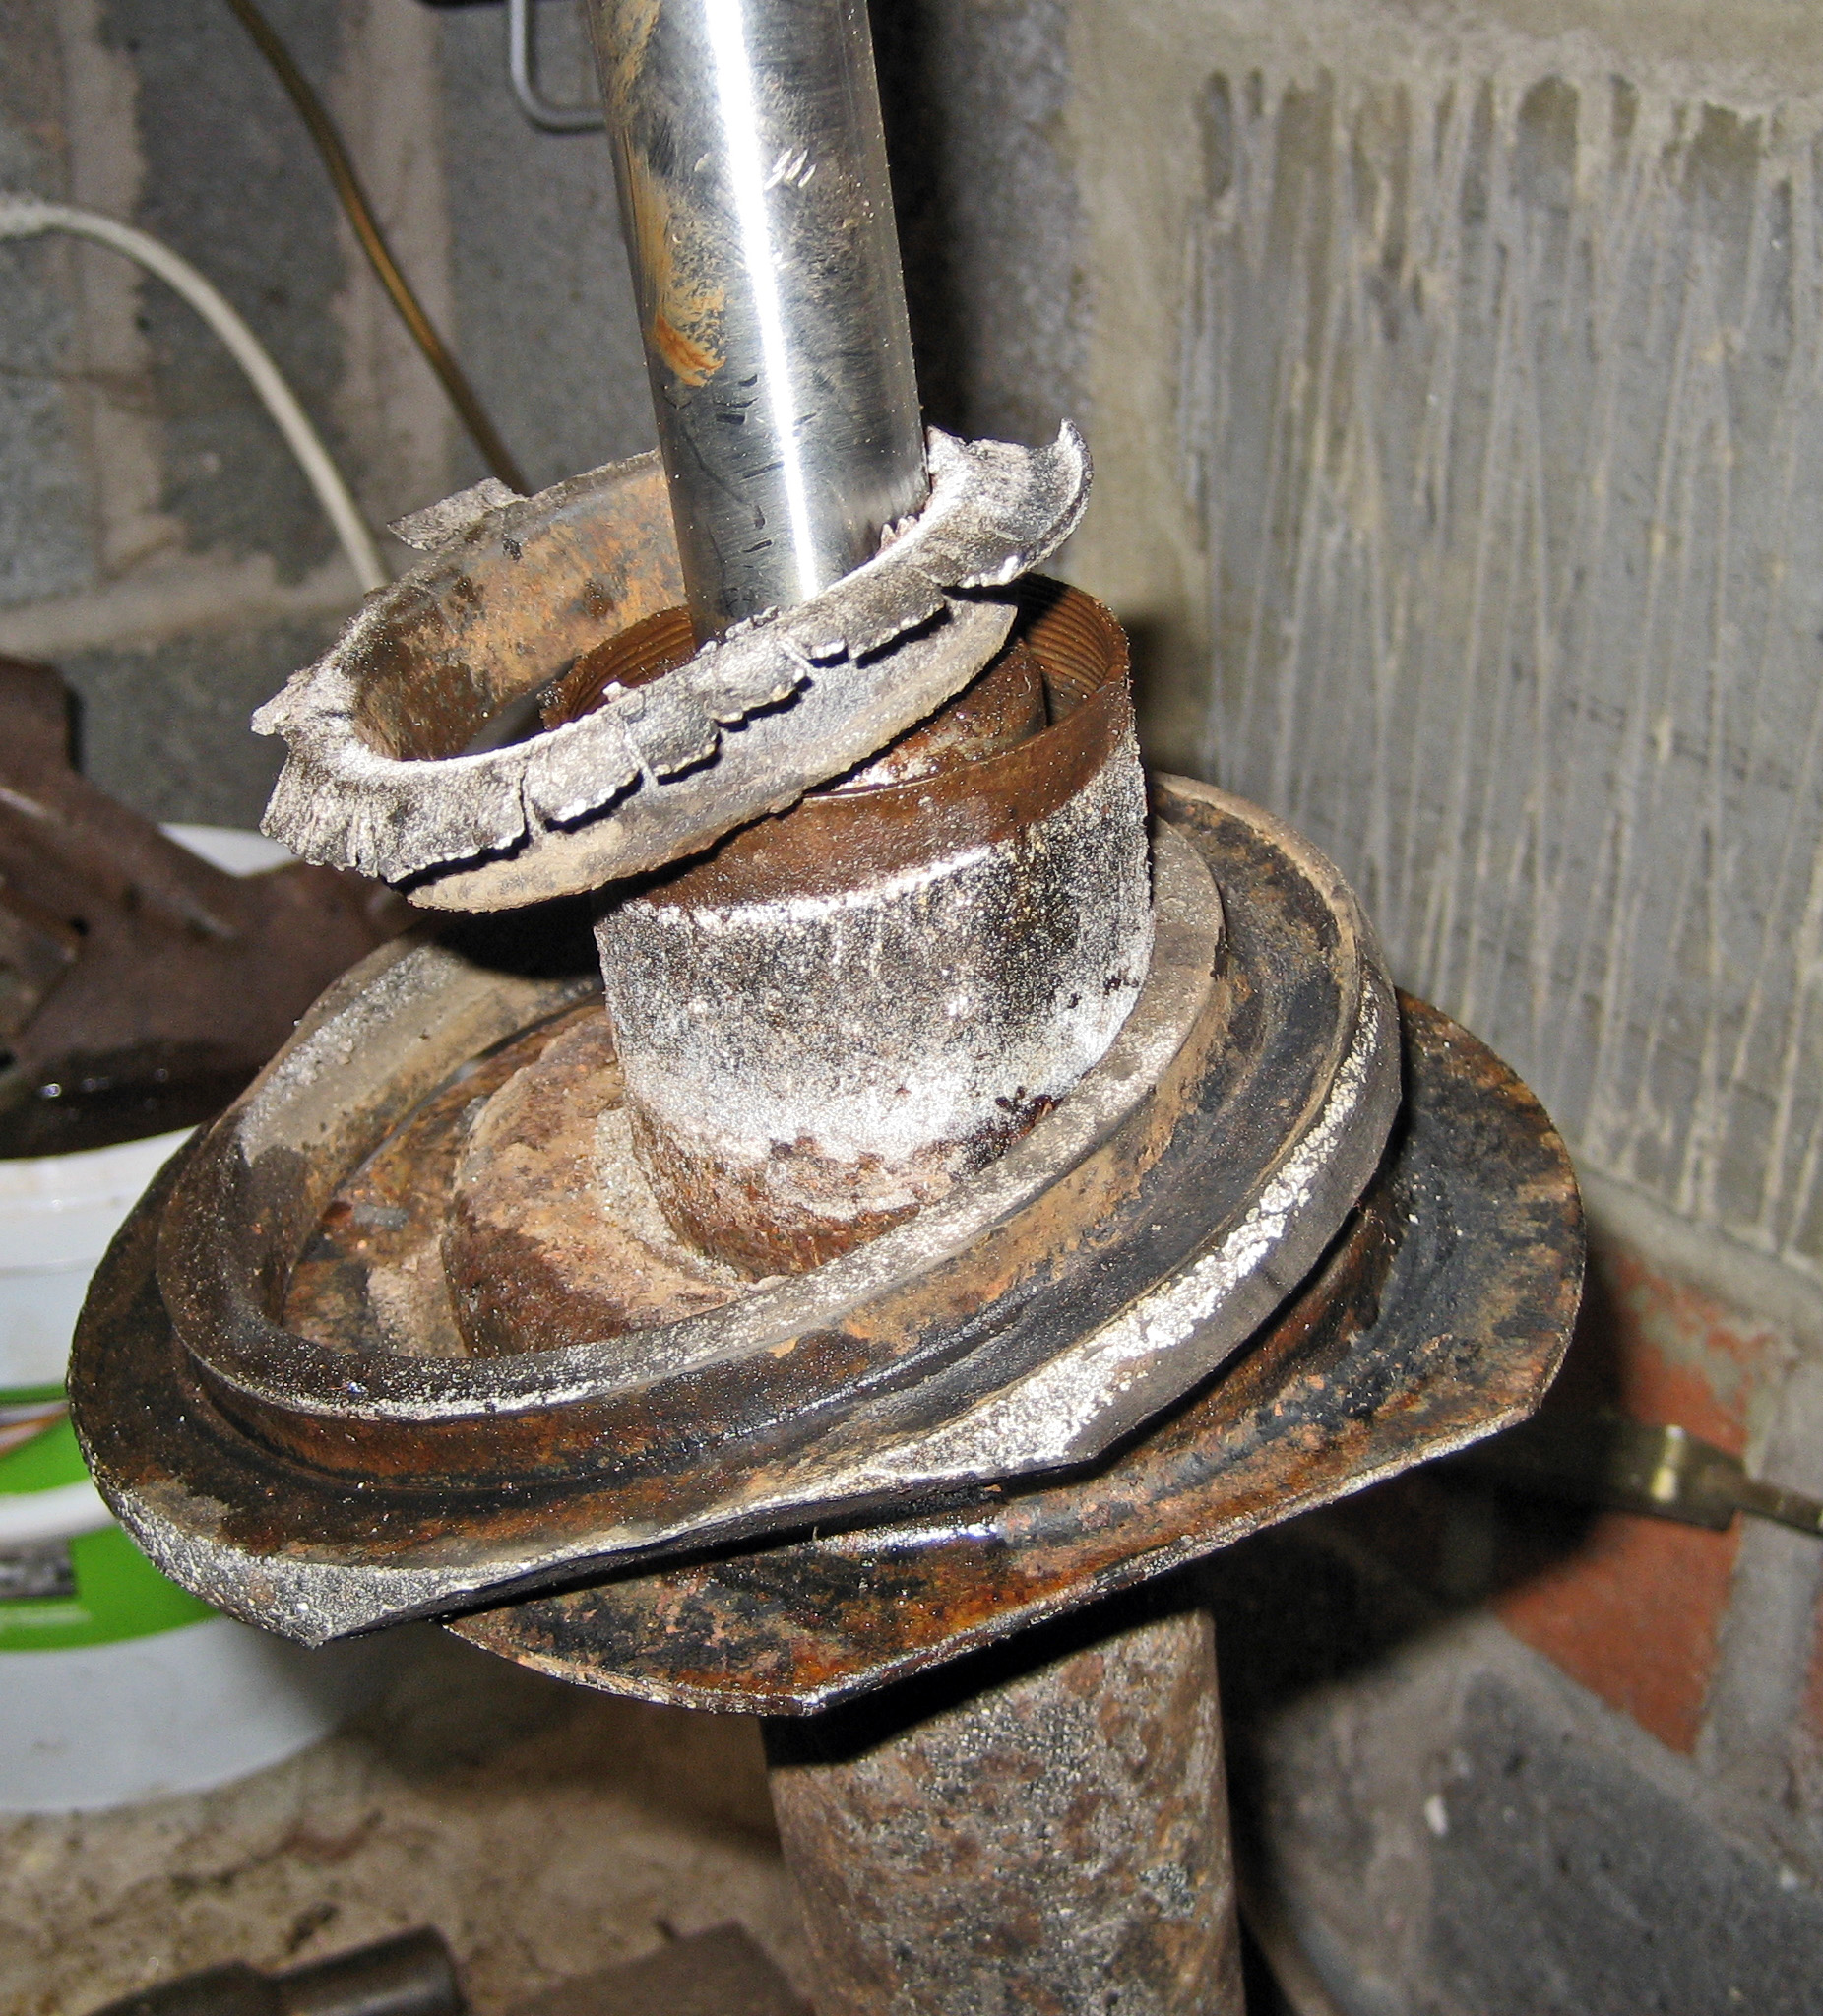 So a new set of dampers along with bushes, gaiters and insulator pads are all needed for peace of mind. Thankfully the hub bearings and stub axle looked and felt OK.
With the drivers side front suspension now stopped back to it’s main components, I could assess the extent of the new parts needed. Pretty much all of the bushes, bearings, ball joints, 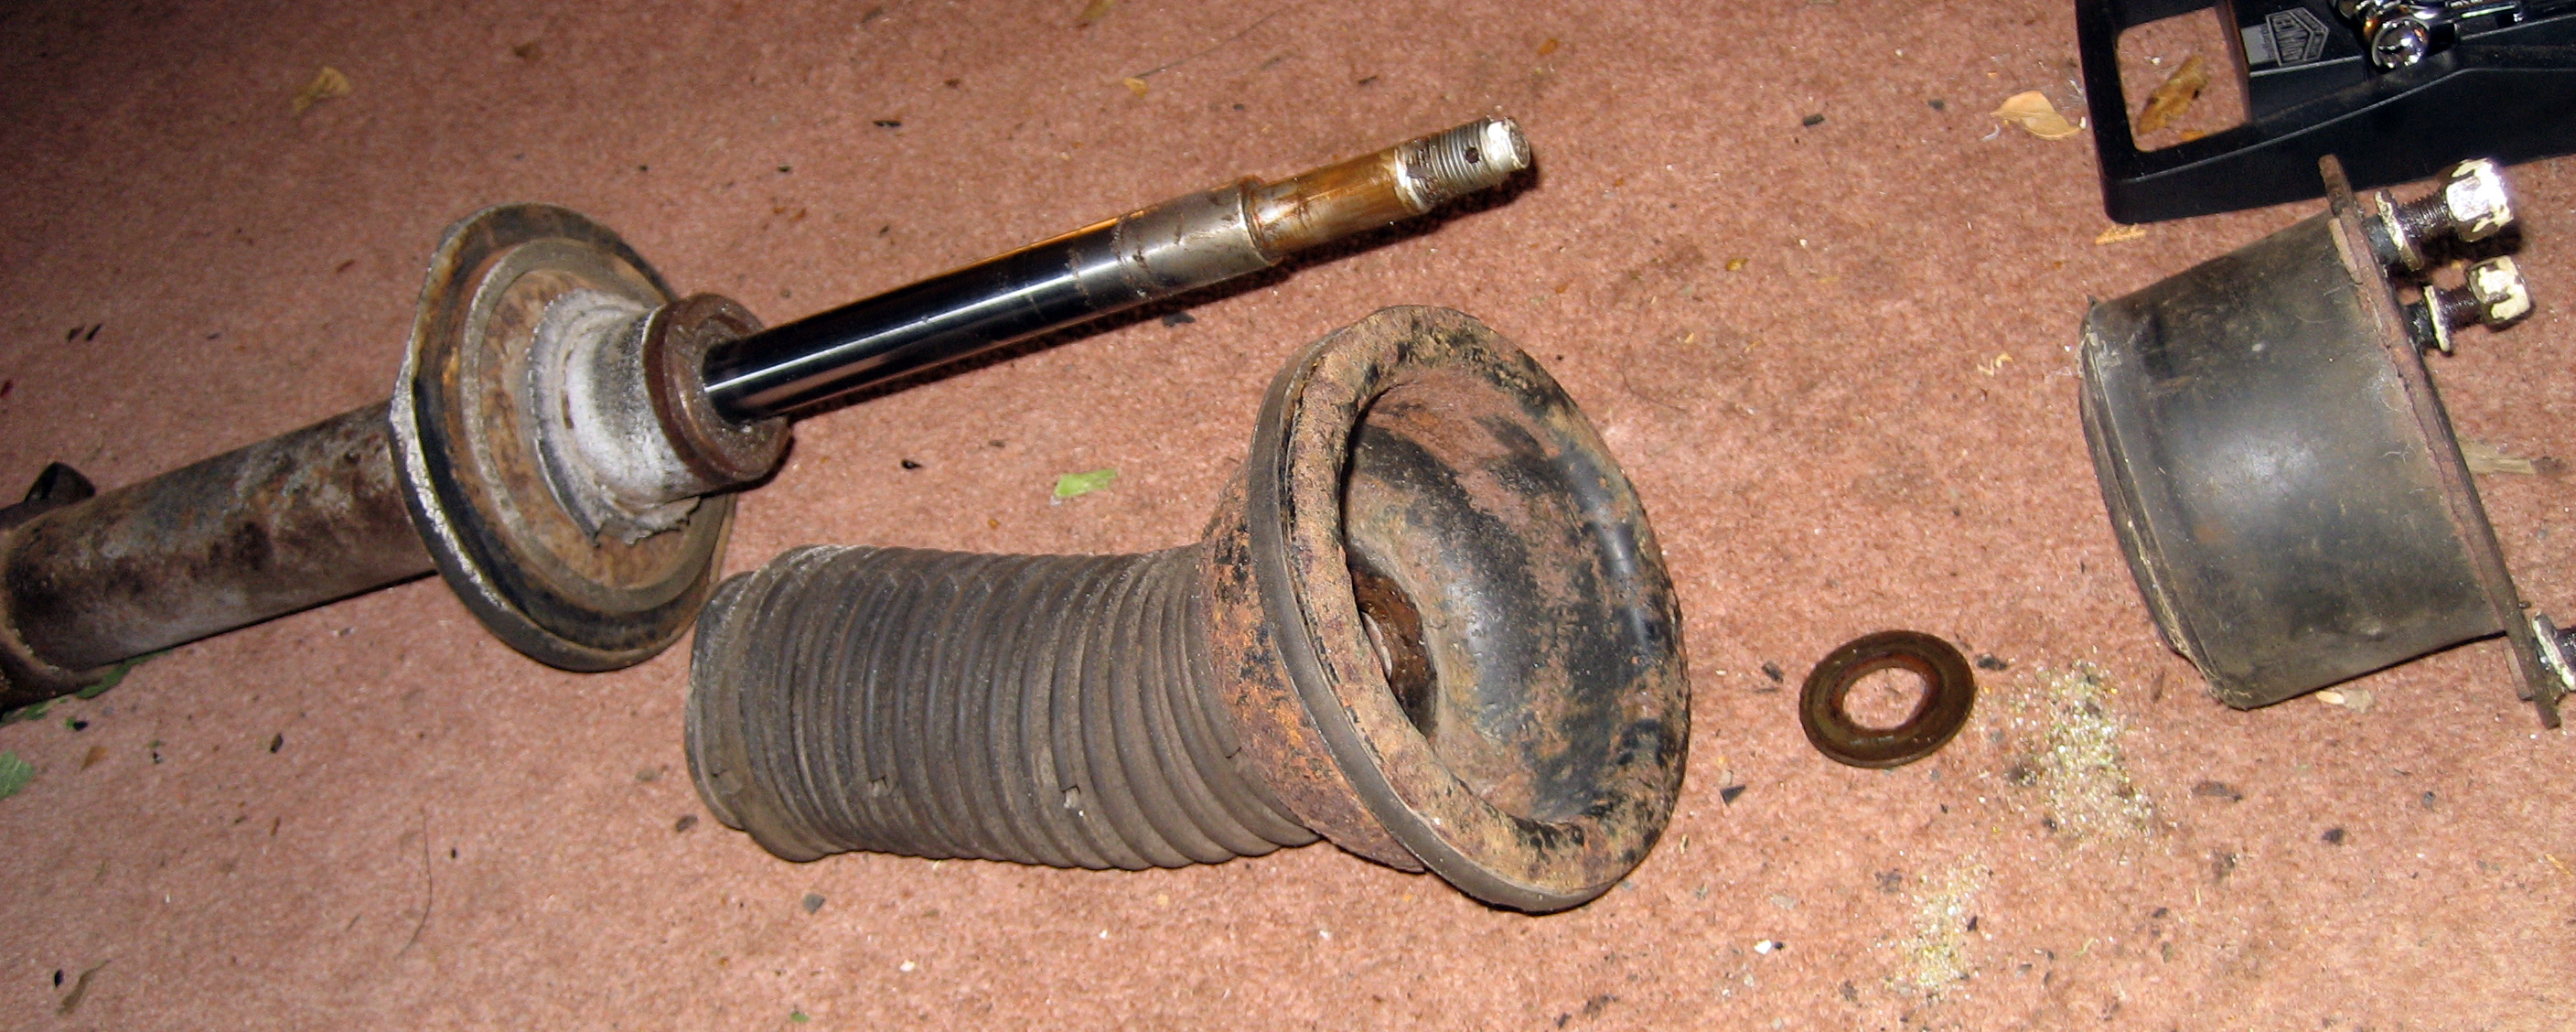 gaiters, nuts and bolts along with dampers and some new springs just for good measure (may as well).
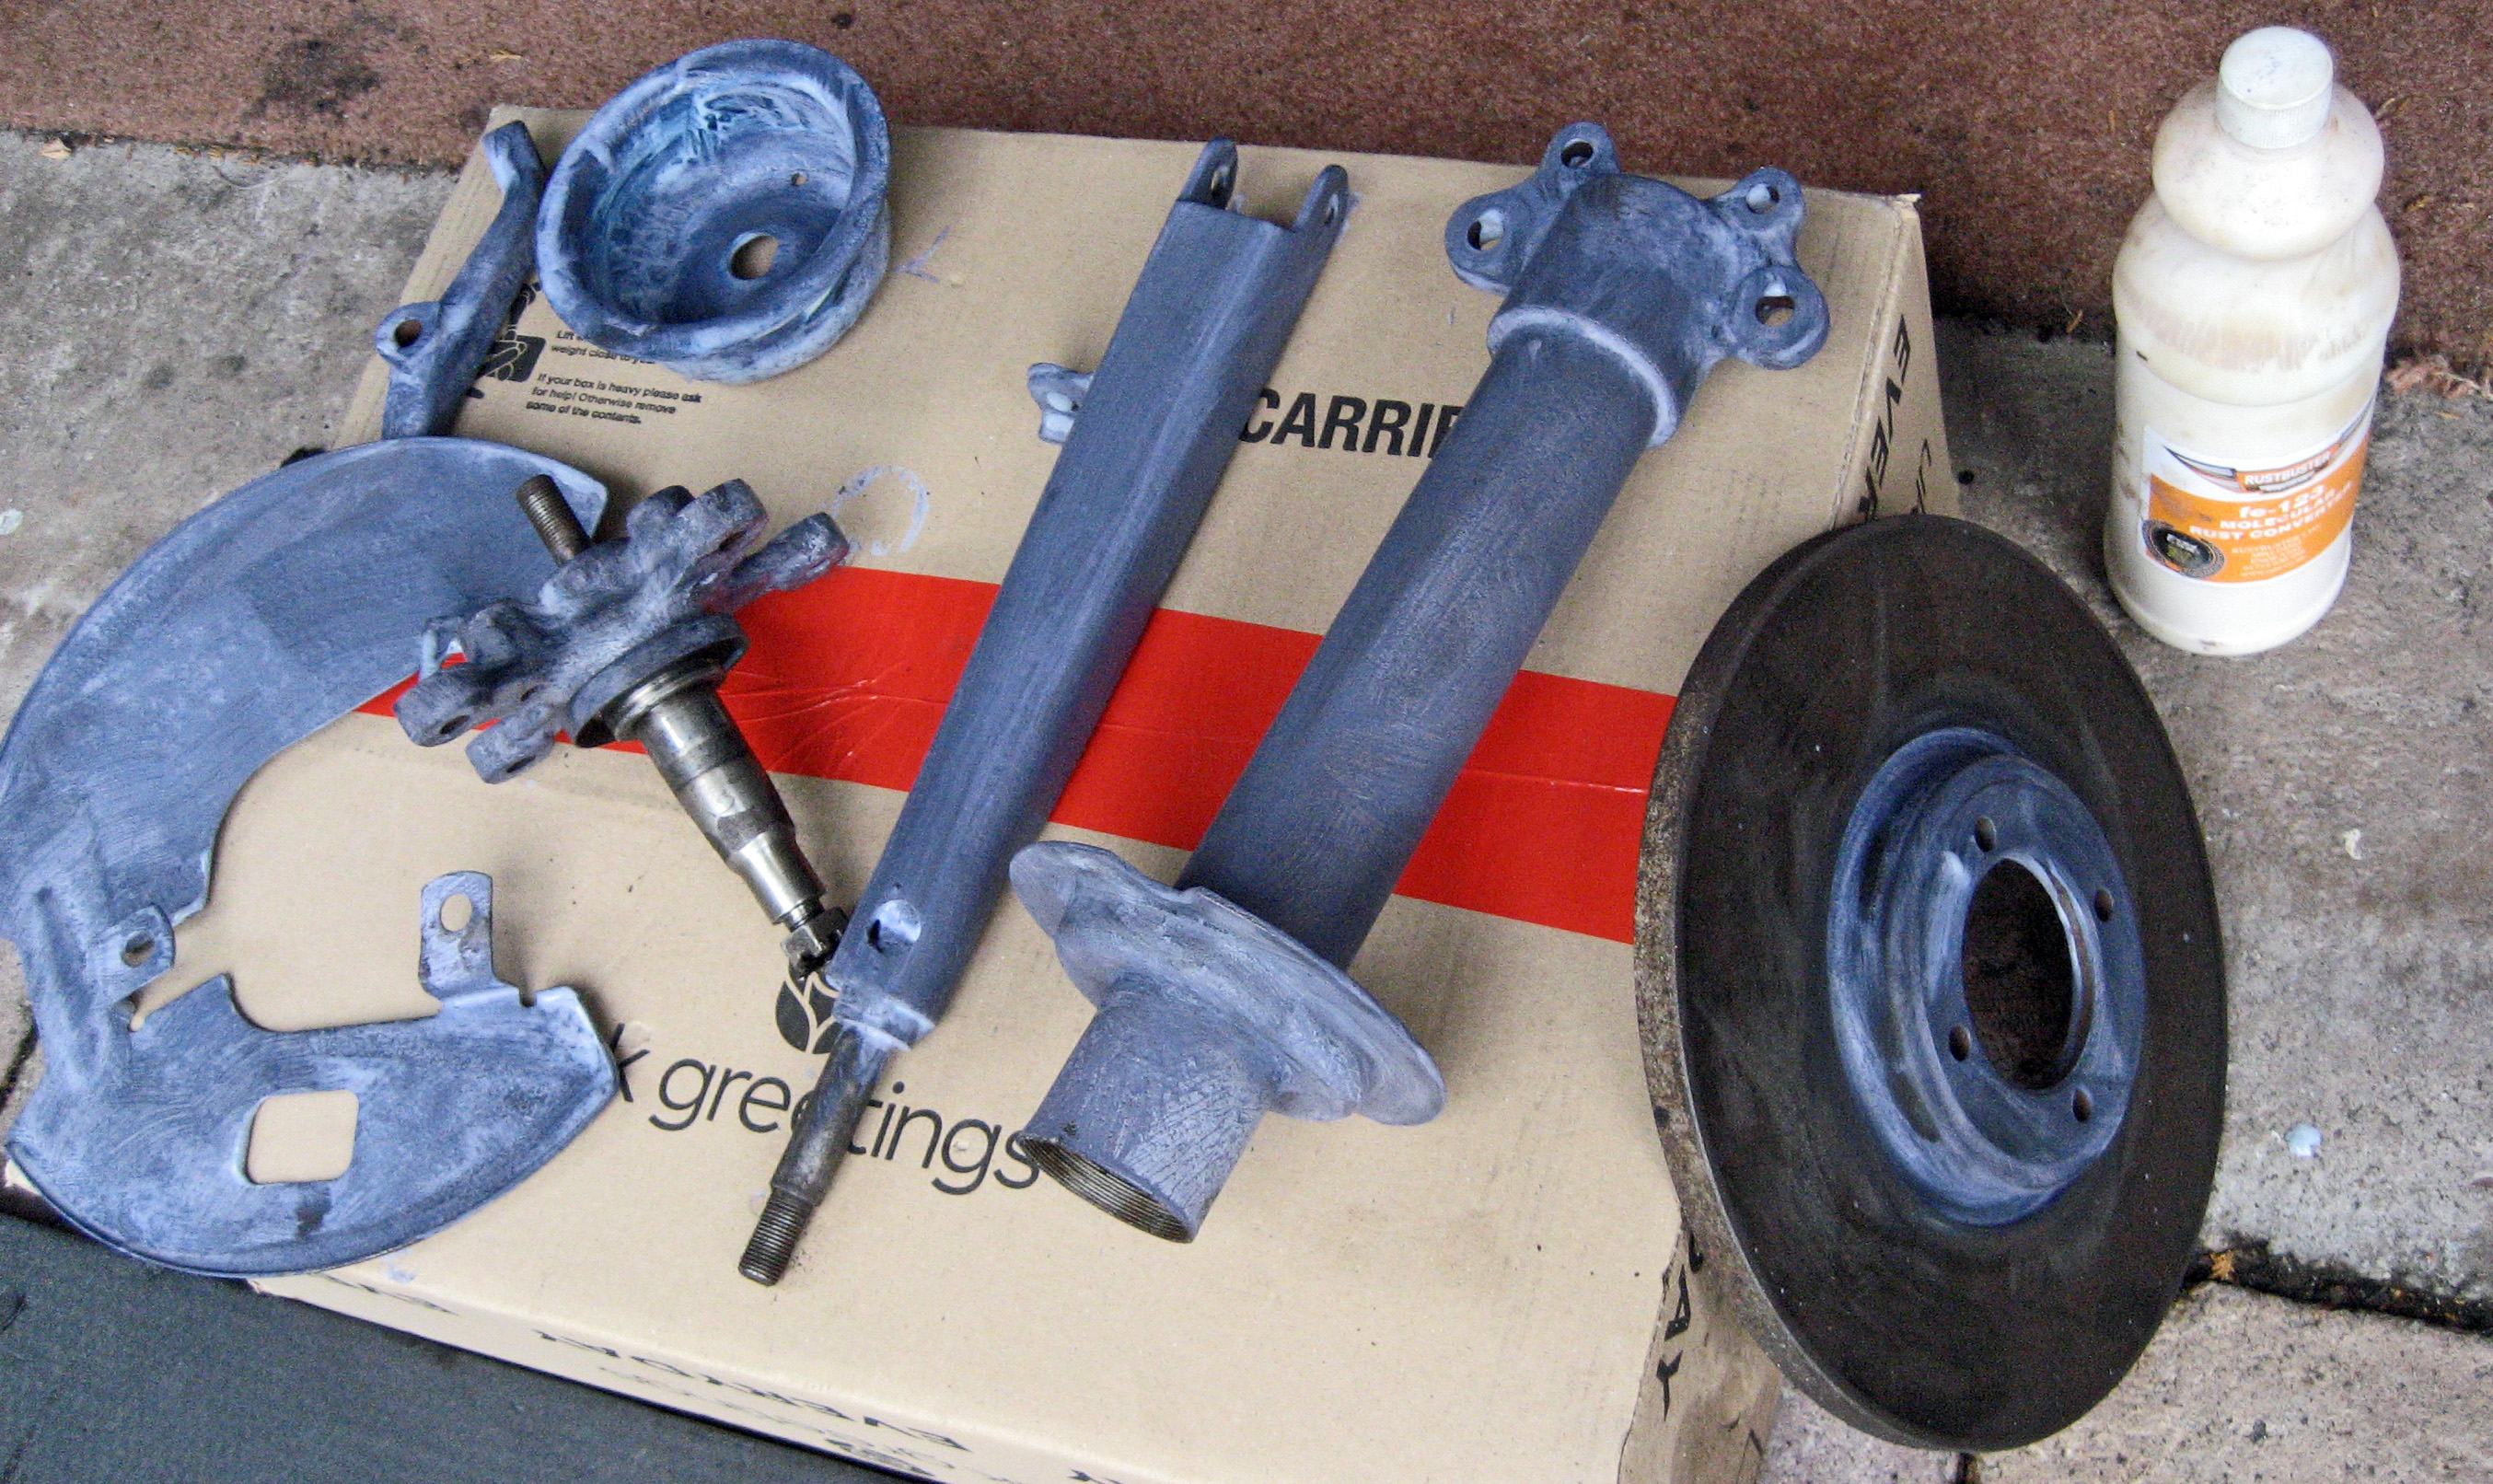
De-rusting the ironwork
After placing the order with Mr J Paddock, I set about reburbishing the components I am not replacing. These are mainly composed of the heavy iron work and dust shields.
 All need to be:
- Wire brushed to remove surface rust;
- The remaining rust treated (I use Rust Buster Fe-123);
- Then finally a clean coat of new paint. I tend to either use Hammerite or Rust Buster epoxy mastic 121.
Both give far more protection that the new part ever had, and both also give a reasonable finish. Not as good as powder coating, but then far less expensive.