
 |
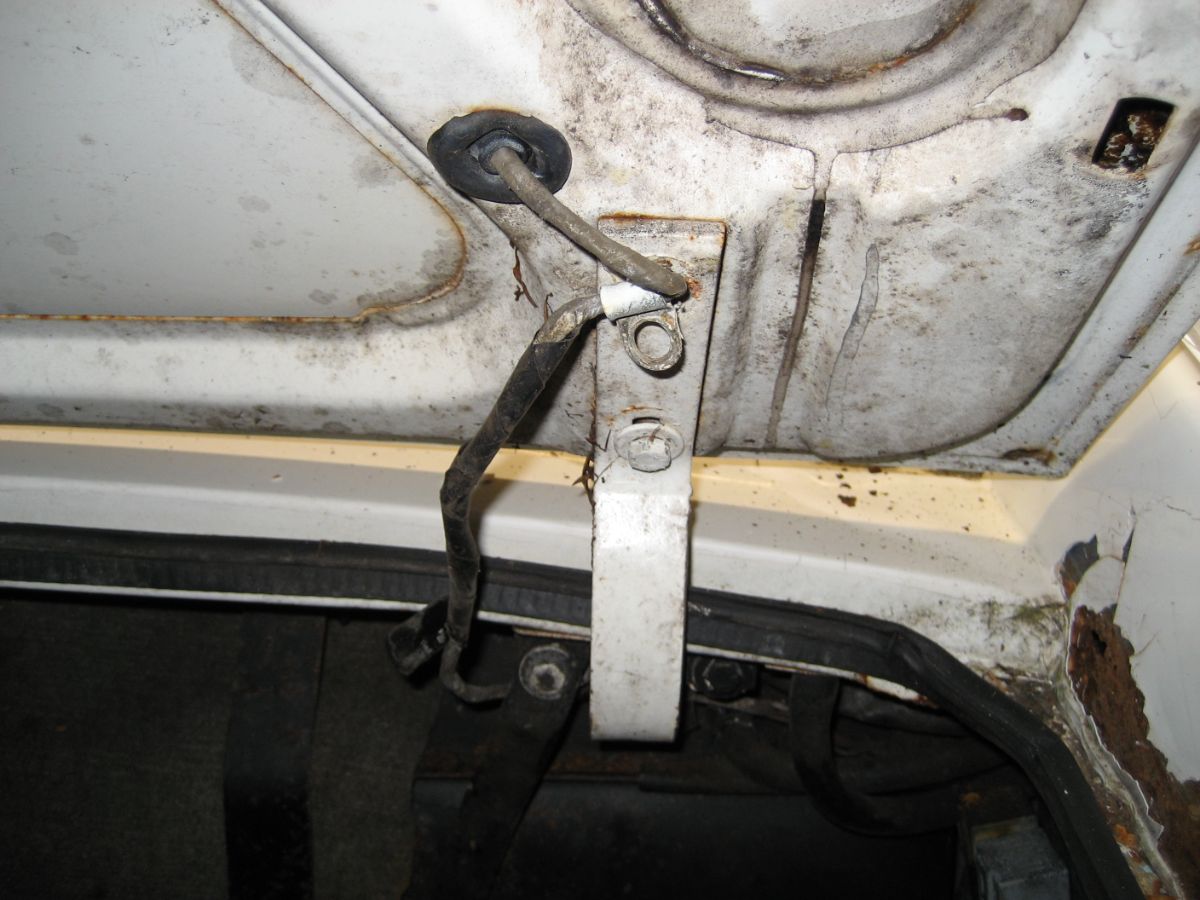
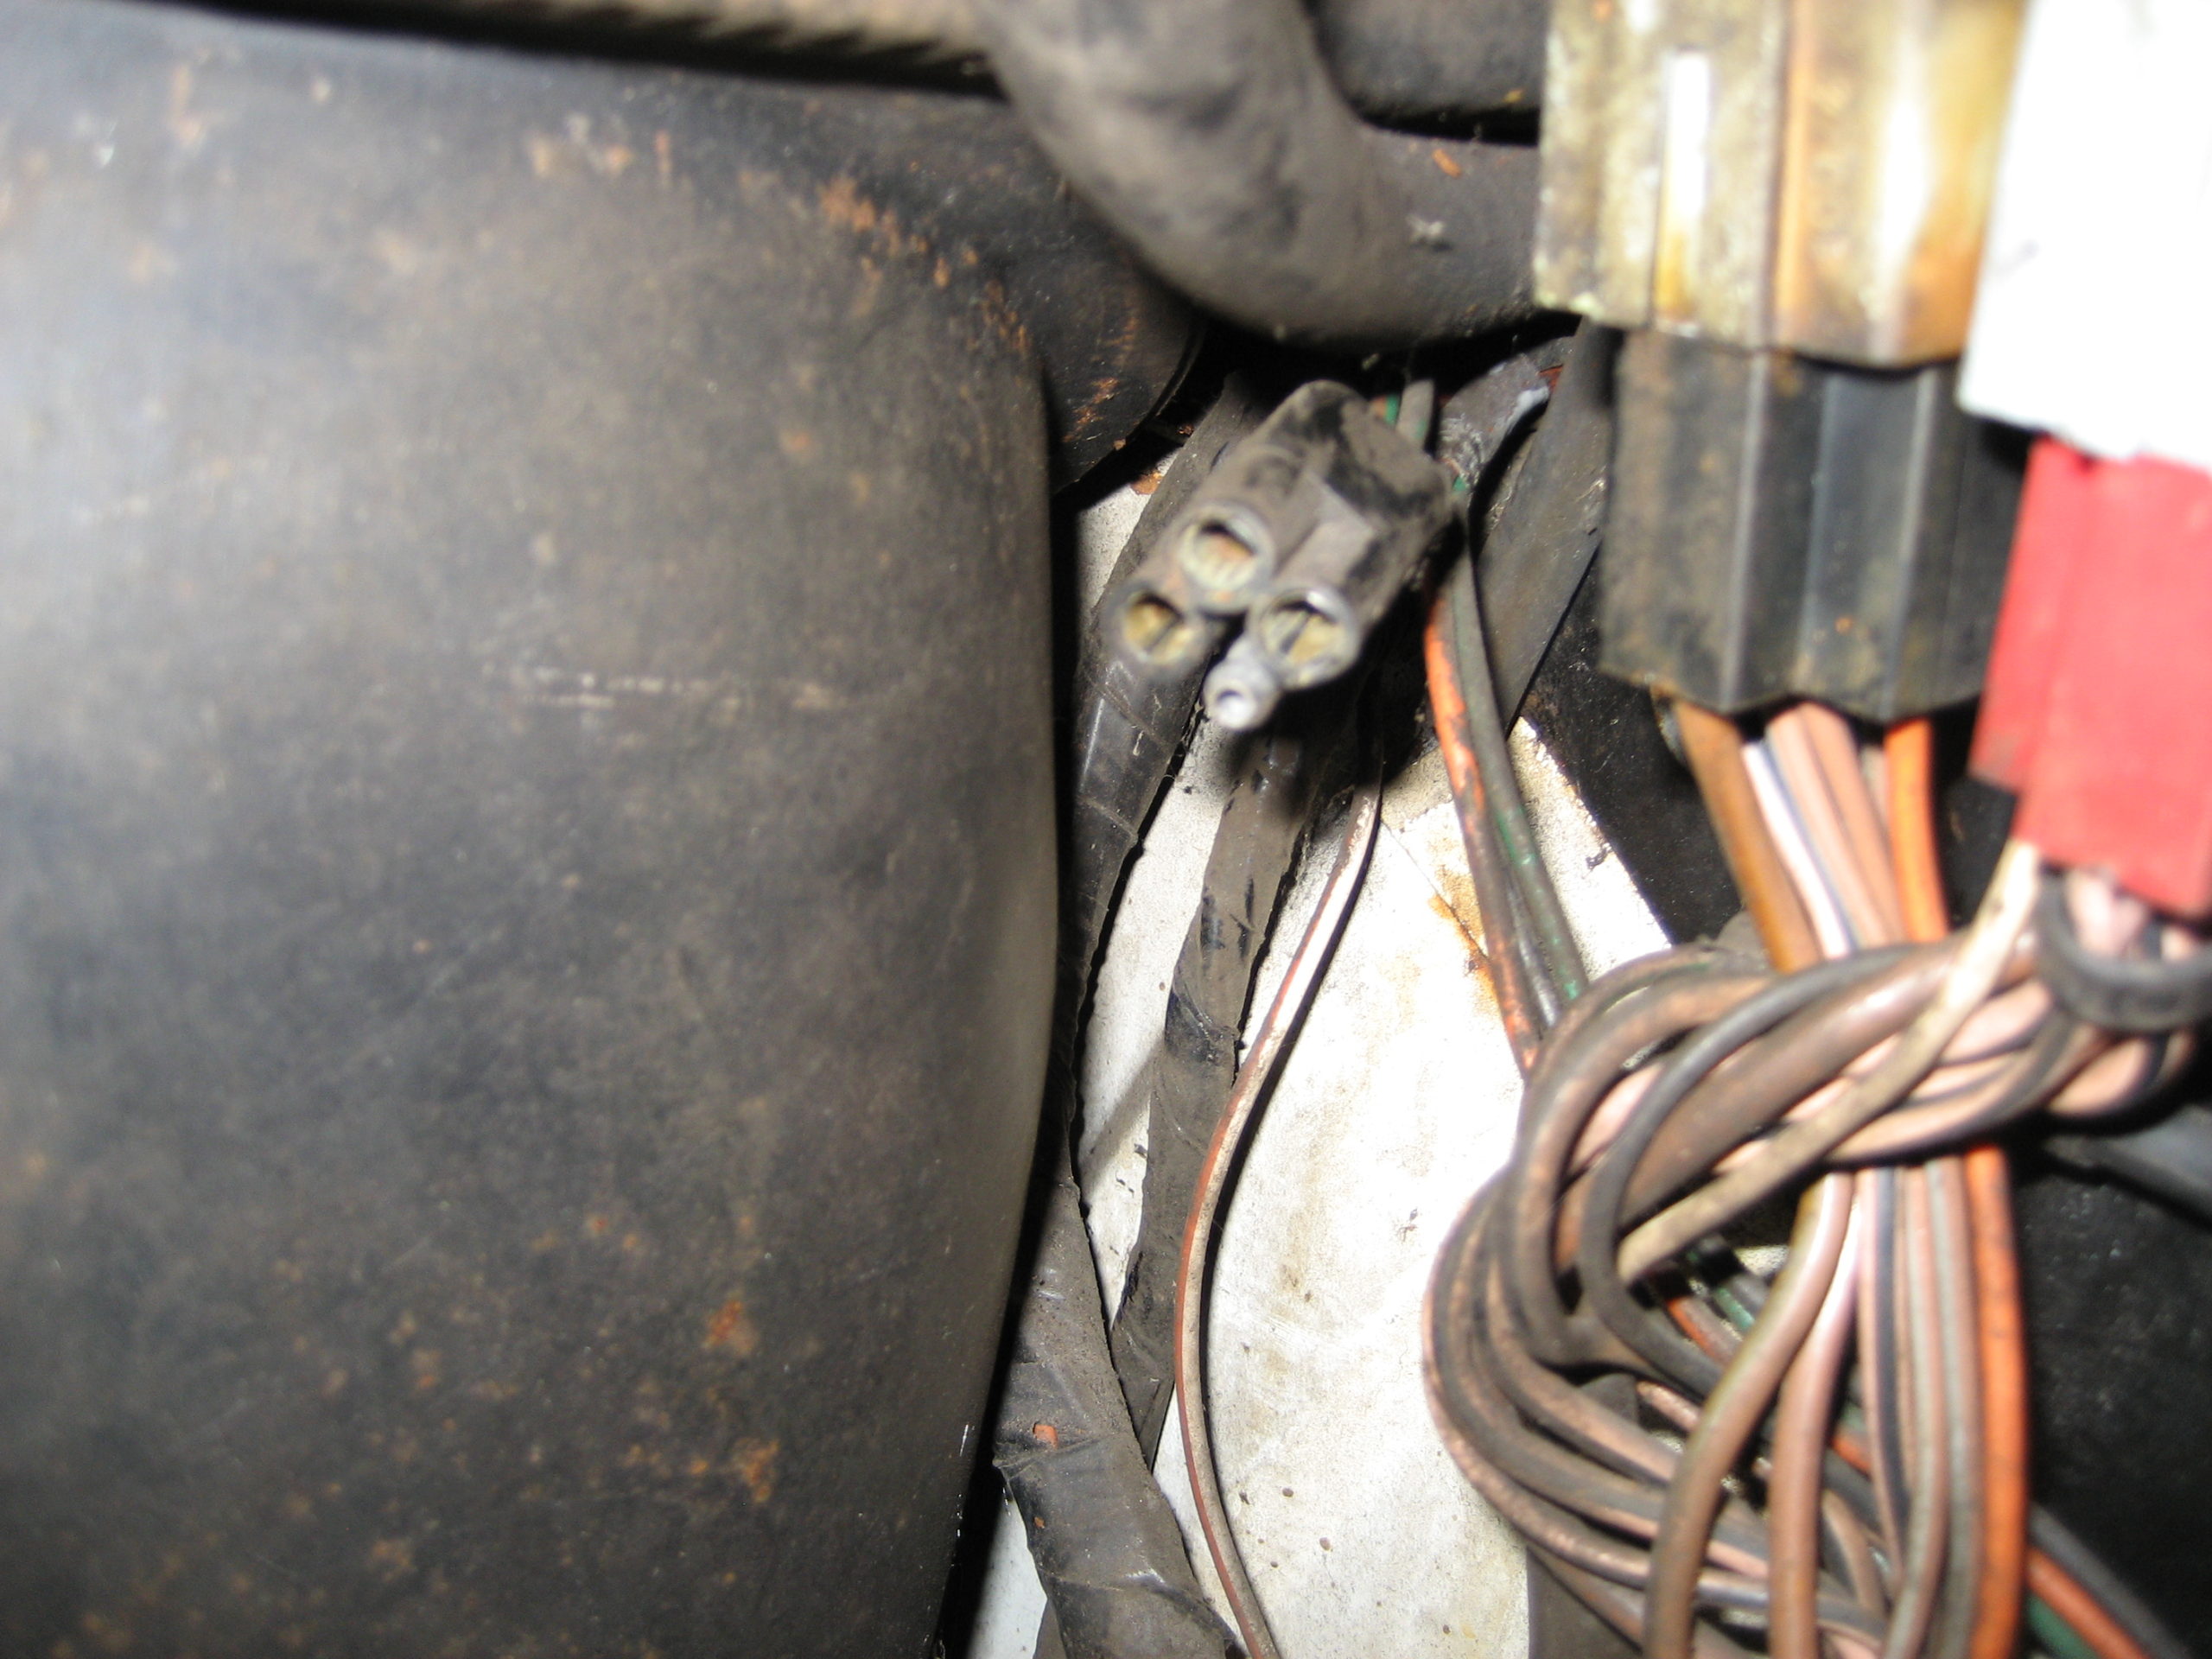
Next to come off was the boot lid. The only thing to note here is the position of the connector for the reversing lights which is tucked up in the inner rear wing above the petrol tank.
In my small single garage I am rapidly running out of space. The car itself occupies virtually all the available room, but I take things off it, I simply don’t have anywhere to store them. The boot lid is now handing from ropes on the ceiling.
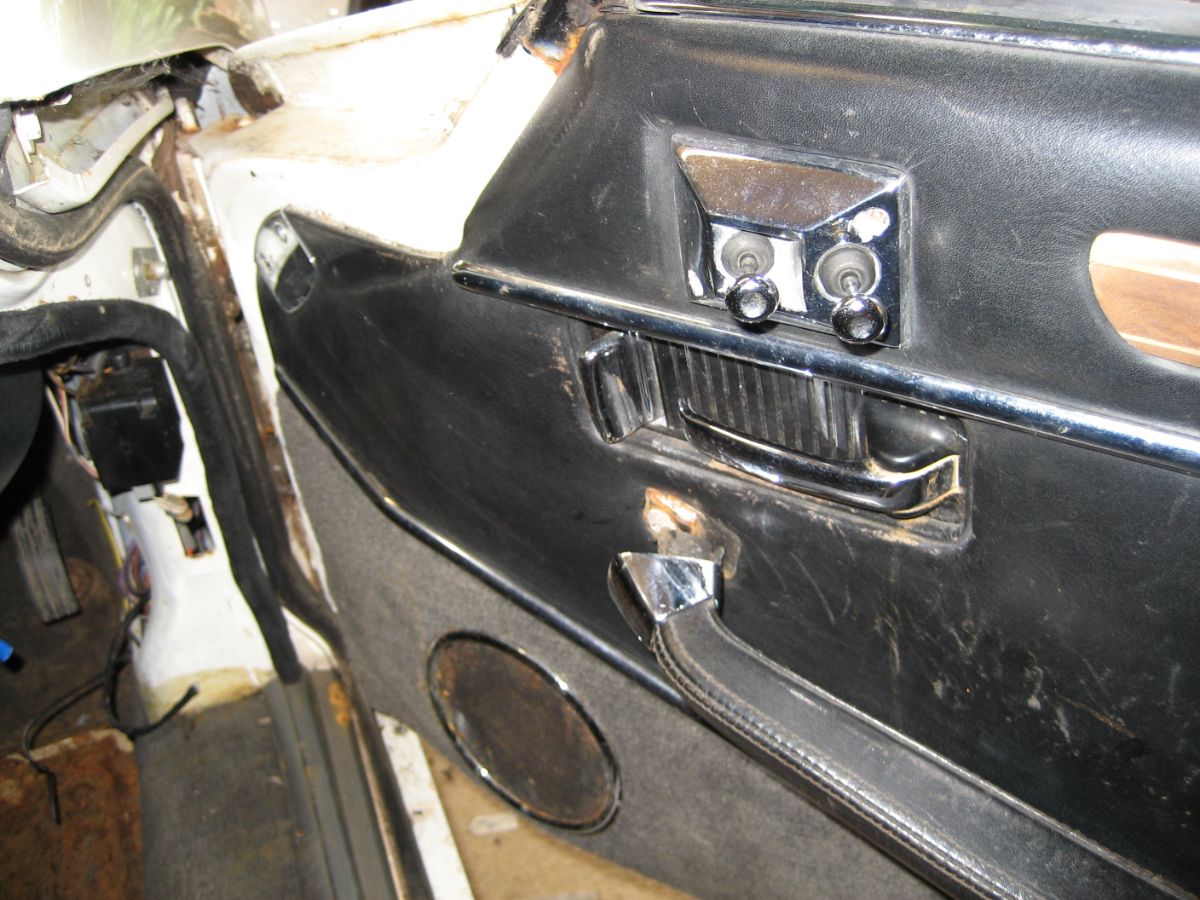
Now the drivers door. To remove the door card there is a chrome plate at the front of the door, the mirror adjustment console and a large screw hidden behind the front trim piece of the inner door handle. Once they are all removed, the card can be unclipped and lifted from the door.
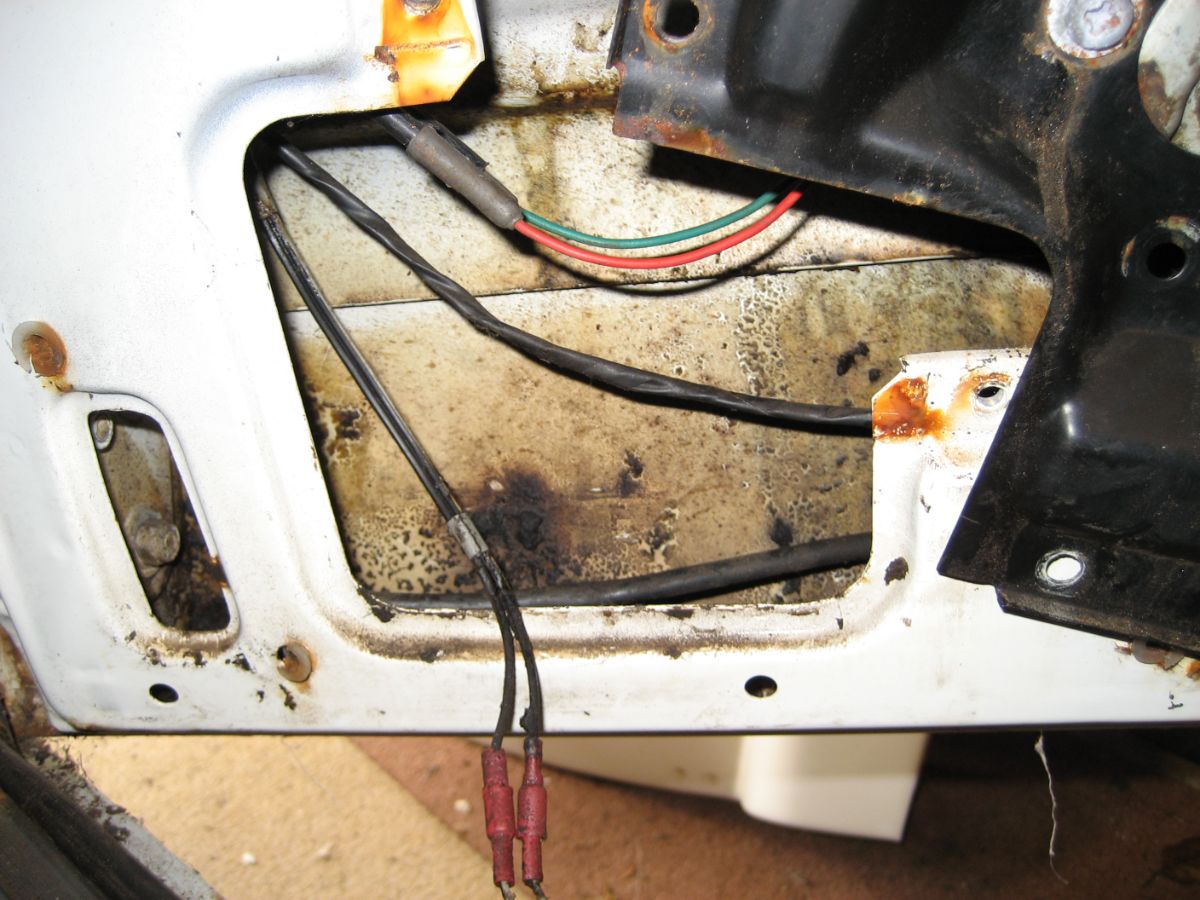
The door itself is connected via the hinge plates, but that isn’t the tricky bit in removing it. The tricky bit is the cabling. Electric locking, electric windows, speakers, mirror adjusters – there are a lot of of wires that need to be disconnected before the hinge bolts are loosened. The majority are straight forward (takings lots of photos to make sure where they all go) but the connectors for the wires to the locking solenoid are behind the window winding mechanism – so that had to come out too.
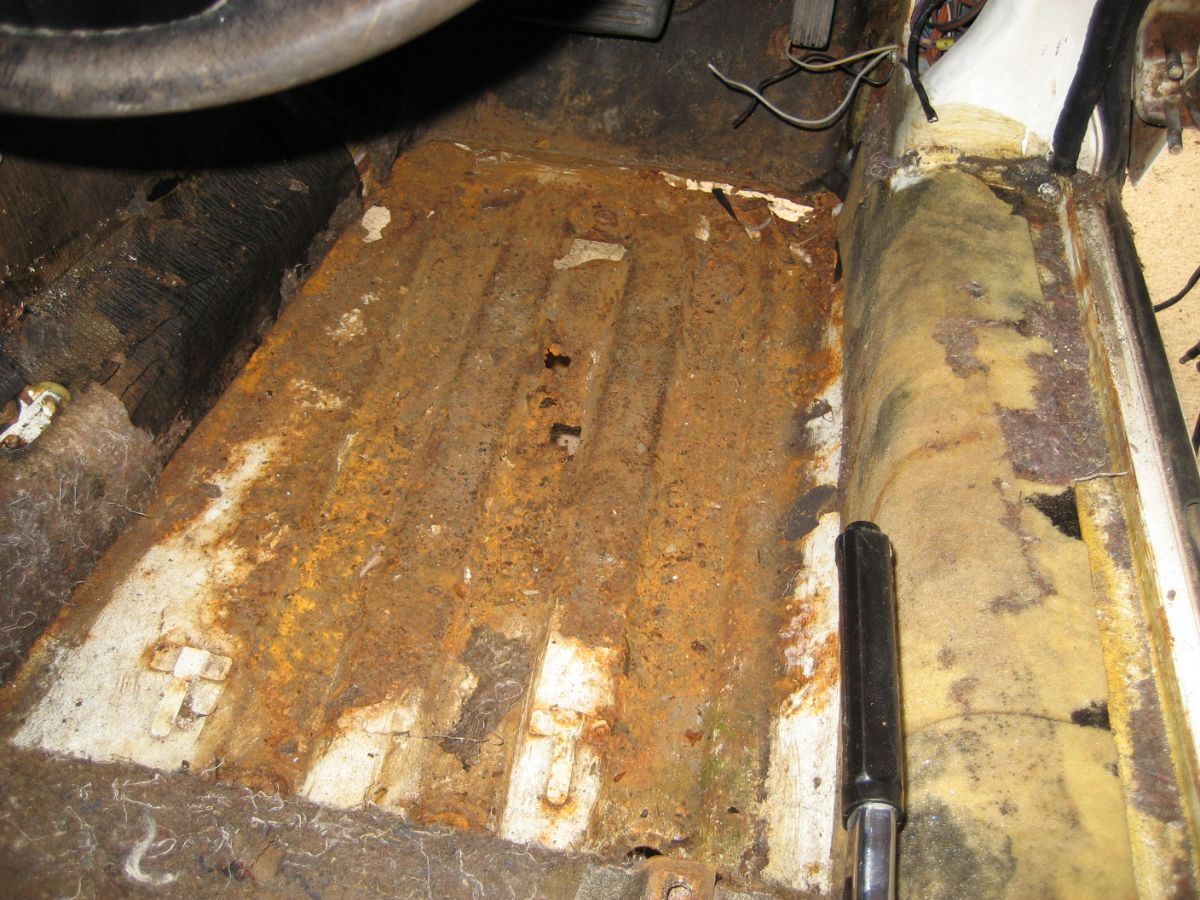
With the door removed, I can now get access to the cabin. If I had a bigger garage I could probably get reasonable access with the door wide open. But I don’t have that luxury. The seats and seat belt mountings simply unscrew/bolt along with the outer casing for the hand brake. Now the carpet can come up and I can see what I need to do to the floor pan. Oh dear! What’s left looks to be original but it needs completely replacing. I can’t quite see the state of the base of the A post. I will need to remove the stone guard from behind the front wheel to check.