
 Having waited for the tadpole trim to adhere to the wings, they now need to be fixed to the panels. Whilst the panels are pre drilled, once the inner panels are fixed into place, there is no way of poking a pen through the hole to mark it’s position.
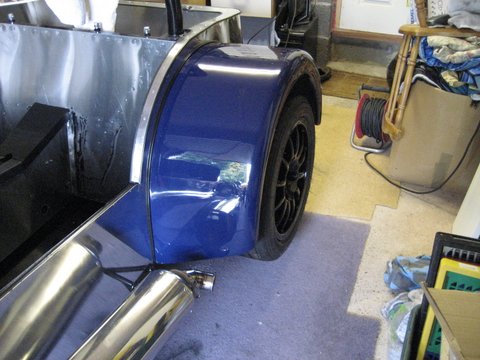
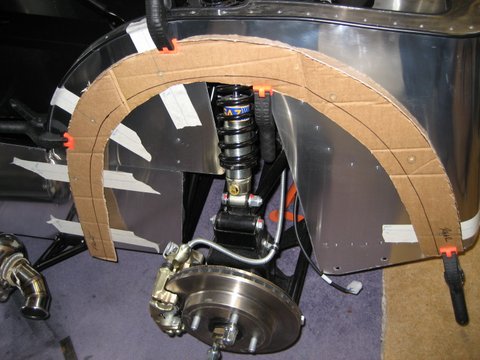 So it’s back to my trusted templating method using the now empty boxes from GBS. Firstly I cut out a template for the rear wing and then fixed it into position on the car. I used masking tape over the fixing points and drew straight lines at various angles running through the centre of each hole that extended beyond the width of the template. With the template back in place I then re-drew the lines over the template to reveal the fixing points. Moving the template back to the wing I then drilled the fixing holes to 7mm to allow a little play before mounting on the car.
 The IVA rules stipulate that the rear lights have to be verticle even though the rear wings aren’t. The standard GBS light units have the appropriate rubber mounts that allow this, so mounting them is simply a matter of finding the point where they are vertical and drilling the fixing holes.
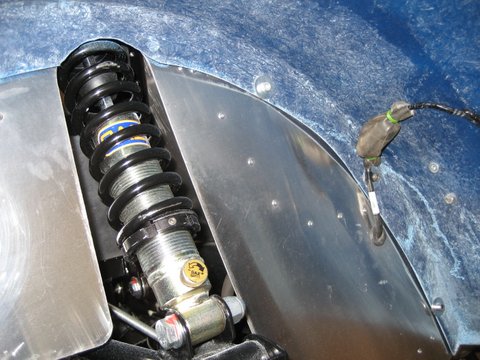 Under the rear wheel arch is probably one of the harshest environments on the vehicle when driving, especially in the wet. I am not happy to let the simple white plastic electrical connector take the brunt of this environment without some form of protection. Looking around my garage I found an old mountain bike inner tube — perfect!! A short length with a tie-wrap either end should keep the elements at bay.The final step was a coat of spray underseal to provide some extra protection.
 Now onto the front wings. They don’t really fit on the cycle wings at all, rather just rest there. So after tacking into position and leaving to set over night I glued into position with plasters beading which seems to be the accepted way of fixing them in place.

Automotive Projects Blog