
 |
Whilst the dash is in bits I might as well replace the old filament bulbs with some modern alternatives. A few reasons: a) they are brighter than the originals, b) they last longer before needing replacement and c) they far consume less power. The later point being a minor factor in the decision to upgrade the old radio (See later).
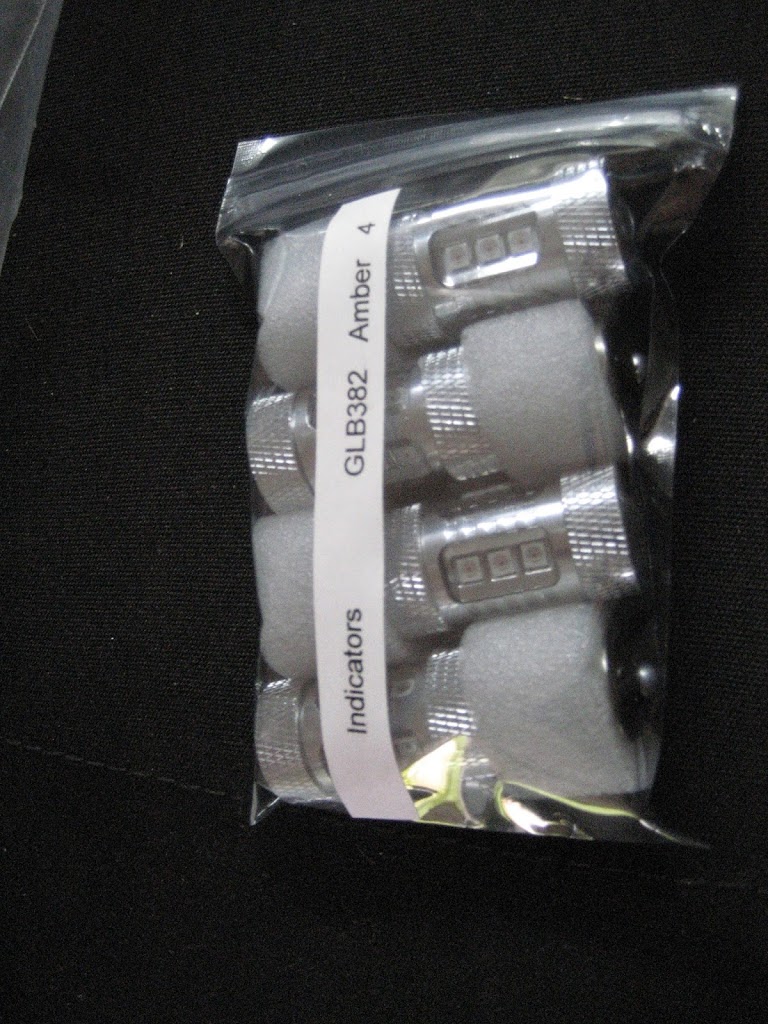
 Having looked around the internet, the site I chose was “Classic Car LEDs” (here is the Link). They offer a complete set of LEDs for the Stag and their website had some good feedback regarding customer service.
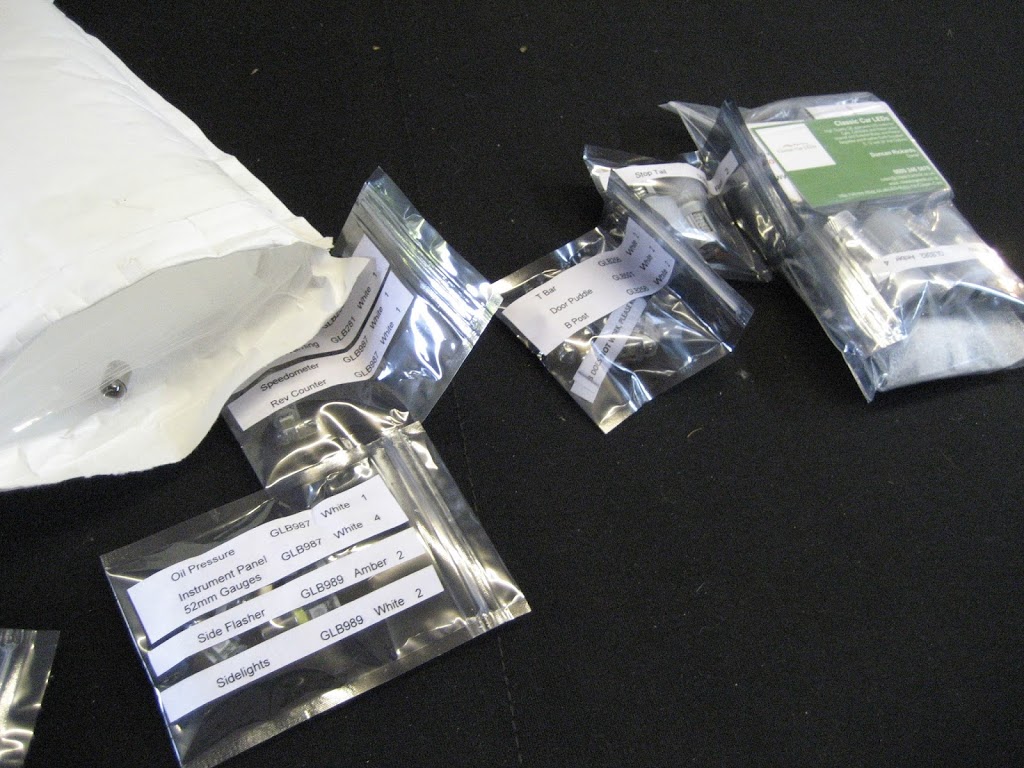
A parcel arrived a couple of days later. Carefully wrapped and labeled with each of the bulbs identified – even down to using a coloured marker pen to identify which LED was to be used for each of the console warning lights. Excellent service.
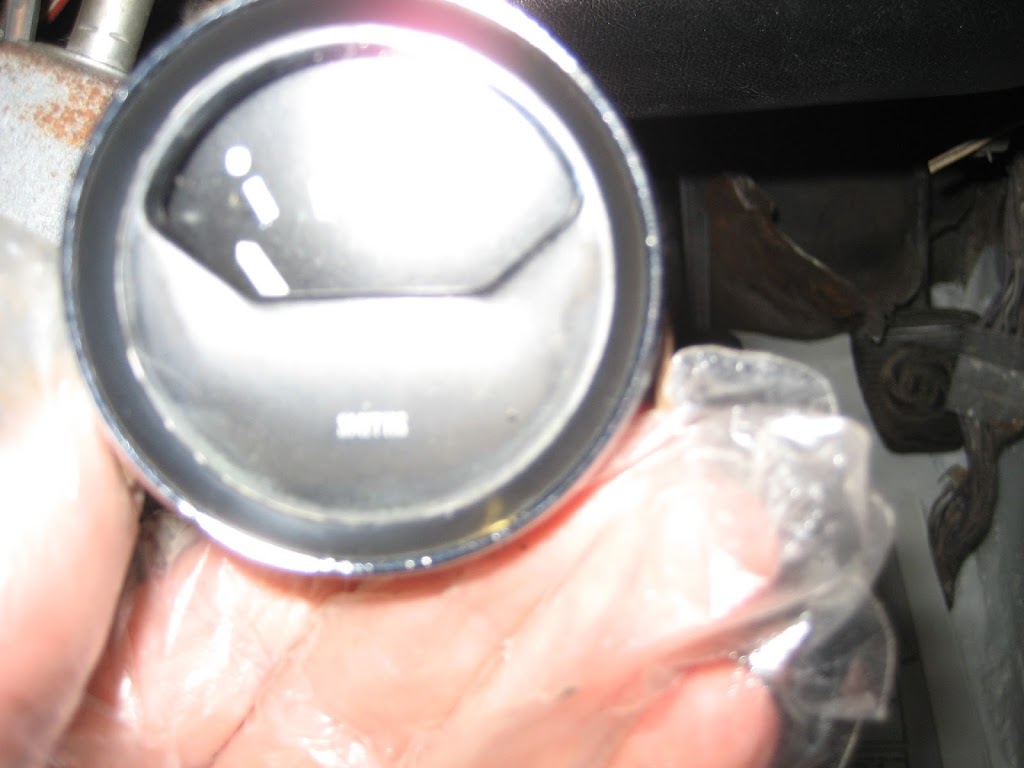
 As I needed to clean the dial rims and the walnut dash behind the dials, to get rid of what looked like 40 years of grime. I decided to replace the bulbs systematically dial by dial as I removed and cleaned them. The grime turned out to be more serious than surface dirt. The car has obviously been stored for many years in a damp environment. This has slowly seeped into the gauges, damaged the cards and dis-coloured the inside of the glass.This need professional refurb or simply new dials. The Voltage indicator was the worst. I will look around the internet for a replacement.
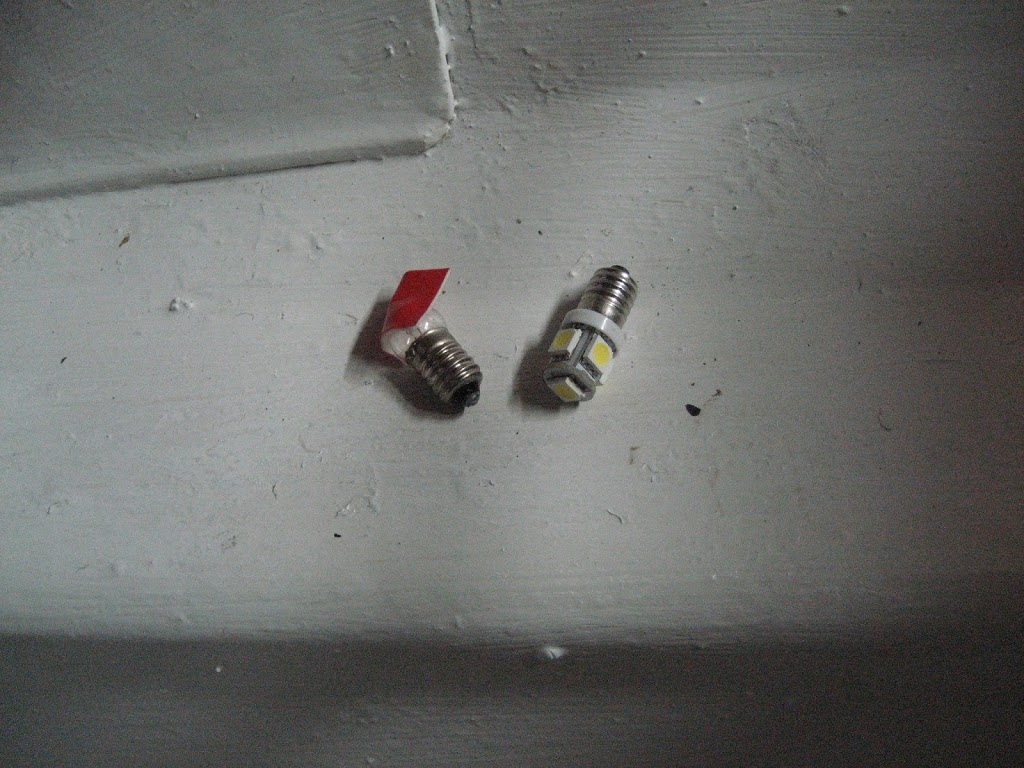 Anyway, the new LEDs for the console dials all dropped in nicely. There was one challenge. The screw fit bulb holders where only the top of the glass bulb was accessible. Twisting the old bulb out and the new one in was difficult without twisting the glass bulb apart from the bulb base. My solution was to stick tape to the glass and turn the tape. Seemed to work without breaking the glass. Then I came to the Brake Warning lamp. Depending on the model Stag you have, this place on the dash board can be taken by different lamps e.g. seat belt warning light. In my case on my Mk2 it’s a warning lamp for the dual break circuits. This should be ON when the ignition is switched on and then goes out when the engine is running / brake pressure is established. This particular LED replacement wasn’t in the pack, but a quick email to Duncan at Classic Car LEDs and a new one was in the post – great service again.
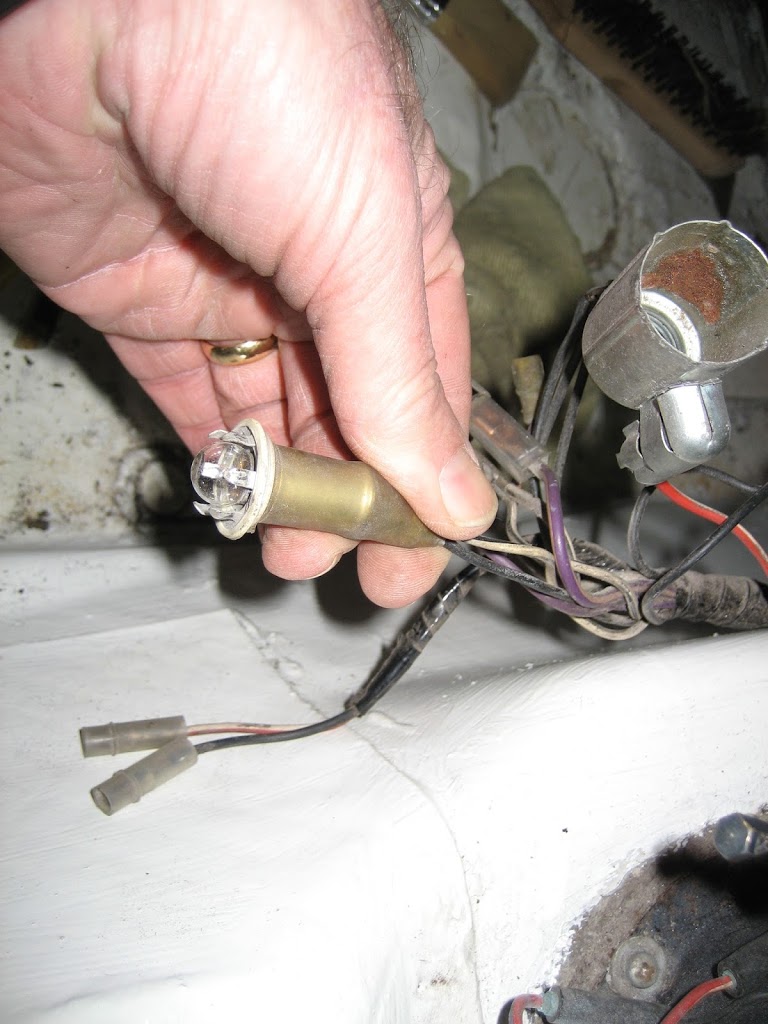
 Next were the console lights and foot well lights. The footwell light fittings were already dismantled and ready to fix back in the centre console which is being re-furbished in parallel. The bulb base diameter in the replacement LEDs is about 1mm greater than the original filament lamps so the fit isn’t perfect – but works.
 The console lights were almost direct replacement, however the wiring to the console internal light switch was incorrect. Wires to 2 of the terminals had been reversed which meant the lamp didn’t illuminate if the door was open or the switch down was – easy fix. I am having to validate the wiring at every junction due to the poor quality of the previous refurb.
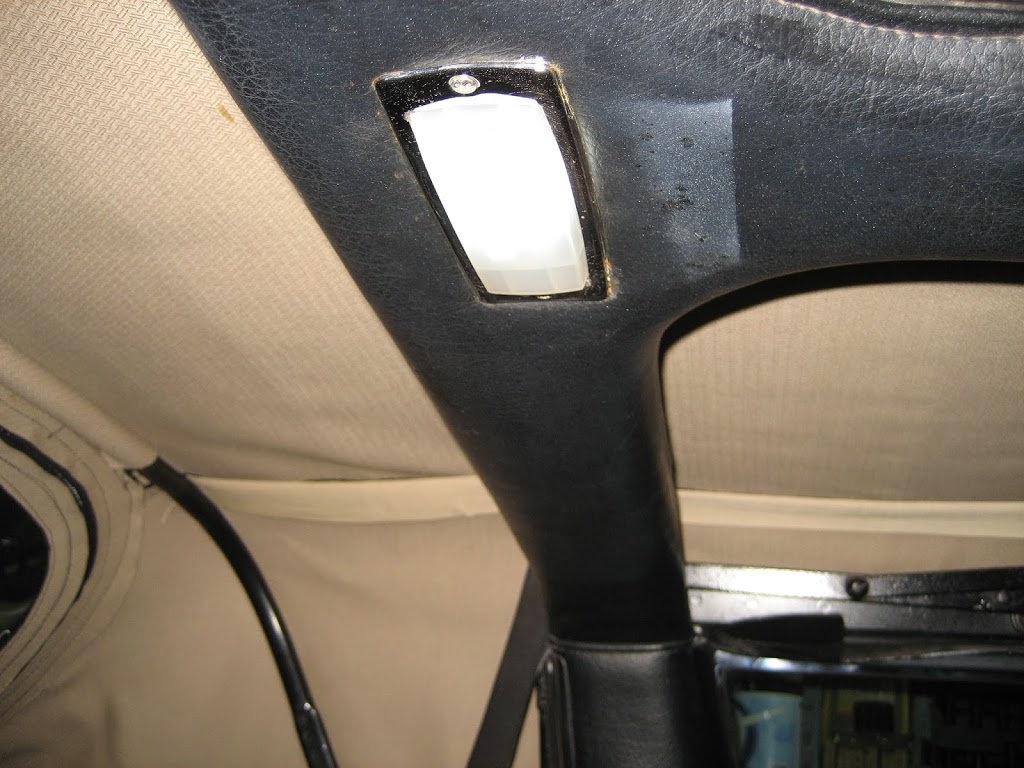
 The next item to fix was the wiring to the gear selector lamp and the glovebox lamp. Both should have been fed from the same red/white feed used for the dial illumination (although via a red/blue wire in one section). This connection simply didn’t work and needed bypassing. Both now work with the nice bright LEDs.
So there ends another Sunday – where does the time go – a little more done and a little closer to completion, but a lot colder (only 4 degrees in the garage today).
 The next lamps I am going to tackle are the cluster of dashboard warning lights for main beam, ignition, fuel, indicators etc. Back in the day, a filament lamp would glow regardless of which way current flowed through it. LEDs on the other hand don’t. Current can only flow one way through a diode. Therein lies the first problem with this light cluster. Some of the lamps are wired 12v to ground and others ground to 12v, so to replace with LEDs you need positive and negative polarity LEDs. Classic Car LEDs already understand this and supply the correct LEDs for each of the status lamps – all labelled and idiot proof.
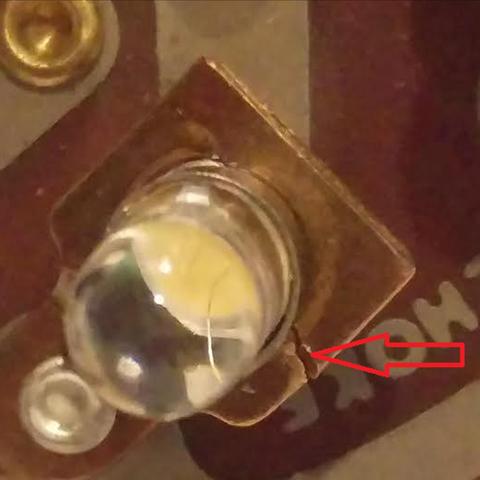
 They also supply fitting instructions because not only is there the an electrical polarity complication, there is also a mechanical one too. The new LEDs are a fraction of a millimeter larger diameter thread than the originals. If you try and twist an LED into the existing lamp holder you will end up holding the LED glass lens only. It will break from the base before you overcome the resistance from the bulb thread. There are two methods for overcoming this. After breaking the first lamp I tried them both. The first is to ream out the bulb holder. In theory easy enough, but in practice less so because the bulb holder is simply a flimsy piece of copper which flexes and twists whilst you are trying to ream it. If the reamer catches, then you either twist the bulb holder out of shape and/or position, or you rip it off the base. The other method, which I used successfully, was to cut the bulb holder with a pair of sharp wire cutters. The bulb holder is then able to follow the thread of the bulb. Replacing on an old filament bulb back into the adjusted bulb holder (because you broke one) also works with this method.
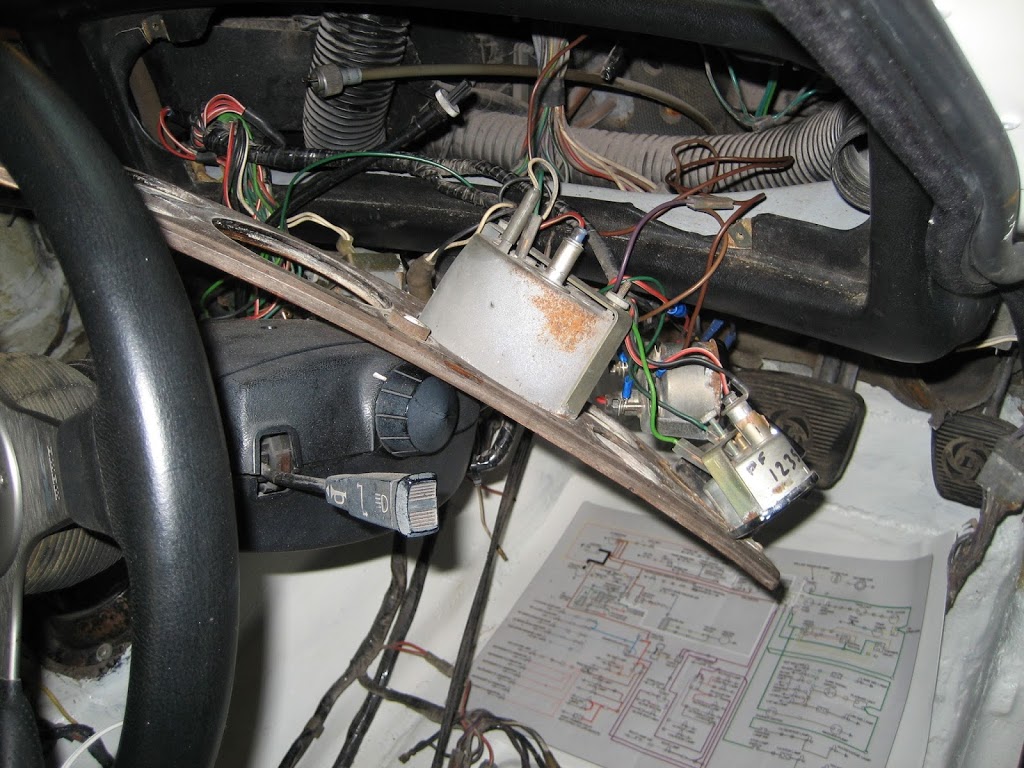
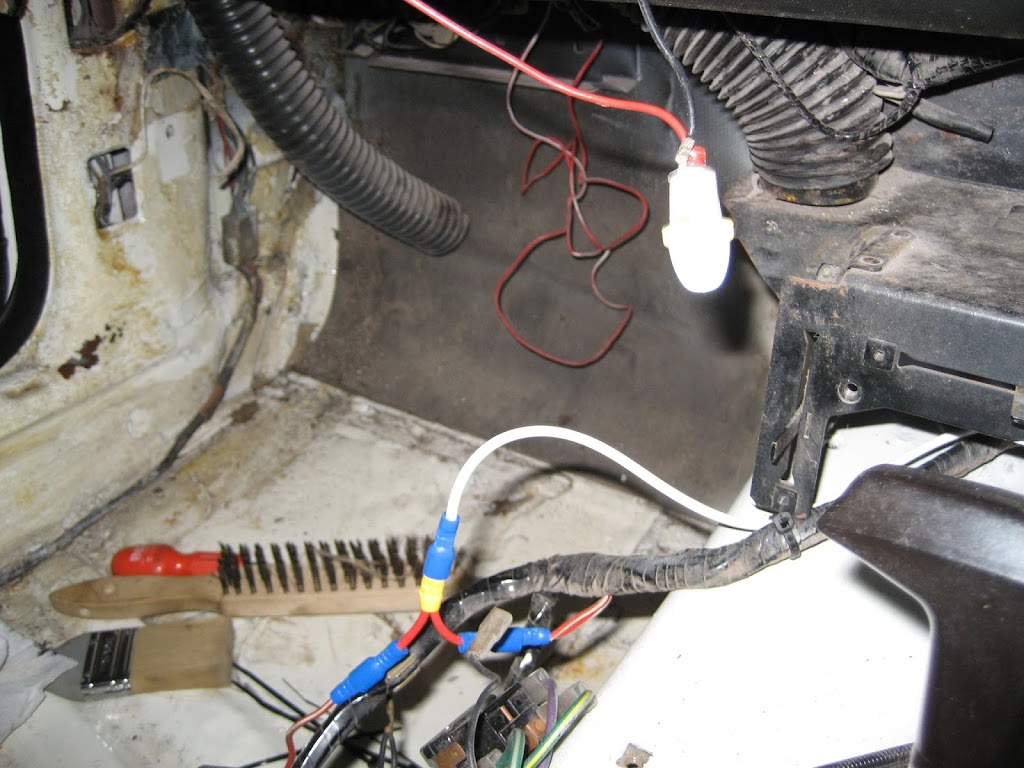
Once the new warning cluster lamps were in and tested, it was back to debugging the electrics again. My next problem to track down was the main beam which worked only intermittently. By removing the fuses (11-12, 13-14, 15-16 & 17-18) and apply 12v directly to the fuse holder I found that the main beam units all worked fine and the new LED dashboard indicator also operated. On tracking the loom back to the steering wheel switch, I found a connector under the steering column that had been forced together, and in doing so the pins for the main beam and indicator (RH) had been pushed out of the back of the connector. Sometimes it would make contact and sometimes it wouldn’t. Another mystery solved.

 The next thing on my list was the indicators. The LH indicator has never worked fully. There must be a bad earth or a mis-wired connection. The symptom was the lack of flash from the relay, meaning that the lamps were not lighting and drawing sufficient current to warm the relay coil.
First job was to change the relay coil for one that would work with LEDs. Since LEDs draw very little current they don’t work with conventional flasher relays and exhibit the same symptom as my poorly wiring i.e. no flashing. The packaged set from Classic Car LEDs comes with an LED type relay, that even has a simulated “click”. This does need an earth connection, but that’s about it. Then I set about changing the bulbs in all indicators. With the new LEDs and relay in place, I quickly found the non-flashing culprit – LH rear. The problem turned out to be the bulb holder not gripping the shank of the bulb tight enough – easy fix. Another problem solved.
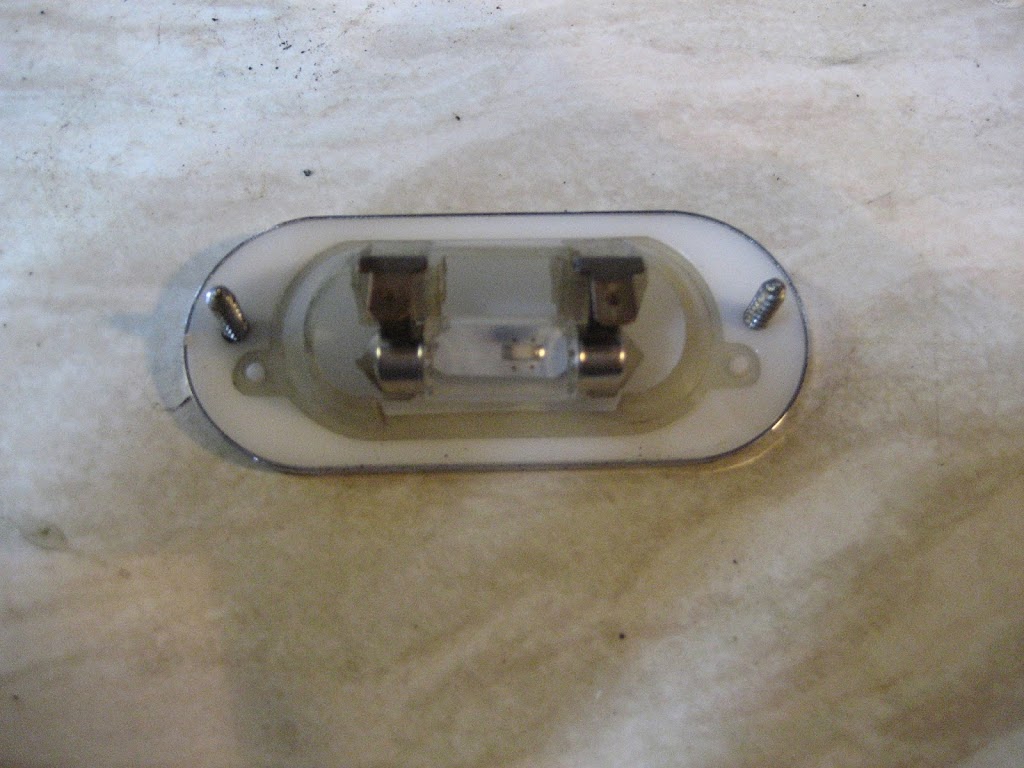
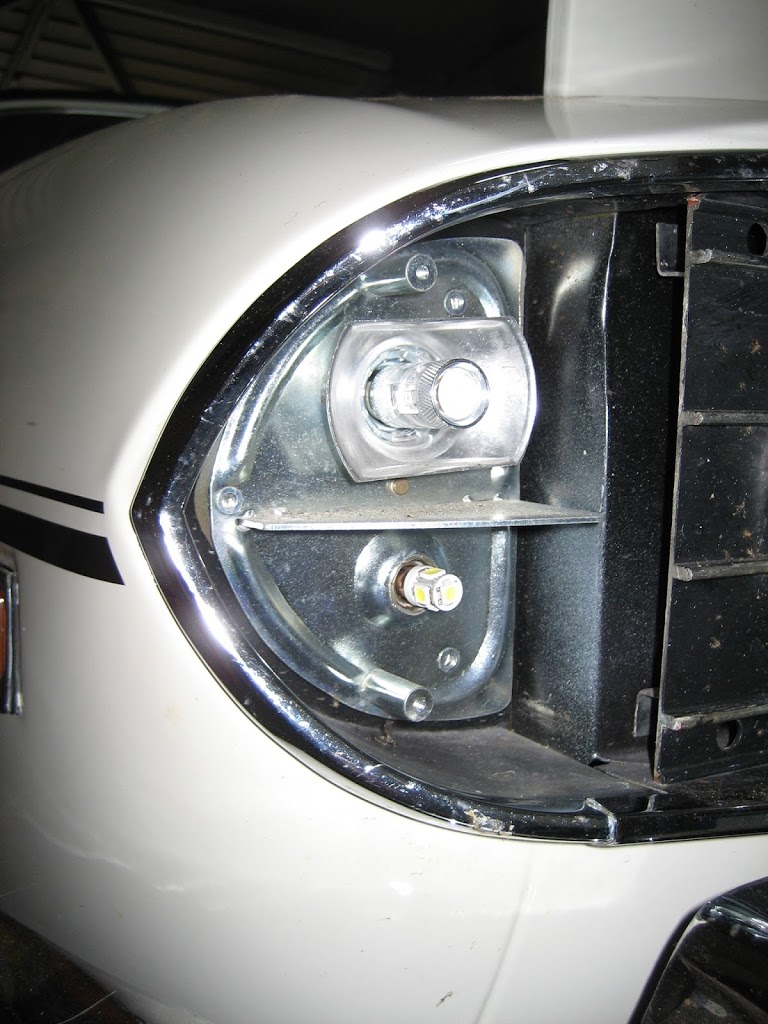
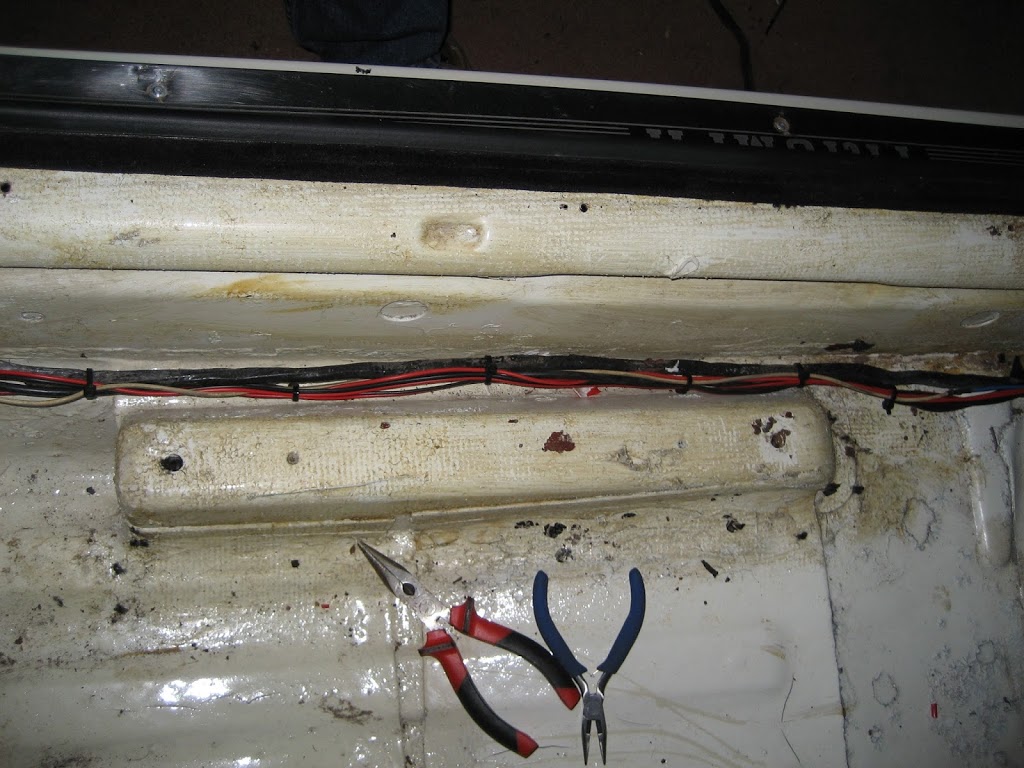 Whilst I was in the boot, I also replaced the number plate lights and also the boot interior light – although this needed a little fettling as the switch was too low to be impacted by the boot hinges. For good measure I also replaced the fog lights, rear side lights and stop lights, before re-wiring the electrical / power aerial and running the cables back through the car ready for re-connection behind the glove box where I will mount a new relay.