I have not been looking forward to this element of the build, but it has to be done. Looking at the outer radius of U-shaped rear shroud, I found a piece of 6″ sewer pipe (un-used) with roughly the same radius. Surely it was a simple matter of bending the panel around the pipe?
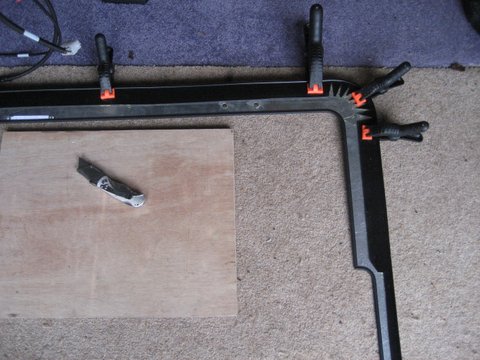
 Having done this and presented the rear panel up to the chassis, I found that it wasn’t such a simple process after all. The radius of the bend at the top of the panel was simply not tight enough and if I tried to tighten it the panel didn’t fit around the rear uprights. I tried a number of bends but the panels needs to fit close to rear chassis member which limits movement.
 |
| Add caption |
 In the end I removed the first tab from each side of the upper part of panel where it meets the chassis over the coil springs. This has allowed the radius to shrink under the shroud but I think I may be be saving up another problem as the panel doesn’t seem horizontal where it will eventually meet the side panels. I hope it will pull up as I rivet it all together. Finally today I applied the IVA trim to the rear shroud. The instructions on the GBS web site are contradictory here. They say that the broad tadpole trim is used on both side of the shroud, but also the small edge trim should be used on the internal edge. Having checked by reference photos of factory built cars it looks like the broad tadpole trim is used for the outer edge and the small edge trim for the internal.