
 |
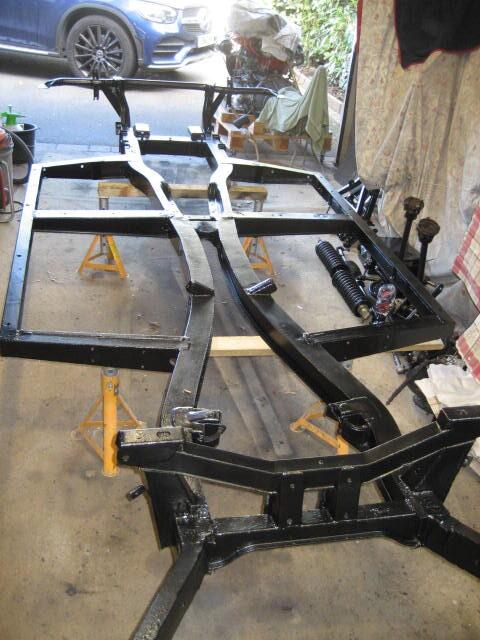
Right, here we go. Starting with a completely clean refurbished chassis.
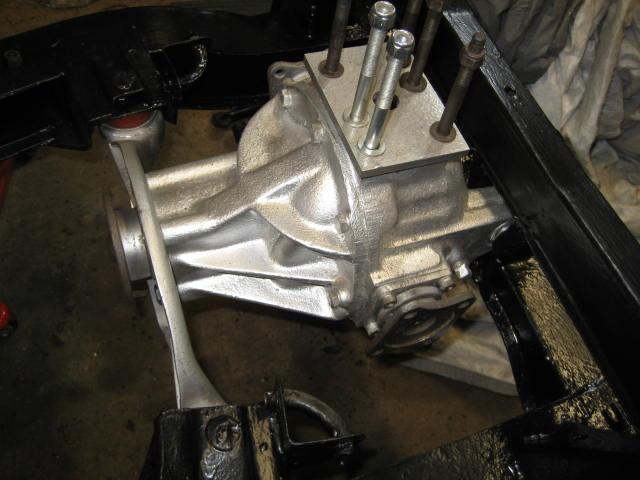
First back in was the differential. Not as simple or straight forward as I had imagined. Firstly there was the weight. Even balancing on a trolley jack its difficult to manoeuvre into position without it toppling off and landing on your foot! I tried putting the rear chassis bolts in first and swinging the front of the diff up to connect the bushes in the front plate. This didn’t work because there wasn’t enough clearance to allow the cups that house the bushes on the diff front plate to swing past the chassis bolts. Next I tried the reverse. I lifted the differential vertically and loosely connected the chassis bolts and bushes, but then I could manipulate the differential into a position where the rear chassis bolts could be inserted. My final attempt was to connect the rear chassis bolts first, then loosen the differential front plate so there was sufficient clearance to allow the chassis bolts, through the bushes and then connect everything back up again.
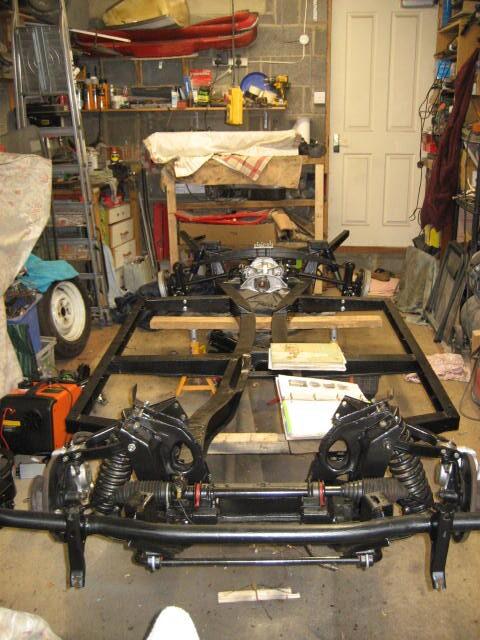
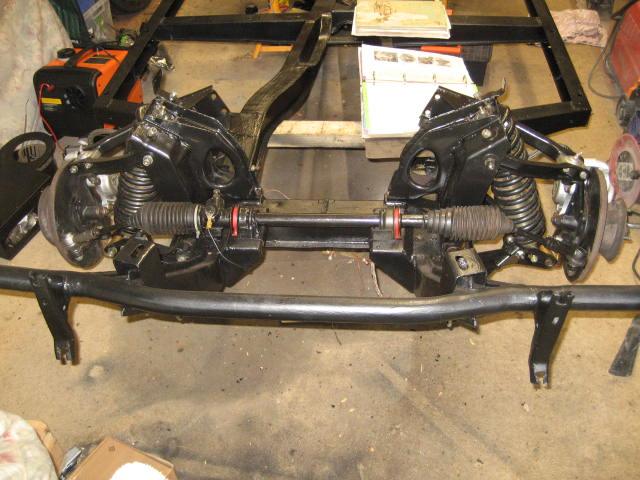
Next was the front suspension and steering rack. Having learned from the the differential assembly, I very loosely connected each component so there was plenty of leeway to move things around as I was assembling. The track rod ends and anti-roll bar links all went back on using this method, before tightening everything up. Wheel alignment will need checking once the car complete.
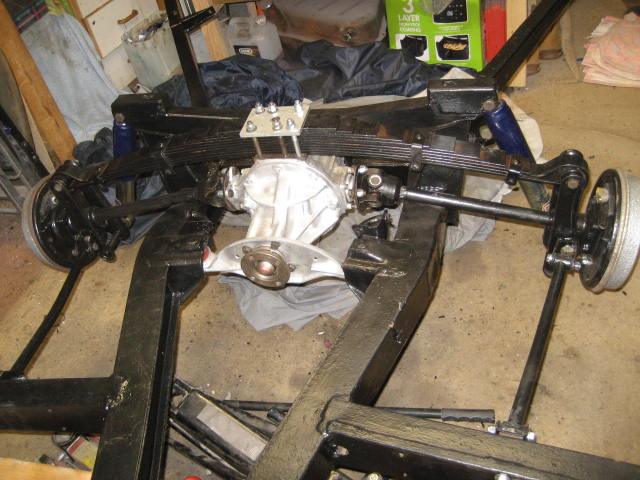
Then the rear suspension and leaf spring. Even by connecting the elements together very loosely to start with, the tension required in the leaf spring caused some difficult moments. I had to fabricate a spring compressor to get the bolts through the leaf spring and into the vertical links. Connecting the outrigger supports also required some ingenuity with a ratchet strap and large rubber hammer, but eventually it all went together.
It looks like something vaguely automotive now.