
This project is a bit of a bucket list project. My first car was a Triumph Herald (see car history) and since then I have always wanted the bigger engine Vitesse. This is a Mk2 with the rotoflex suspension, overdrive and of course it’s lid free.
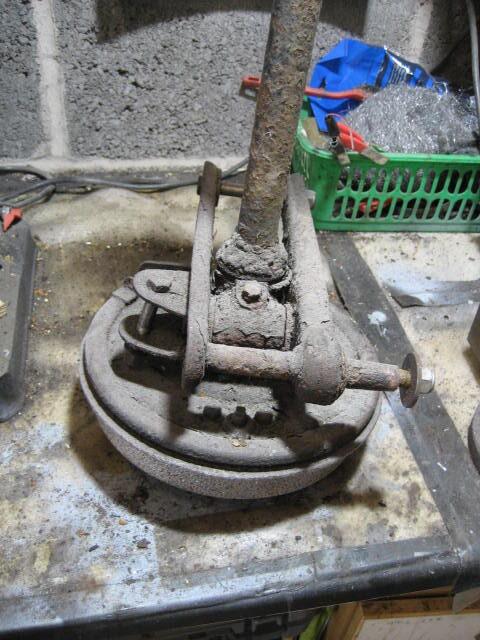
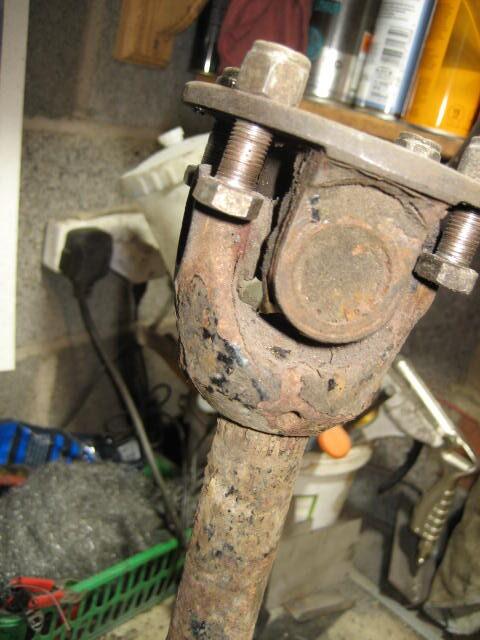
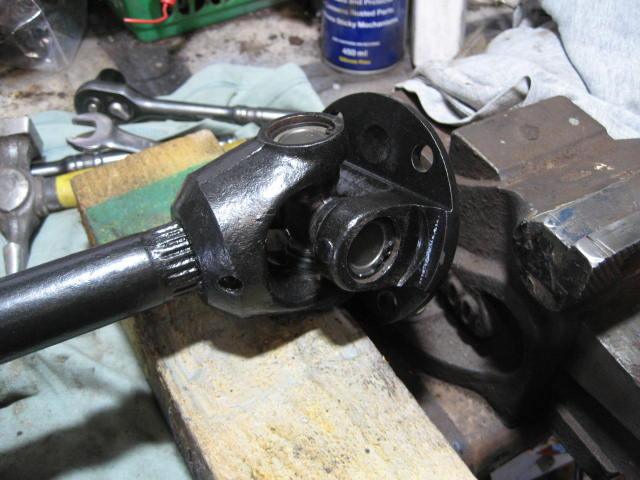
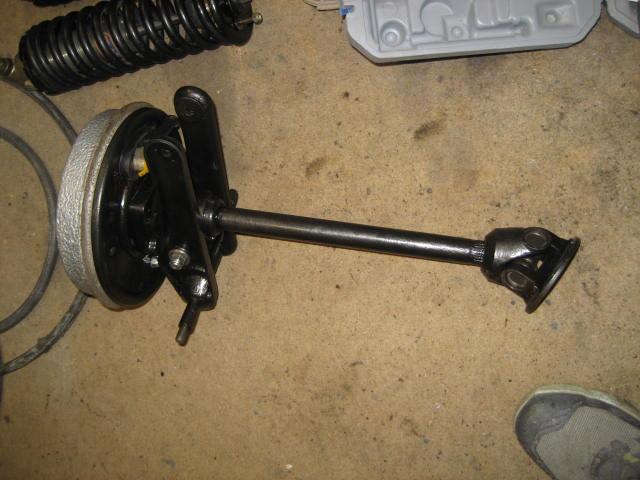
Both rear half shafts were in a pretty poor condition. No way it would have passed an MOT. Both UJs where shot and both trunnion joints seized
Removal of the UJs was straight forward. I just needed a big enough hammer.
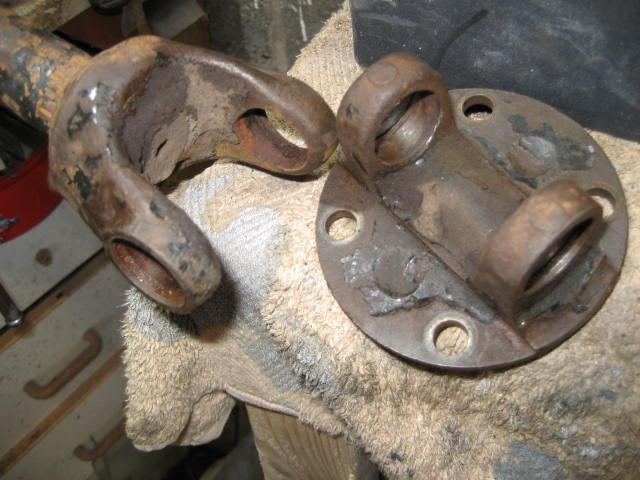
The trunnion bolts were a different story. Soaking both ends of the bolt in WD40 and then applying my impact driver had no effect. Trying to hammer the bolt back through the trunnion housing was also futile, regardless of the size of the hammer used. The only other way was to cut them off with a hacksaw. It’s a delicate process. I needed to position the hacksaw parallel with the trunnion and the vertical link and cut through the old nylon bush to the bolt without damaging the trunnion face of vertical link.
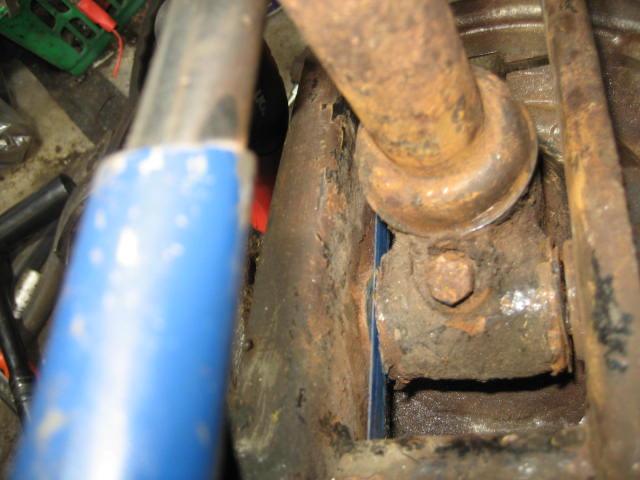
As the wheel bearings seemed fine, I stopped disassembly there, before wire brushing and re-paining all the components. The new UJs slipped in without any problems at all.
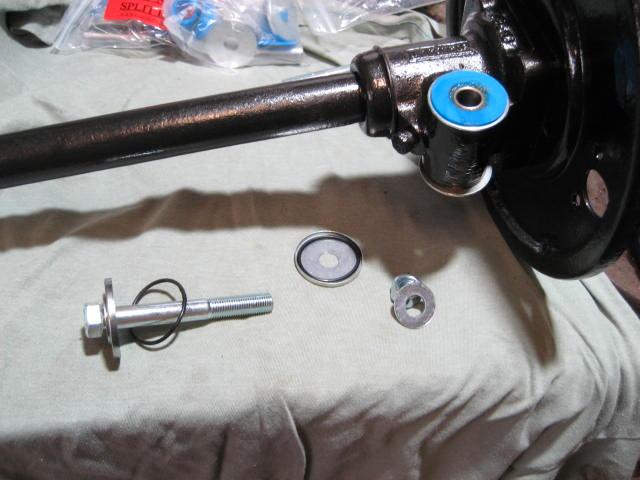
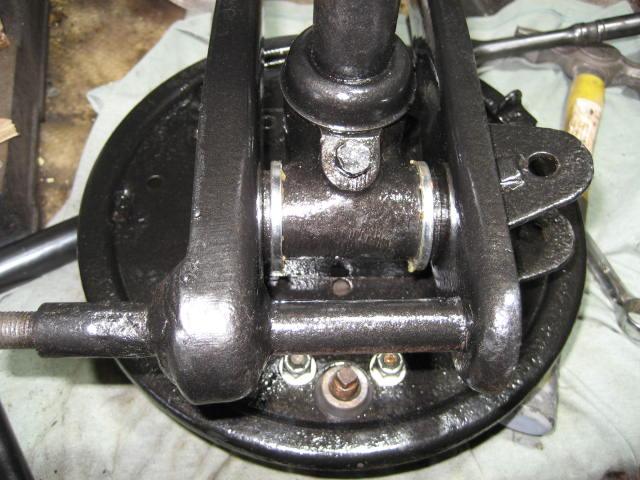
The trunnion bushes required a little concentration. I applied plenty of normal grease to the inside bore oof the trunnion and the inside of the nylon bush before seating them in place. The dust caps and rubber seals also had a generous coating of normal grease. The new bolt I covered in copper grease in the hope of preventing it from seizing up in future. Positioning the vertical link over the trunnion with the dust caps in place is tricky as the vertical link will tend to push the duct caps out of position. To prevent this I opened up the vertical link slightly with a clamp. Once in place I tighten these a tight as I could whilst still allowing movement. I will leave them to settle and complete with the torque wrench before they go back on.
As I had the rear hub is pieces I treated the brakes to new slave cylinders, dust caps and clips
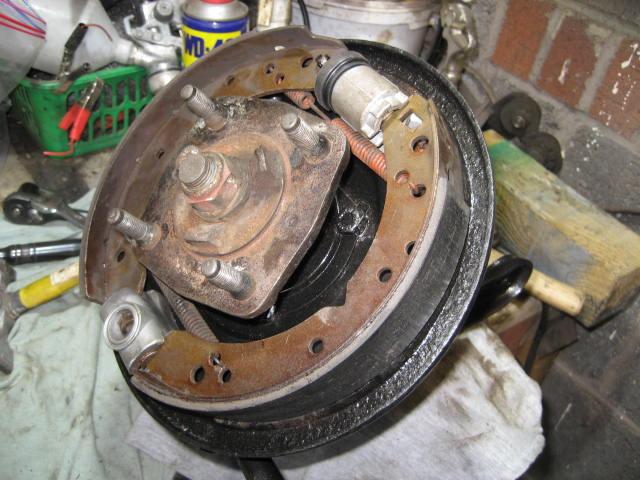
And there we have it. 2 refurbished half shafts
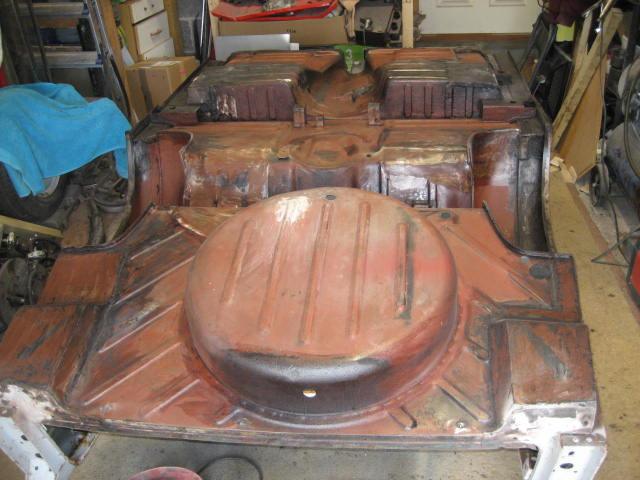
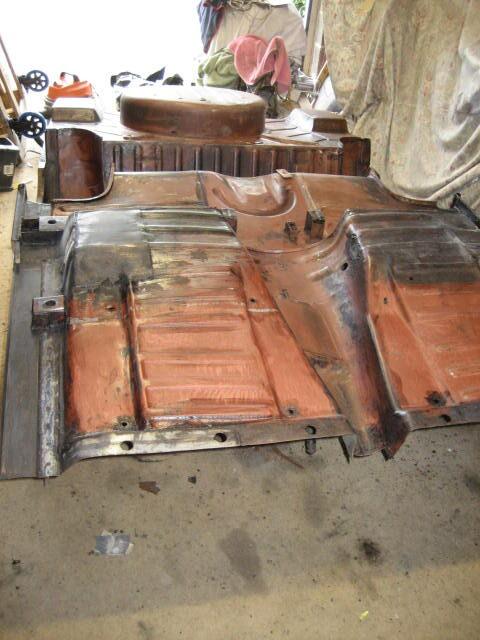
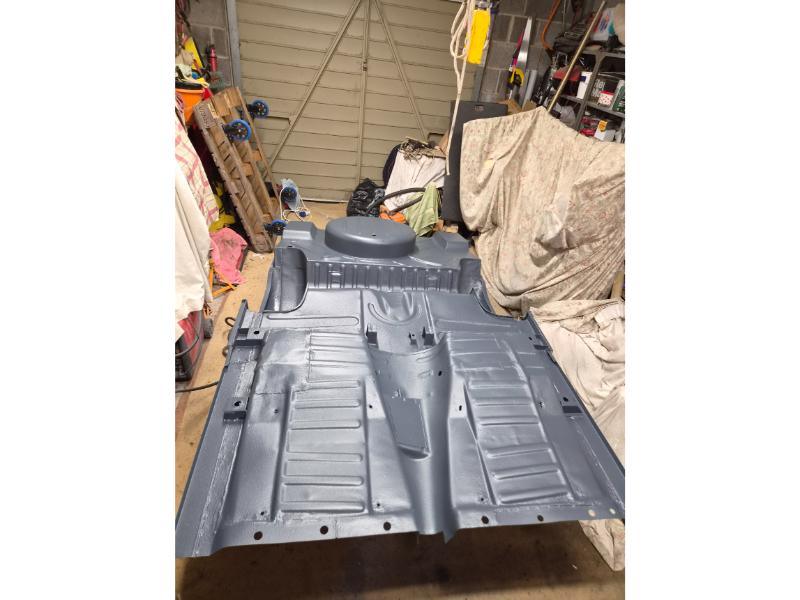
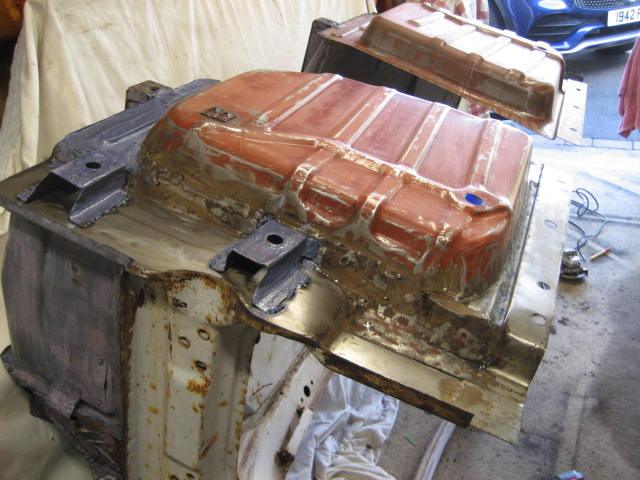
It was much the same with the rear tub. I first needed to completely strip the underseal from the underside, but having done that I found very little that needed attention. A couple of minor welding patches and some filling work.
A treatment with FE123, followed by a couple of coats of epoxy primer and then 2 coats of stone chip

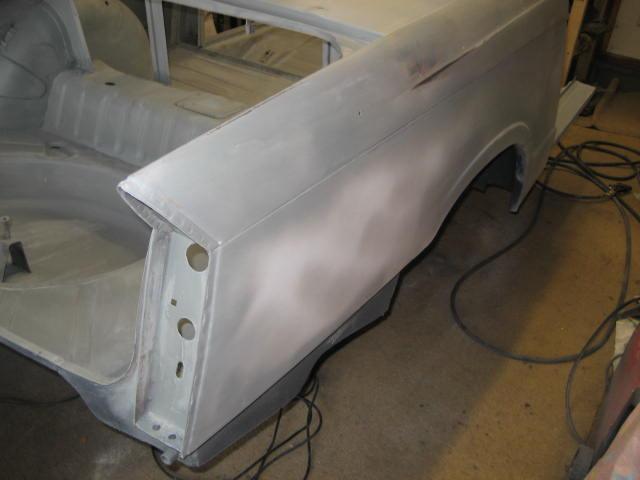
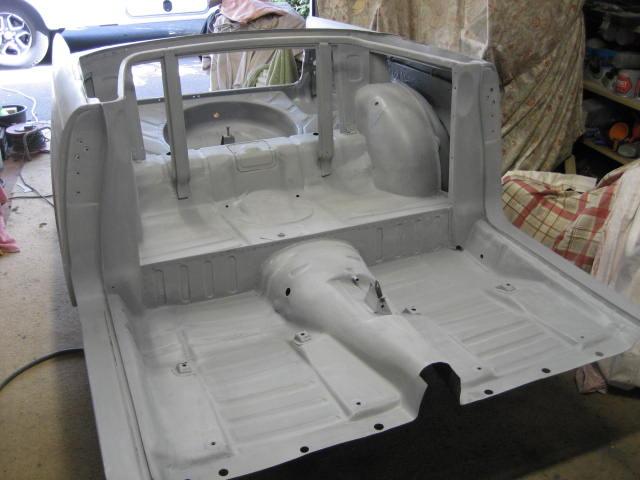
The upper side needed a bit more work. Some rust holes in the spare wheel well, another aerial hole, and more filling work. But after priming and rubbing down, it’s looking pretty tidy and will await it’s turn at the paint shop.

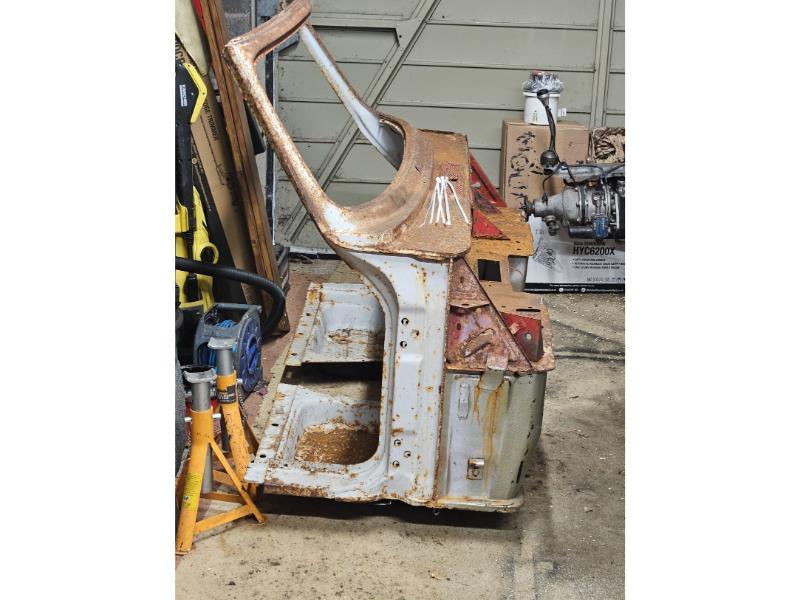
This replacement front tub has already undergone some repairs, but since then it has been left exposed to the elements. The result is some seriously pitted areas below the windscreen and especially on the battery/heater/master cylinder shelf. The steel here has also perforated in several places.
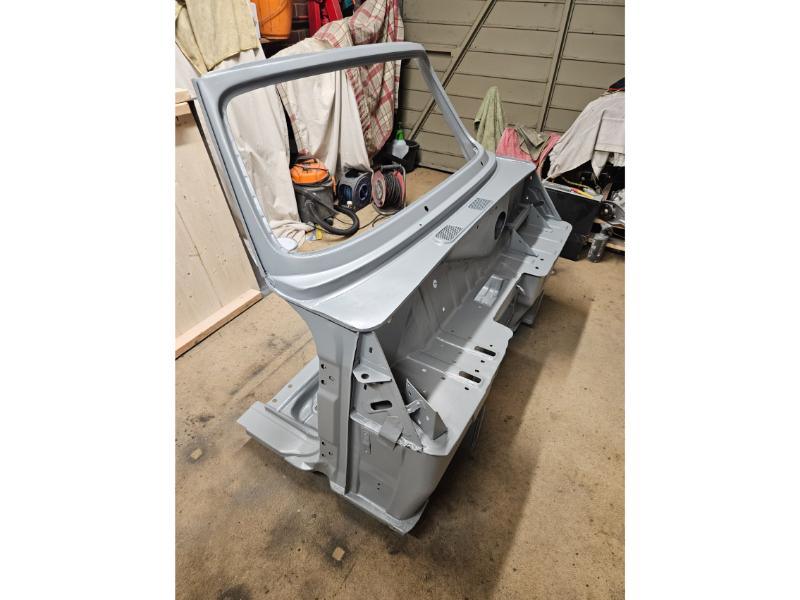
So out came the welder again. I fabricated 3 patches to replace the rotten steel at the lip of the shelf and welded them in place. In addition someone had attempted to mount an old car aerial close to where the rain gutter met the lower windscreen, so I welded a patch there too. After grinding and some light filler, and a couple of coats of epoxy primer, it does not look too bad.

The underside needed completely stripping bag to steel. It was covered with underseal. The underseal did it’s job though and there was very little to tidy up. I also covered all rusty area with FE123 which you can see as purple areas as the rust converts.
Here’s the finished tub. Ready to go to a friend who has agreed to put the top coat on for me.