|
I refurbished the struts a few posts ago (https://arkauto.co.uk/front-suspension-reassembly-part-3). Putting them back into the torrets in each front wing is a simple process on paper, but as a single pair of hands their weight and size makes this more difficult. I couldn’t hold them in place at the bottom and thread on the 3 nylocs from the top. I could have dissassembled the hubs from the struts, but instead I devised a pin that fitted in the ball joint mounting hole in the vertical link and mounted on my hydraulic jack. I was then able to take the weight of the damper and hub assembly on the jack and slowly ease it up into the turret where I could secure it from the top.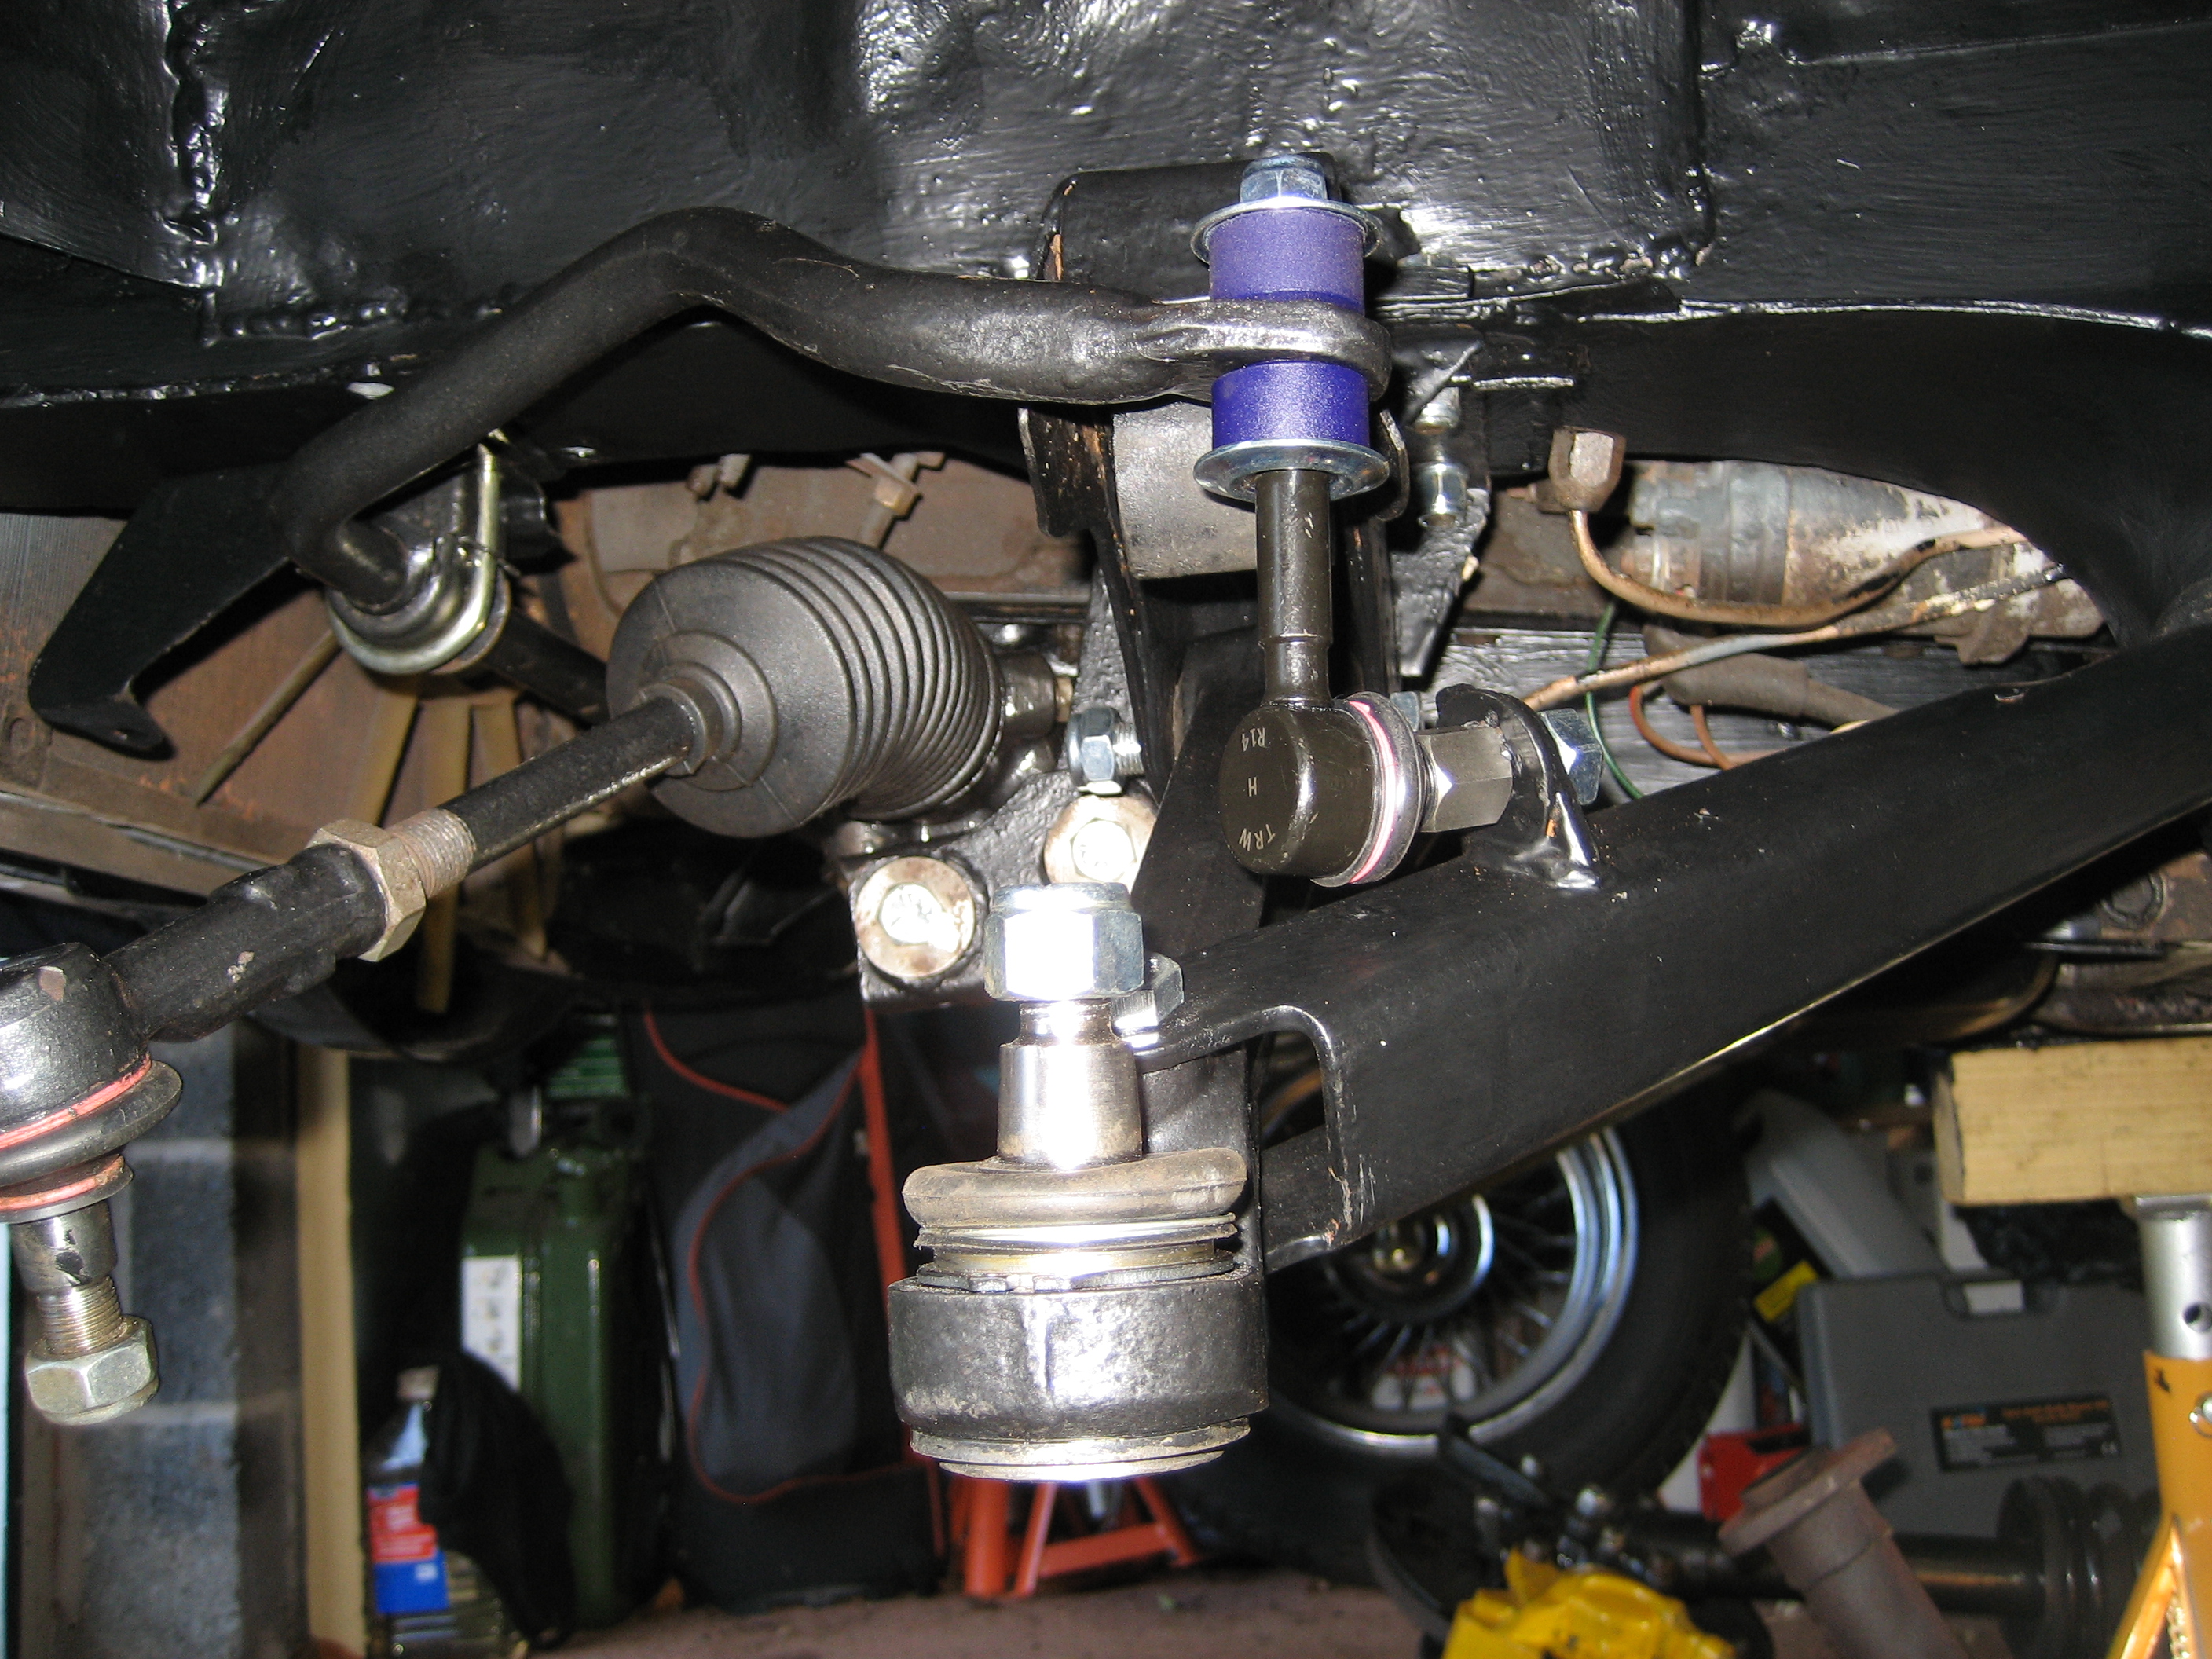
The Leyland Repair manual suggests the use of Plastiseal between the upper surface of the strut top mounting and the underside of the turret. After a little investigation, Plastiseal turns out to be a rubberised bitumen compound, that is widely available nowerdays for repairing roofing. Easy to get hold of and fairly cheap.
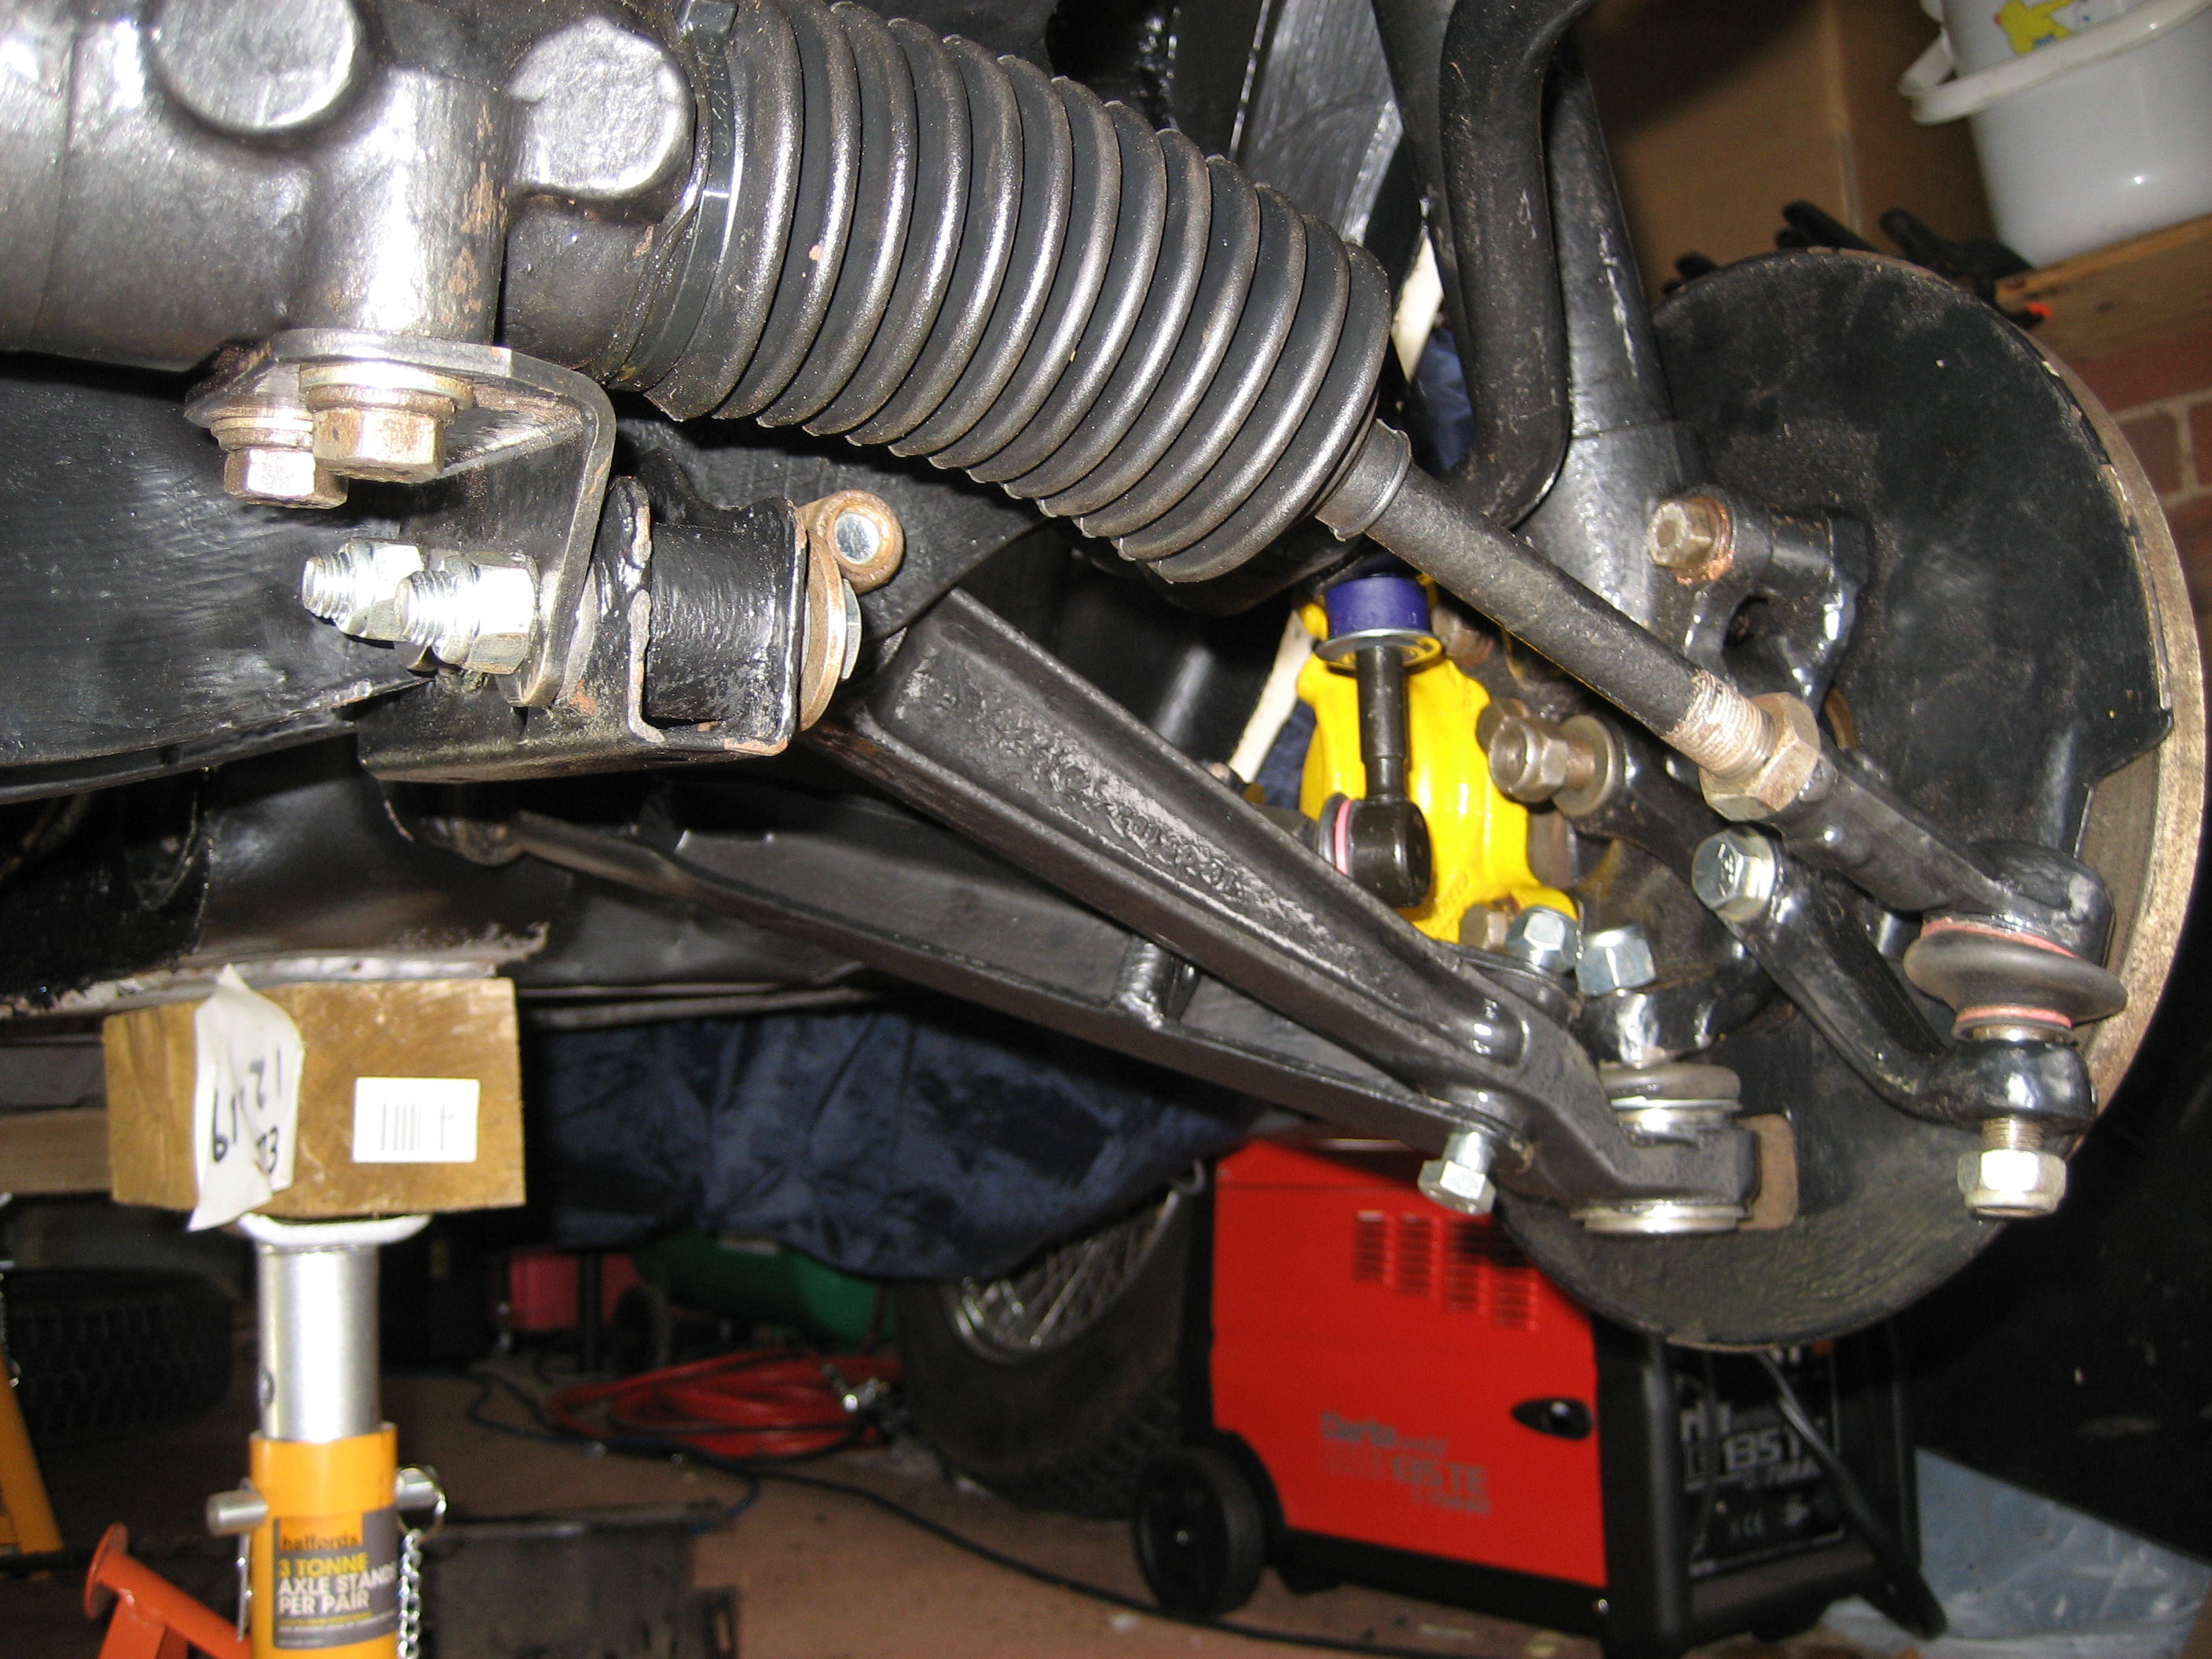 With the damper, strut and hub now hanging within the front wing, the refurbished drag strut, track control arm and anti-roll bar can all be connected with their new bushes, new ball joints and shiny new bolts and fixings. Using the Leyland repair manual and the Haynes bible, I pulled together a list of the torque setting I would need.
They are here for reference – Torque Settings.
Setting the correct torque is all about access. Tightening each element in the right order. This is the order I used, which only left a couple of bolts where I couldn’t get the torque wrench into play:
- Anti-roll bar fixing
- Steering rack mounting bracket to rack
- Steering Rack mounting bracket to cross member
- Damper to vertical link
- Calliper to vertical link
- Stub axle to vertical link
- Tie rod to vertical link
- Ball joint to vertical link
- Drag strut to body
- Track arm to cross member
- Drag strut to track arm
- Anti-roll bar to link assembly
- Anti-roll bar link assembly to drag strut
- Steering rack track rod end ball joint
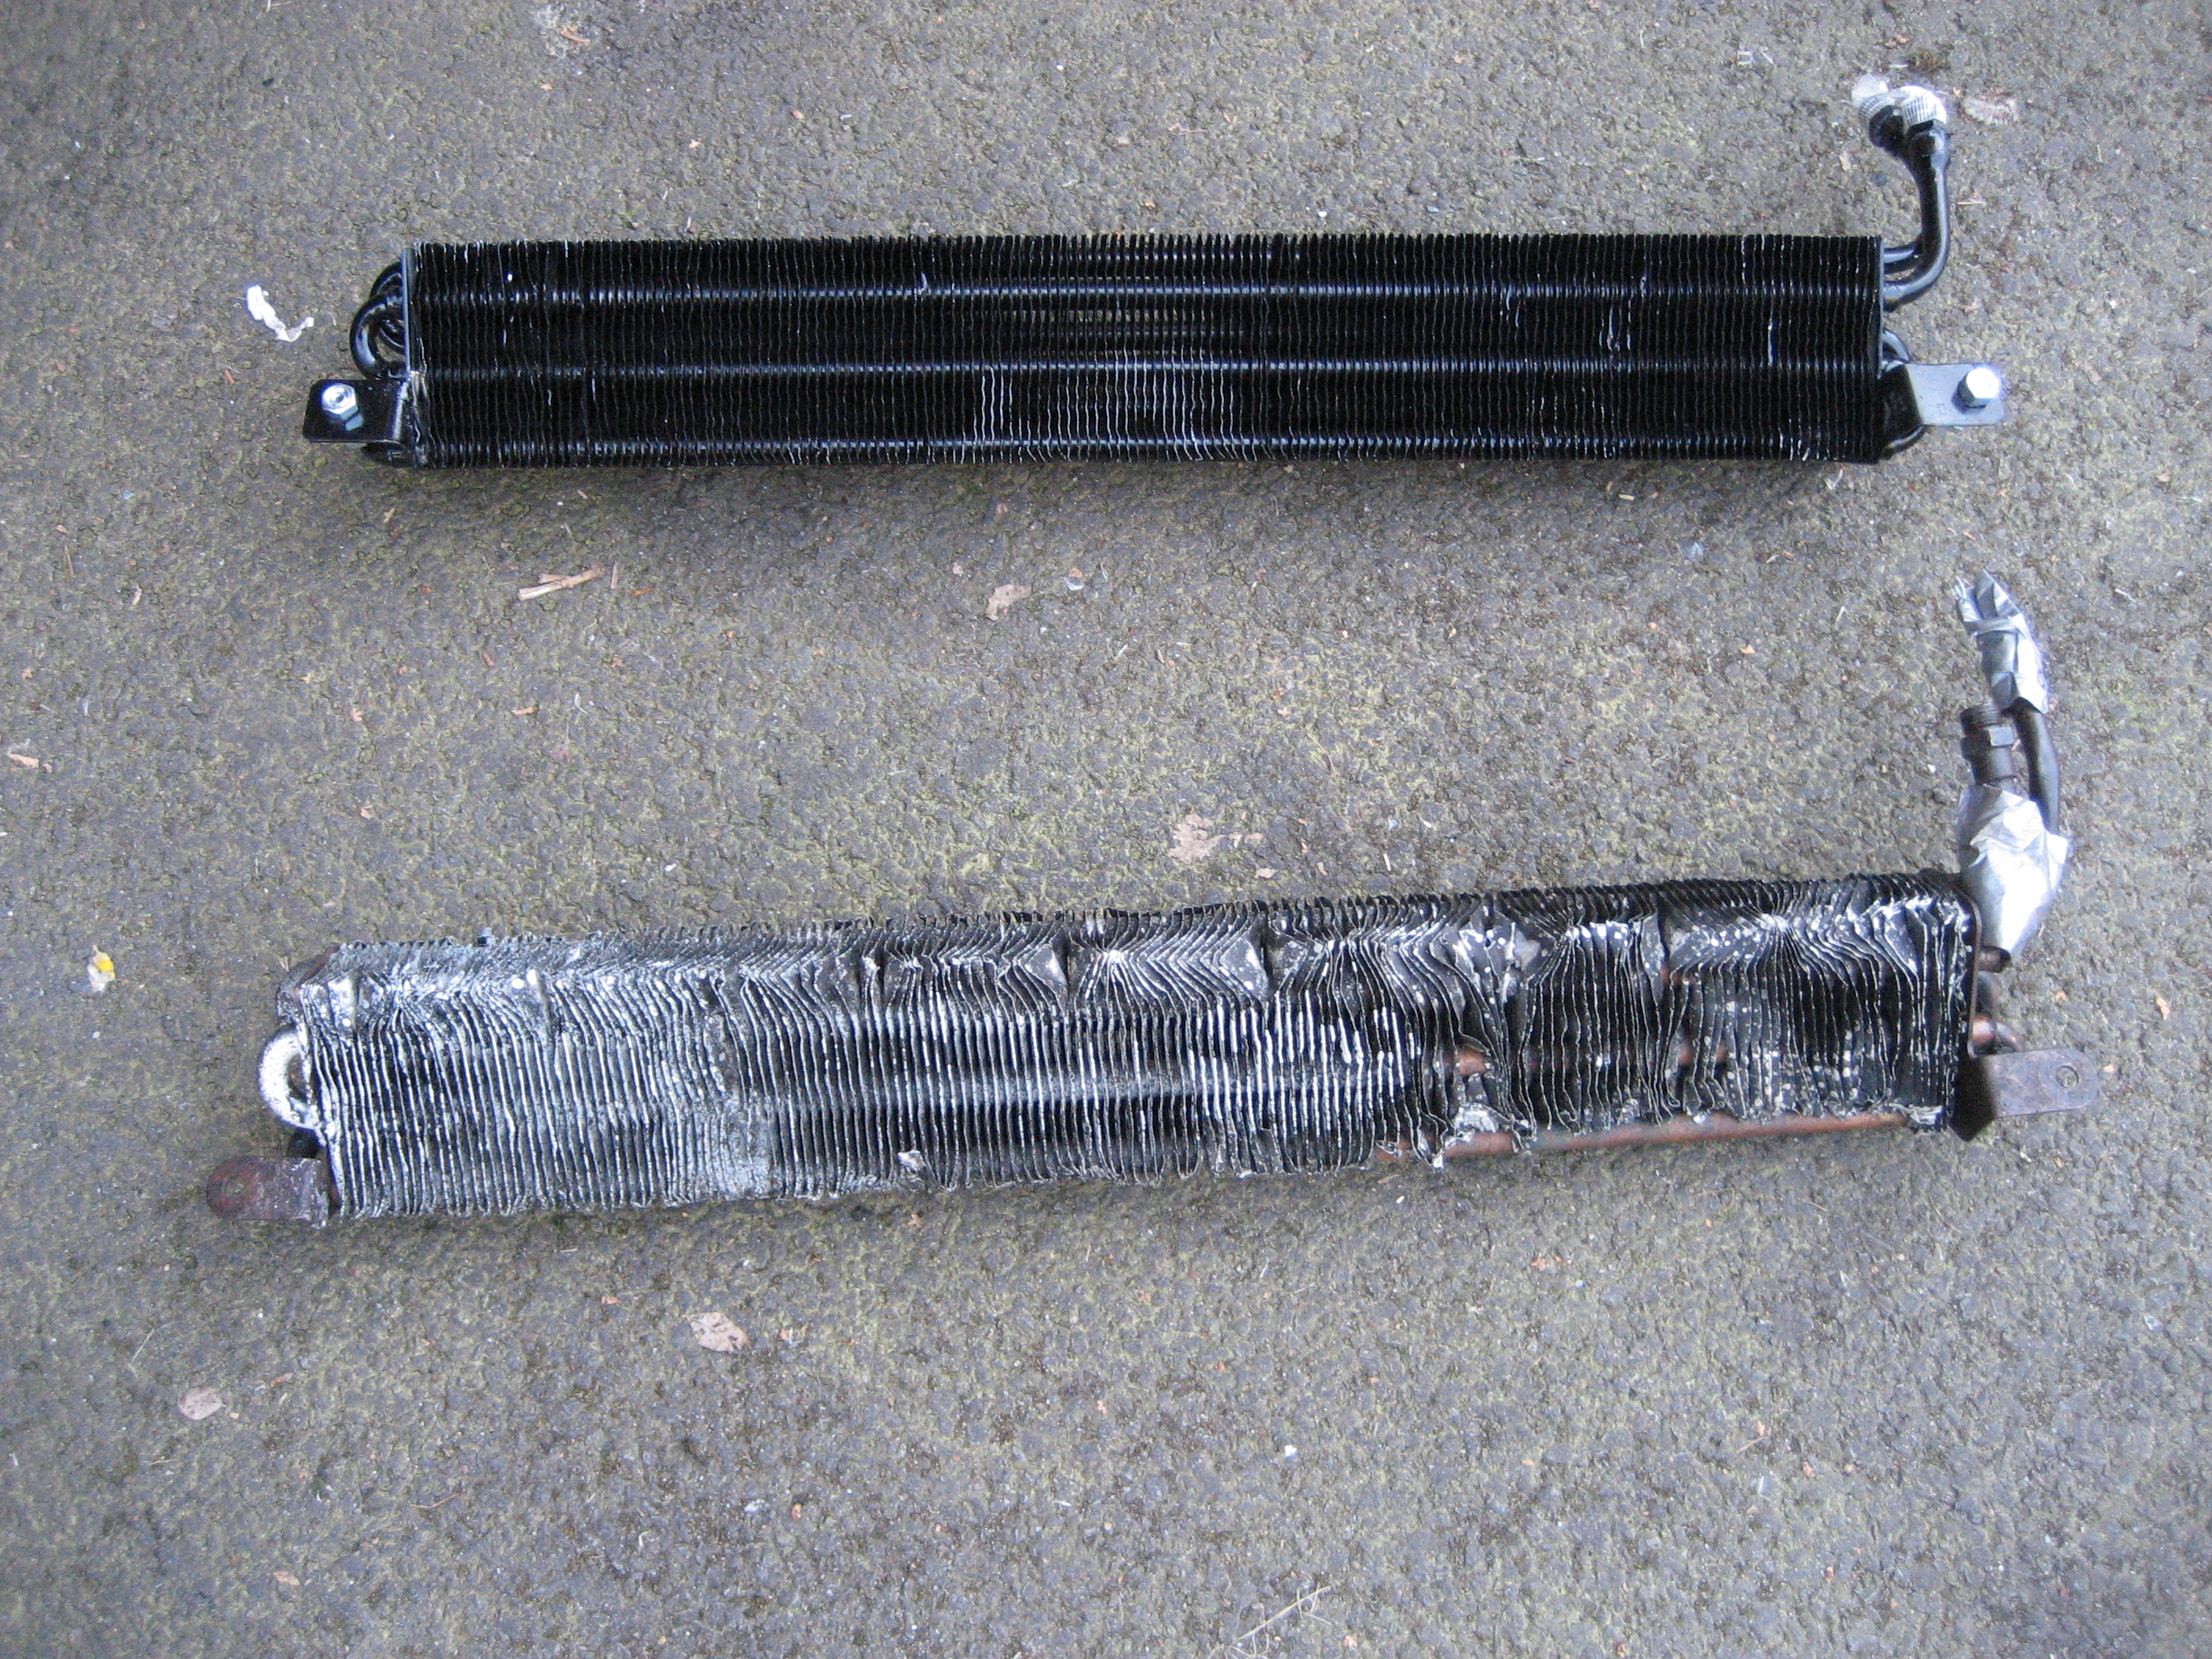
The final job was to connect the replacement ATF cooler. It had to be a replacement. They are so easily damaged that second hand units are in a generally very poor state.