Differential and Prop shaft final fitting

I managed to pick up a Haynes manual for a Sierra on E-Bay for 1p plus postage.

It defines the torque settings to be as follows:
      Diff side bolts: 60nm plus locktite
      Diff long bolts: 80nm
      Propshaft to diff bolts: 60nm plus locktite
I have also tightened the diff stabilisation bolt to 50nm


So I know where I have been with the torque wrench I have added a spot of red paint on each tightened bolt

Steering Column

In order to be clear about the brake pipe routing, I first need to understand how and where the master cylinder sits. In order to do that I need to understand how the brake pedal interacts with the cylinder and while I am at it, if there are any issues with the steering column as all this happens in a very small area.


I will start with the steering column. A surface dusting of powder rust was easily removed with some emery paper. I thought about a coat a black paint, but the clearance of the nylon bush is too fine, so I will leave it as it is.

 The next job was to change the barrel lock. On the face of it quite a simple job: drill out the lug and out it pops!! But what I have learned is that this seems only to be the case if you have the old keys. There is a circlip at the base of the lock inside the casing. If you can turn the lock such that the circlip aligns nicely with the barrel, then it will just pop out. If you can’t then you will probably have to resort to removing the head of the old barrel and turning the circlip with a screwdriver, as I had to.


Attaching the new steering wheel boss was quite straight forward as was the installation of the lower bush – the spring clip is not shown as I know I will need to remove the steering shaft again at some point to fit the panels


 Whilst I was there I just had to fit the steering wheel and stalks. It is the first time this piece of metal in my garage has started to resemble a car 🙂

The steering rack was next. Not difficult to place or bracket up, but there is something not quite right. With the rack in place and the linkage connected, the steering column is half an inch above the mounting brackets. Next time I go to GBS I will take a look at some factory built cars. I am also not happy with the U clamp on the steering rack. Again I will check with GBS.


Where to start?

There are many, many places I can start. Every box I open contains something I can fix to the chassis, build into a sub-component or clean up ready to fix.
I want to leave the chassis as open as I can whilst the build gets underway. By that I mean I don’t want to fix the side panels too early and thereby become encumbered by them when I don’t need too. I also think that there is a significant risk of me damaging the side panels whilst doing other jobs if I fix them too early.  I must however be cognisant that some of the panels must be fitted in a specific sequence such as the outer side panel before the front suspension, or they simply won’t go on.
So, my short term goal is to get the cable and pipe routings around the vehicle clearly understood before I start permanently fixing panels. 
I will start with the brake pipes….

Organising

Managed to get it all into the garage last night before taking the van back and between heavy showers. Getting the engine off the van and across a flower bed was something to be seen, noy probably not for this blog.


This is what it looked like this morning…..


Time for a very large coffee and some planning. Where to put all this stuff and still have room to build?


Spent the next few hours putting the stuff not needed for a while in the shed and re-visiting the contents of the many boxes. Arranged into some logical order and labelled the boxes with contents to make life a little easier – a bit OCD but satisfying to know where things are.


With some space to work I decidied to start the first build task – the diff. Richard@GBS told me to get the bottom long bolt in first, followed by the front two and then the top long bolt. Great advice, but the spacers were very slightly too large. Maybe the powder coat, maybe a bit of flex in the chassis. Nothing a few strokes of the file couldn’t correct. A fiddly job for one person, but with the weight of the diff taken by the engine hoist it was manageable.


Still a couple of things to do before the diff is complete:

  1. torque up the bolts once I find the torque settings
  2. add a differential rear stabiliser bolt & spacer as it was not supplied (needs a 40mm M8 and spacer)


Pick up day

The day finally arrived. Picked up the van just after they opened at 8:30 and headed toward Newark. Richard@GBS greeted me on arrival with a cup of coffee – always a good start. 


Refreshed I pulled to van towards the roller shutter and we started checking off and loading the van.
Slowly the van filled: box by box and package by package, with Richard@GBS providing a commentary of the build instructions and potential snags and solutions as we went.

The checking process was thorough with each item on the bill of materials being ticked off one at a time. There are a huge number of parts for a complete kit so this took over 3 hours. Disappointingly GBS did have some bits missing:

  • Tyres – they had been “borrowed” for the track day
  • Brake reservoir and cap – having supply issues
  • Catalyst – although Richard@GBS  explained that he is developing a new exhaust with built in Cat which can be re-packed (I will probably swap for this when it’s ready)
  • Steering column surround
  • Anti freeze

Richard@GBS also mentioned that he is working on a new idle sensor to link into the Emerald ECU. I must remember to ask him about this again nearer the time.
Last to go in (not in the photo) was the GRP, followed by the engine right at the back for easy unloading, and finally the gearbox.
I made the mistake of not fully securing the gearbox before I set off. Whilst driving along the A38 a dog was loose running along the verge. A firm touch of the brake and a thud from the back of the van. I stopped in a near by layby to find the gearbox had rolled forward into the GRP nosecone !! 


I hope scratches can be easily polished out 🙁

So what to do now ??

Keith at GBS set my expectation at 2 to 3 weeks before I could collect. First job was obviously a major tidy up of the garage. That’s one weekend gone….


A weeks holiday in Scotland with the family – that’s another two weekends gone….
Still no Zero.
Problems with the fiberglass panel manufacture. Maybe this weekend. 
Spoke to Keith again today – not this weekend – very disappointed 🙁


Just have to do some more research and put a bit more detail in this blog…. and I think I will add a couple of dead bolts to the inside of the garage door – just in case.

Why?

Why would anyone spend every weekend in the garage, spending huge sums of hard-earned, removing the skin from knuckles and wearing patience very thin, when you could buy a built one for less??


I have puzzled this for some time.


My answer (I am sure others answers will be different) is that I am engineer. I can’t think of any other reason. A constant quest to build things, understand how things work, and create new things. I gain a deep satisfaction from an elegant design well implemented: simple and effective.
Over the years my focus may have changed: IT design, house alteration and extensions, and now cars. But the core motivation is always the same.


When I was 17 I was given an old Triumph Herald. It was scrap – rust everywhere and an MOT failure. Many hours, many rivets, much welding and many tubs of P38 later, it passed it’s MOT and went on for another 4 years whilst I worked my way through a degree in Electrical and Electronic Engineering. Following my Herald I went on to a Triumph 2000 Saloon and then a Spitfire.

Marriage and children (as delightful and life enhancing as they are) have since forced many, many years of sensible motoring. As the kids are getting cars of their own now, reliance on Dad’s taxi and Dad’s time is subsiding. So…. what to do???


Why not scratch that itch that has been there since those early Triumph days? Why not get back into automotive engineering once again? Why not build myself a kit car? 


After a good deal of research I decided to visit GBS in Nottingham. It didn’t take me long to realise that I had made the right choice. Richard and Keith showed me around the factory, introduced me to other kit builders who happened to be there, and took me out for that obligatory deal closer – the test drive in their Zero demonstrator.

After a week of soul searching I decided to take the plunge. I am not an extravagant man, and this was not a trivial purchase. It took a lot of internal justification, but on 19th May 2012 I shook hands with Keith and the deal was done. 
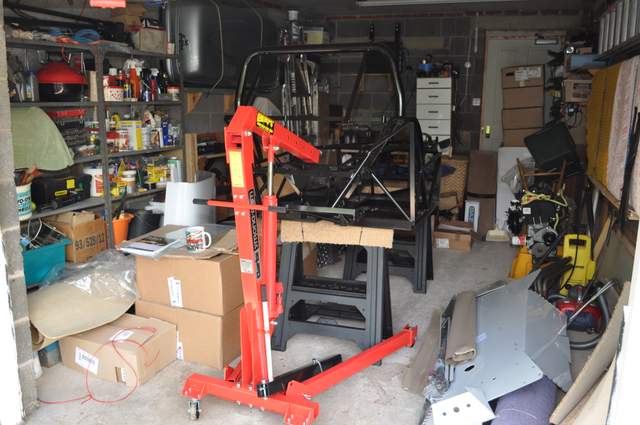
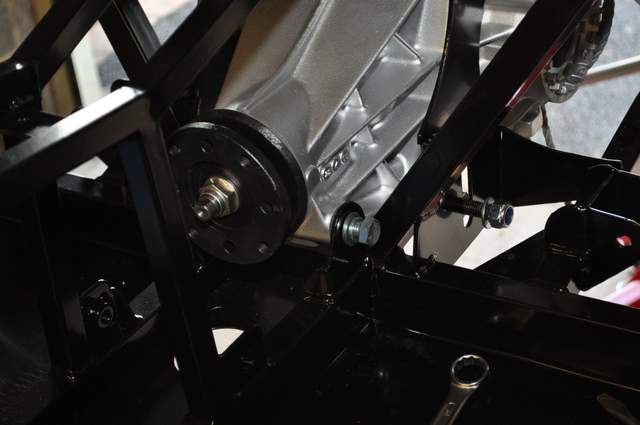
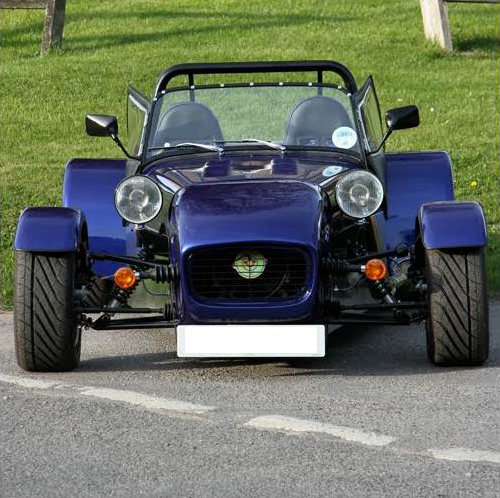
My Zero: 

Oxford blue GRP (incl dash); 
Alloy panels; Powder coated standard chassis; 
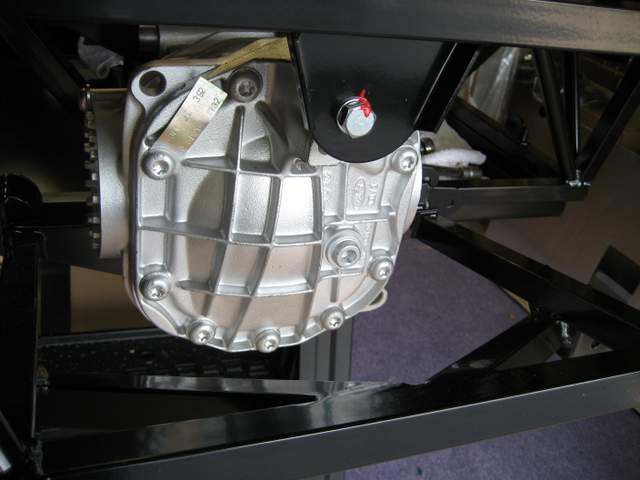
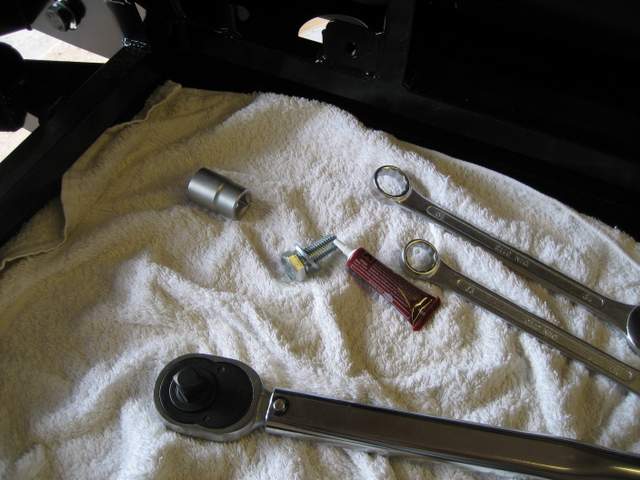
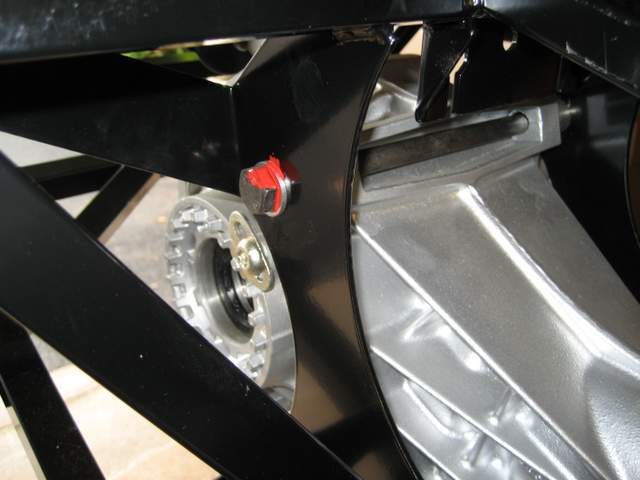
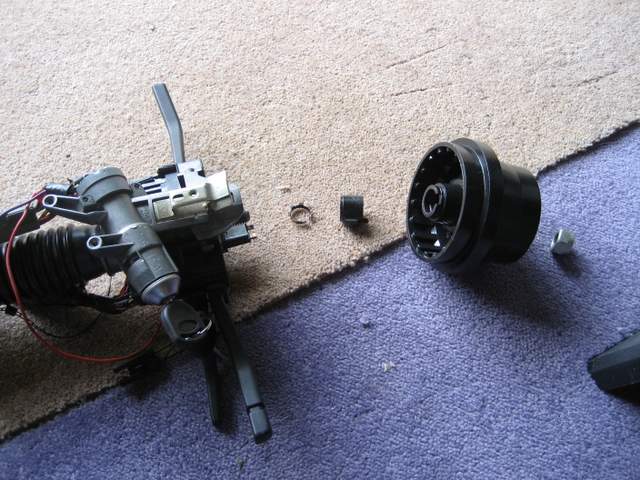
Lowered floor; Gaz shocks; 2.0L Zetec with GBS Plenum, GBS Water Rail and Raceline sump; MT75 Gearbox; All new running gear; GBS wiring loom and Smiths Dials; Team Dynamic Pro Race wheels with Yokohama rubber.